Red Velvet Cake Recipe
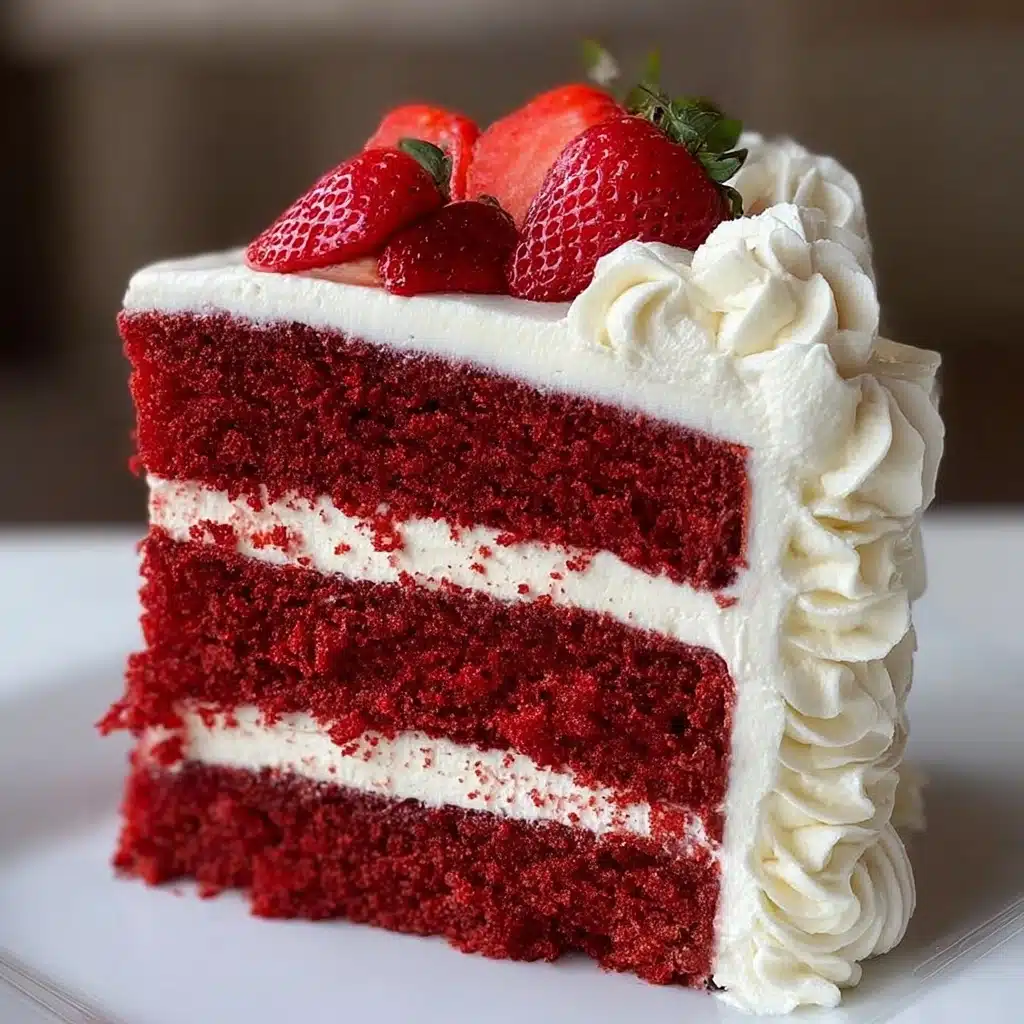
If you’re looking for a show-stopping dessert, this Red Velvet Cake Recipe is an absolute gem. With its signature red crumb, tangy-sweet cream cheese frosting, and luxuriously soft texture, this classic cake brings elegance and a hint of nostalgia to any celebration. It’s striking in both appearance and flavor, offering just the right balance of cocoa and vanilla with a creamy, rich finish—there’s a reason it captures hearts at every gathering!
Ingredients You’ll Need
This Red Velvet Cake Recipe shines because of its simple, accessible ingredients. Each one brings something essential to the final cake, whether it’s moisture, flavor, color, or that irresistible creaminess in the frosting. Here’s what you’ll need and why:
- All-purpose flour: The backbone for structure, ensuring your layers are sturdy but tender.
- Granulated sugar: Sweetens the cake and helps lock in that perfect moisture level.
- Baking soda: Lends lift and fluffiness so your cake rises beautifully.
- Salt: A subtle pinch that balances and enhances every flavor.
- Cocoa powder: Just a touch for a hint of chocolate depth—don’t skip it!
- Vegetable oil: Ensures a velvety, moist crumb that stays soft for days.
- Buttermilk (room temperature): Adds tanginess and keeps the crumb incredibly tender.
- Eggs: Binds everything together while imparting richness.
- Red food coloring: For that iconic, dramatic hue—liquid or gel both work!
- White vinegar: Reacts with cocoa and baking soda for fluff and flavor.
- Vanilla extract: Brings warm, fragrant notes to both cake and frosting.
- Cream cheese (softened): The hero of the frosting, makes it tangy and creamy.
- Unsalted butter (softened): Combines with cream cheese for a smoothly spreadable frosting.
- Powdered sugar: Sweetens and thickens the frosting to dreamy, spreadable perfection.
How to Make Red Velvet Cake Recipe
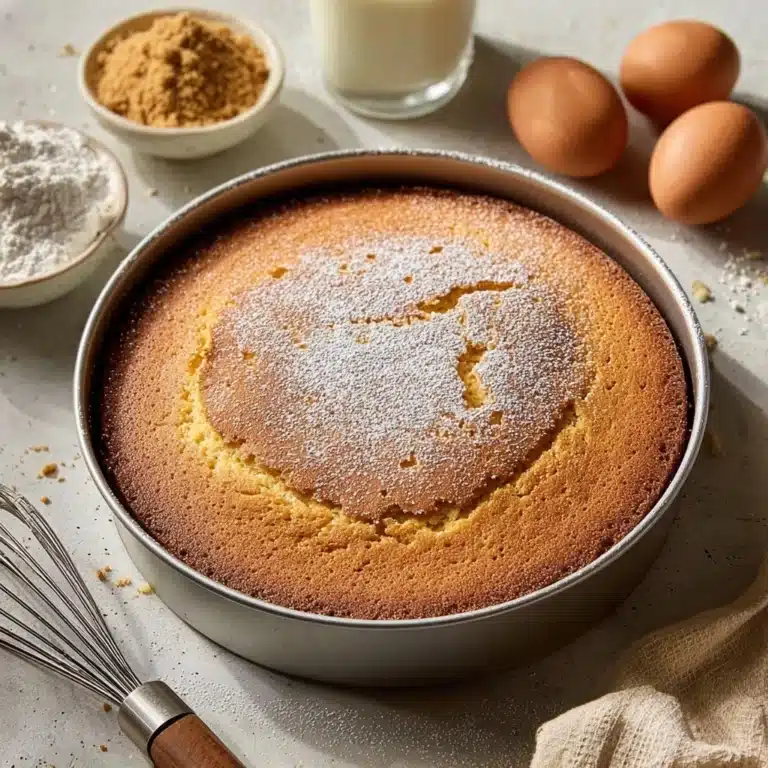
Step 1: Prepare Your Pans and Preheat
First things first, set your oven to 350°F (175°C) so it’s ready when you are. Grab two 9-inch cake pans, grease them well, and dust lightly with flour. This ensures your beautiful layers will pop out easily, preserving their tender crumb and gorgeous color.
Step 2: Mix the Dry Ingredients
In a large mixing bowl, whisk together the flour, granulated sugar, baking soda, salt, and cocoa powder. It’s a simple step, but key for even distribution—no one wants a clump of cocoa or salt in one bite! This dry mix gives your Red Velvet Cake Recipe its signature flavor and texture foundation.
Step 3: Combine the Wet Ingredients
Using another bowl, combine the vegetable oil, room-temperature buttermilk, eggs, red food coloring, white vinegar, and vanilla extract. Whisk until it’s smooth and the color looks uniform; the bold red should be even, with no streaks. This is where the magic starts to happen!
Step 4: Bring It All Together
Gradually add your dry ingredients into the wet mixture, stirring as you go. Mix just enough until you don’t see streaks of flour—the batter should look silky and vibrantly red. Overmixing can toughen your cake, so just blend until incorporated.
Step 5: Bake the Cakes
Divide the batter evenly between the two prepared cake pans. Smooth the tops with a spatula, then place in the oven. Bake for 30–35 minutes, or until a toothpick inserted into the center comes out clean or with just a few moist crumbs. Let the cakes cool in their pans for about 10 minutes, then transfer to a wire rack to cool completely before frosting. Patience pays off in ultimate tenderness!
Step 6: Make the Cream Cheese Frosting
While the cakes cool, beat together the softened cream cheese and unsalted butter until completely smooth—this step ensures a fluffy, luscious base. Slowly add the powdered sugar to avoid a sugar cloud, then add the vanilla extract. The finished frosting should be thick, creamy, and ready to slather.
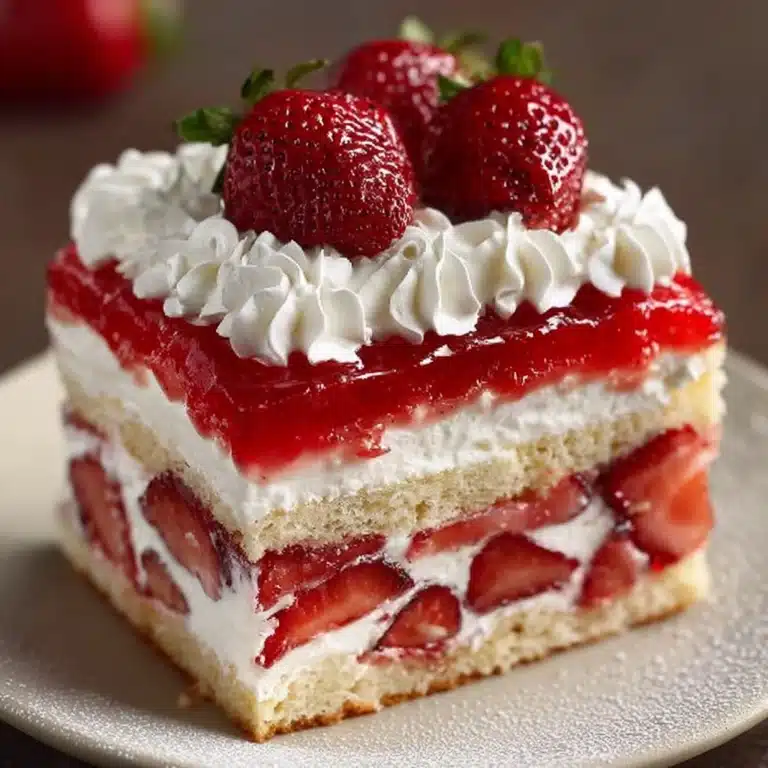
Step 7: Assemble and Frost
Once your cakes are fully cool, place one layer on your serving plate. Spread a generous layer of cream cheese frosting on top before adding the second layer. Cover the entire cake—sides and top—with the remaining frosting. For a final flourish, decorate with strawberries, cake crumbs, or your favorite embellishments. Time to stand back and admire your creation!
How to Serve Red Velvet Cake Recipe

Garnishes
This elegant cake shines with a simple garnish. A handful of fresh strawberries or raspberries on top add both color and tang. Sprinkling a few cake crumbs over the frosted layers is classic—plus, it hints at the delight inside. For special occasions, edible flowers or a drizzle of chocolate sauce can elevate the presentation.
Side Dishes
The Red Velvet Cake Recipe is decadent on its own, but it pairs beautifully with a scoop of vanilla ice cream or a dollop of softly whipped cream. If you’re hosting a brunch, consider serving it alongside fresh berries or a platter of citrus fruits to balance the richness.
Creative Ways to Present
Want to get playful? Try baking this cake as cupcakes for a party-friendly twist, or layer the cake and frosting in jars for adorable grab-and-go treats. For extra elegance, decorate with piped rosettes or edible gold dust to make it truly party-worthy.
Make Ahead and Storage
Storing Leftovers
If you somehow resist finishing this cake in one go, store slices in an airtight container in the fridge. The Red Velvet Cake Recipe actually tastes even better the next day as the flavors meld—just keep it well-covered to prevent the frosting from absorbing any fridge odors.
Freezing
Both the unfrosted cake layers and the assembled, frosted cake freeze well. Wrap individual layers or slices tightly in plastic wrap, then foil, and freeze for up to three months. To thaw, move the cake to the refrigerator overnight before bringing to room temperature.
Reheating
While you won’t want to “reheat” this cake in the traditional sense, you can bring cold cake slices to room temperature about 30 minutes before serving. This lets the cream cheese frosting soften to its irresistible, silky texture and ensures every bite is luscious.
FAQs
What makes Red Velvet Cake different from regular chocolate cake?
It’s all about balance! Compared to chocolate cake, the Red Velvet Cake Recipe uses much less cocoa powder, so the cocoa flavor is subtle. Its unique tang comes from buttermilk and vinegar, and of course, the vibrant red color sets it apart.
Can I use natural food coloring instead of artificial?
Absolutely! Beet juice or a natural red food coloring can be used, though the final shade may be less intense. Just keep in mind that natural options don’t always create the same iconic red hue.
Why do I need vinegar in the batter?
The small amount of vinegar reacts with baking soda and cocoa, helping to create the cake’s light, tender crumb and signature tang. It’s a chemistry trick that’s essential to authentic Red Velvet Cake Recipe results!
Can I make this recipe as cupcakes?
Yes! Simply divide the batter into lined cupcake tins and bake for 18–20 minutes, or until a toothpick comes out clean. You’ll get about 24 perfectly portioned cupcakes ready for any celebration.
What’s the best way to frost the cake neatly?
For a professional finish, do a “crumb coat”—spread a thin layer of frosting all over to trap loose crumbs, then chill the cake for 30 minutes before adding the final thick layer. This helps the Red Velvet Cake Recipe look as gorgeous as it tastes.
Final Thoughts
If you’ve never tried baking a Red Velvet Cake Recipe from scratch, now’s the perfect time to give it a whirl. Every slice promises moist, flavor-packed layers with the dreamiest cream cheese frosting—just the thing to make any occasion feel extra special. Don’t be surprised if it becomes a new family favorite!