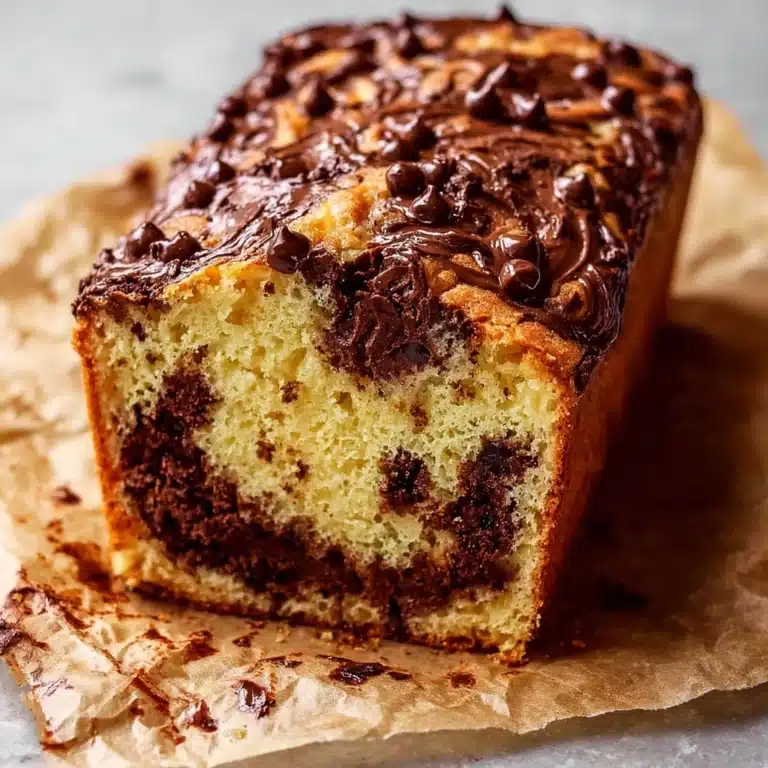
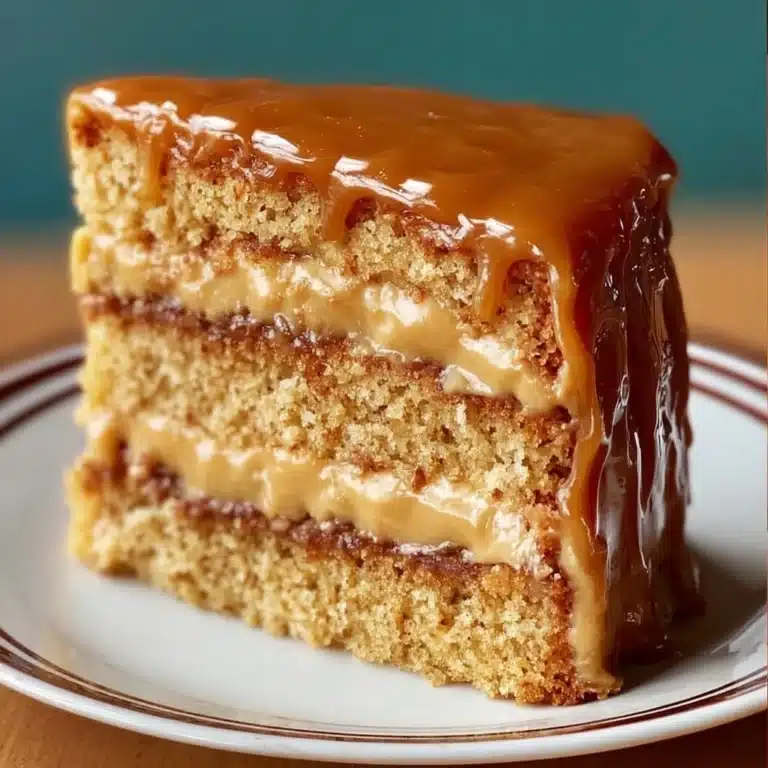
Chocolate Swirl Milk Bread recipe
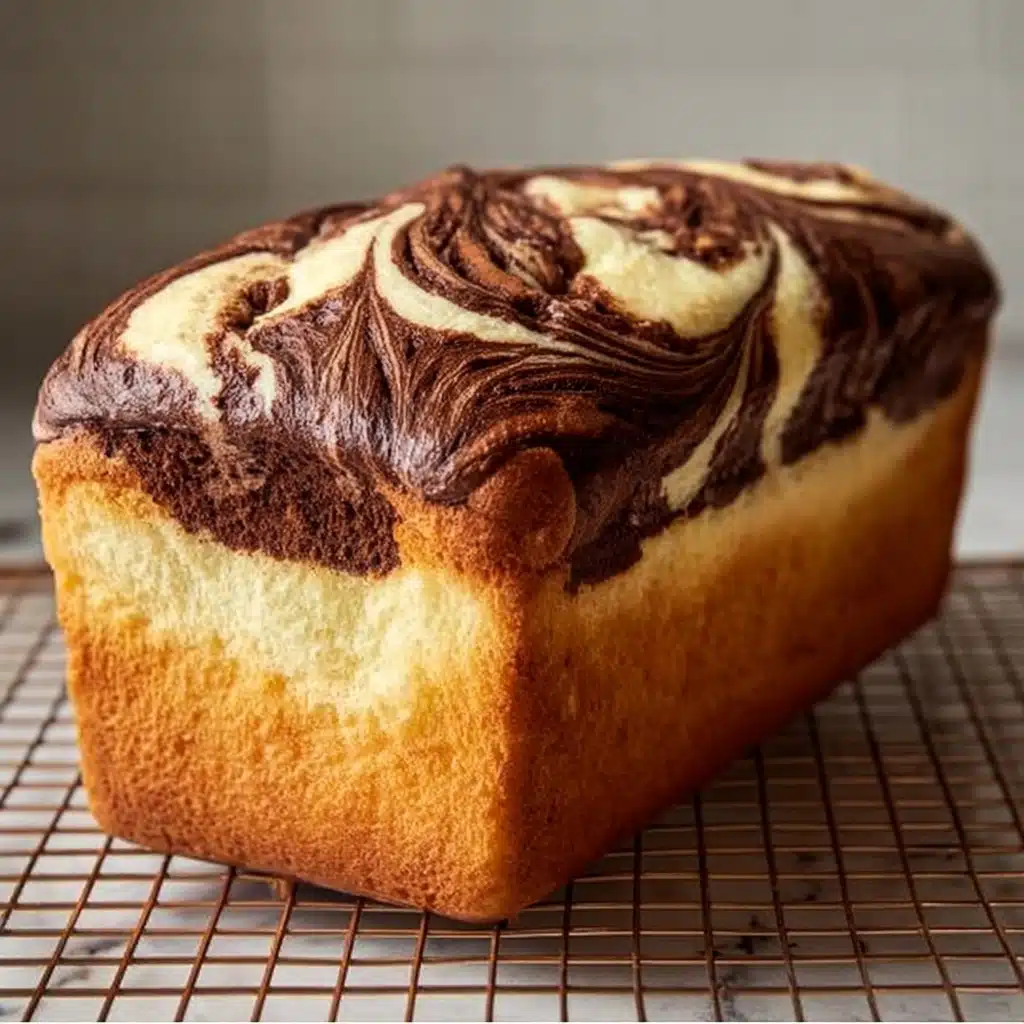
Prepare yourself for a kitchen adventure that promises to fill your home with the irresistible scent of freshly baked bread and melting chocolate! This Chocolate Swirl Milk Bread recipe is the one you’ll reach for when you want a loaf that’s tender, pillowy, and ribboned with a dazzling marbled chocolate swirl. It’s a joyful recipe, perfect for brunch, a special breakfast, or just a cozy afternoon snack. With a perfect balance of rich cocoa, warming milk, and buttery softness, this loaf is as comforting as it is show-stopping, and it’s surprisingly fun to make at home!
Ingredients You’ll Need
The magic of this Chocolate Swirl Milk Bread recipe lies in simple pantry ingredients coming together to create something truly special. Each one has a purpose: softness, flavor, structure, and of course, that signature chocolate swirl. Use the best you have, and notice how each component lends beautiful qualities to the finished loaf.
- All-purpose flour: This is the foundation of your bread, giving it a soft crumb while remaining sturdy enough for beautiful slices.
- Granulated sugar: Adds just the right touch of sweetness to both dough and chocolate swirl, enhancing the overall flavor.
- Instant yeast: For a reliable rise and delicate texture, ensuring your bread is fluffy rather than dense.
- Salt: Never skip the salt; it balances the sweetness and deepens all the flavors.
- Warm milk: Brings tenderness and a hint of richness, making this a true milk bread.
- Unsalted butter: Melted for blending into the dough, it delivers unbeatable flavor and a velvety crumb.
- Large egg: Adds richness, color, and helps bind everything together.
- Chocolate chips: These melt down into the luscious swirl; use good quality for the best chocolatey experience.
- Cocoa powder: Intensifies the chocolate swirl, giving both taste and dramatic color.
- More milk (for the swirl): Keeps the chocolate filling creamy so it spreads smoothly.
- Additional sugar (for the swirl): Rounds out the chocolate’s richness with a light, sweet touch.
How to Make Chocolate Swirl Milk Bread recipe
Step 1: Mix the Dough
Start by combining your flour, sugar, instant yeast, and salt in a large bowl. Give these dry ingredients a quick whisk to distribute everything evenly so the yeast can work its magic throughout the dough. Pour in the warm milk, melted butter, and crack in your egg. Mix everything until you have a soft, sticky dough that’s just begging to be kneaded.
Step 2: Knead Until Smooth
Turn the dough onto a lightly floured surface and knead it for several minutes—around 8 to 10. This step is where you develop the bread’s dreamy, elastic texture. The dough should go from shaggy and rough to smooth and oh-so-silky. Place it into a greased bowl, cover with a damp cloth, and let it rise in a warm spot until it doubles in size. This usually takes about an hour, but patience here pays off in every pillowy bite later.
Step 3: Prepare the Chocolate Swirl
While your dough is rising, grab a small saucepan and combine your chocolate chips, cocoa powder, additional milk, and sugar. Melt it over low heat, stirring constantly until the mixture is seamlessly smooth and glossy. This fragrant swirl will transform your milk bread from humble to utterly decadent. Set it aside to cool slightly—it should be spreadable but not hot.
Step 4: Shape and Swirl
Once the dough has doubled, punch it down gently to release some air. Roll it out on a floured surface into a large rectangle—think around 9 x 12 inches. Spread your cooled chocolate mixture evenly over the dough, reaching close to the edges for maximum swirl in every slice.
Step 5: Roll, Slice, and Twist
Starting from the long side, roll the dough into a tight log—almost like making cinnamon rolls. With a sharp knife, slice the log lengthwise to reveal two gorgeous chocolate-streaked strands. Place the cut sides facing up and twist them together, making sure the chocolate layers peek through. Carefully transfer this twist into a greased loaf pan.
Step 6: Rise Again and Bake
Cover your loaf pan with a slightly damp cloth and let the twisted dough rise again until puffy and nearly doubled—usually about 45 minutes. Preheat your oven to 350°F (175°C), then bake your Chocolate Swirl Milk Bread recipe for 30-35 minutes, or until deeply golden and it sounds hollow when tapped. Allow the bread to cool in the pan for a bit before gently lifting it onto a wire rack.
How to Serve Chocolate Swirl Milk Bread recipe
Garnishes
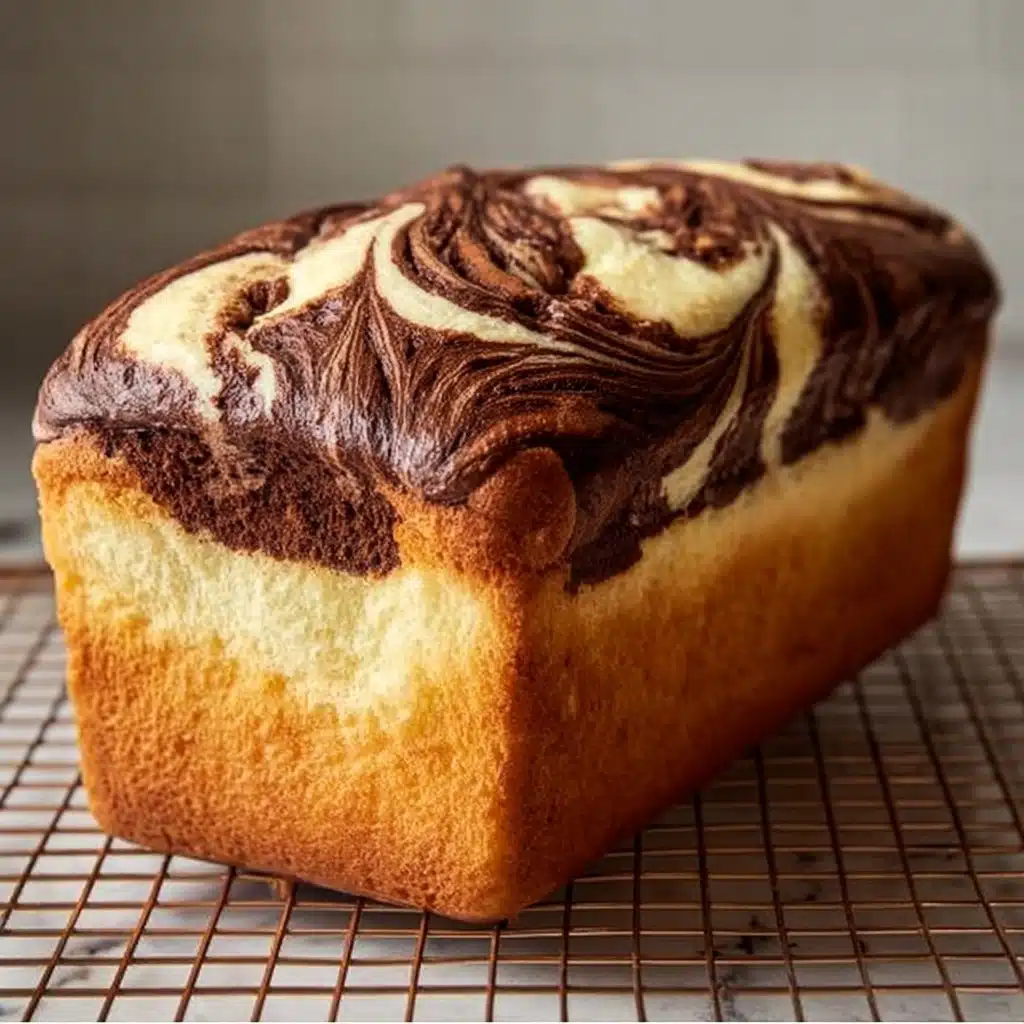
For an extra flourish, dust your cooled loaf with powdered sugar, or brush it with a little melted butter to give the crust a beautiful sheen. If you prefer, drizzle a light vanilla or chocolate glaze on top to make each slice even more tempting. Fresh berries scattered before serving look stunning too!
Side Dishes
This bread is a crowd-pleaser at brunch with fresh fruit, yogurt, and a steaming pot of coffee. It’s also right at home alongside a creamy latte or homemade hot chocolate for an afternoon treat. Pairing it with vanilla ice cream and a few toasted nuts after dinner is a simple and heavenly dessert.
Creative Ways to Present
The Chocolate Swirl Milk Bread recipe is showy enough to serve whole at the center of your table, letting everyone pull off their own slice. For a sweet buffet, cut thick pieces and toast lightly, then spread with butter or fruit preserves. For individual servings, slice and package pieces in cute wax paper for lunchbox surprises or homemade gifts.
Make Ahead and Storage
Storing Leftovers
Keep your Chocolate Swirl Milk Bread recipe fresh by storing cooled slices in an airtight container at room temperature. It’s best in the first two days, but stays soft and delicious for up to four days. If your kitchen is warm or humid, the refrigerator is also a good option, though the bread might dry a little faster.
Freezing
This loaf freezes remarkably well! Let it cool completely, then wrap the whole loaf or individual slices tightly in plastic wrap followed by foil. Freeze for up to two months. Thaw the bread at room temperature or in the fridge overnight—this means you’re never more than a quick defrost away from chocolatey bliss.
Reheating
To refresh a slice or two, warm them gently in a toaster oven, wrapped in foil for a soft texture or directly for a crisp edge. For larger portions, reheat the loaf in a low oven (300°F / 150°C) for ten minutes. Heating brings back the bread’s soft crumb and the swirl’s melty richness—don’t skip this step for next-day enjoyment!
FAQs
Can I use active dry yeast instead of instant yeast?
Yes, you can substitute active dry yeast for instant! Just bloom it in the warm milk with a pinch of sugar for five to ten minutes before adding to the mix. The rise times may be slightly longer, so watch your dough for clues rather than the clock.
Why does my bread sometimes come out dense?
Dense bread usually means the dough didn’t rise long enough or was under-kneaded. Make sure your dough doubles in size during both rises, and knead until it’s truly smooth and elastic for the airiest results. Also, measure your flour carefully!
Can I add nuts or other mix-ins to the Chocolate Swirl Milk Bread recipe?
Absolutely! Chopped toasted walnuts, pecans, or even dried fruit are fantastic additions. Sprinkle them over the chocolate layer before rolling your dough, but try not to overfill or your twist might come apart.
Is it possible to make this recipe dairy-free?
You can swap in your favorite plant-based milk and vegan butter. For the swirl, use dairy-free chocolate chips. The loaf remains tender and flavorful with these easy changes, so everyone can indulge!
How do I ensure a pretty swirl pattern?
Roll your dough as tightly as possible and slice cleanly down the length with a sharp knife for defined layers. Twist gently but firmly, always with the cut sides facing up, and you’ll reveal those gorgeous marbled ribbons in every slice.
Final Thoughts
This Chocolate Swirl Milk Bread recipe is a true kitchen gem—beautiful to serve, uplifting to share, and rewarding to bake. Whether you’re whipping it up for a special gathering or a family treat, I hope you’ll find the process as joyful as the first bite. Give it a try and let the irresistible aroma draw everyone to your kitchen!

