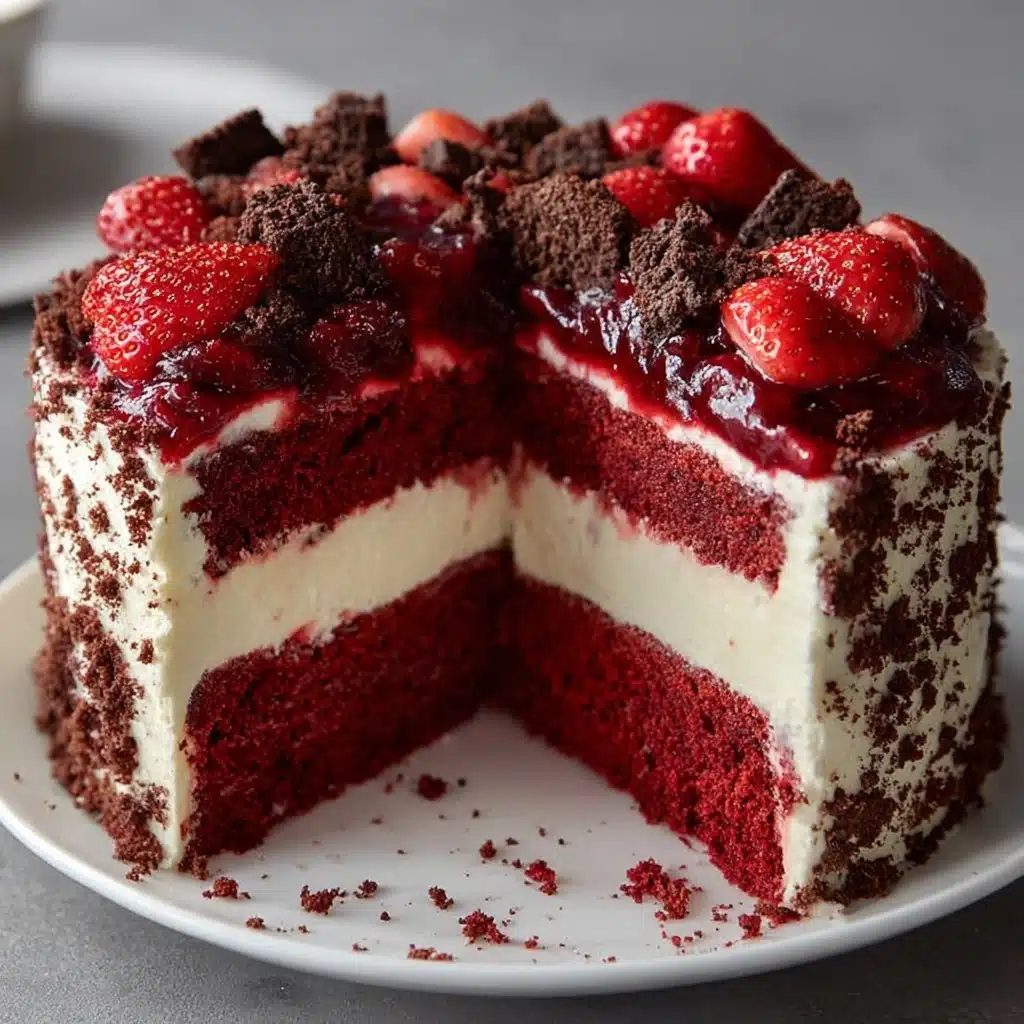
Red Velvet Cheesecake Recipe
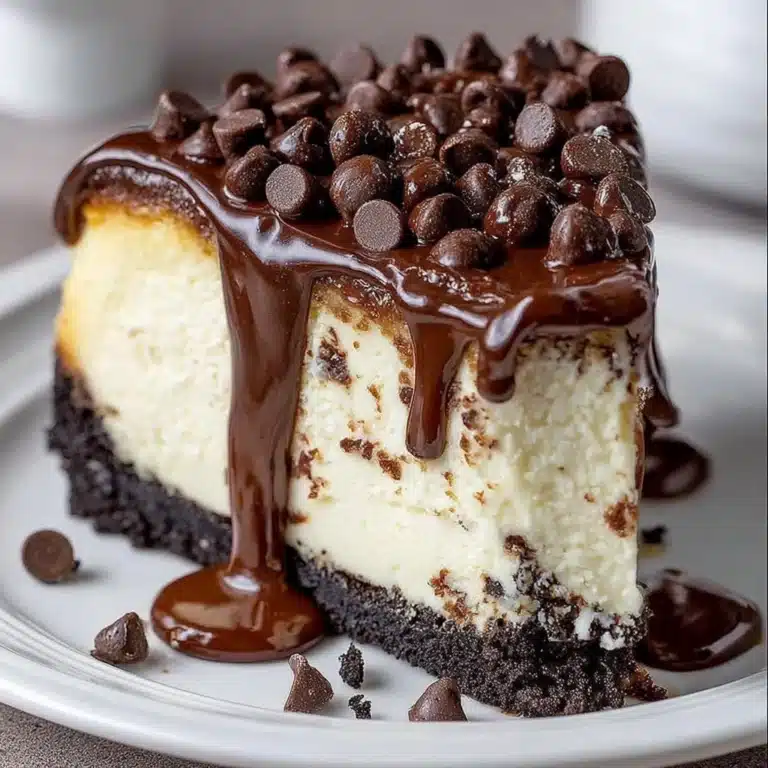
If you want to treat yourself and your loved ones to a showstopping dessert, the Red Velvet Cheesecake is your ticket to pure joy. Imagine the classic tang and silky richness of cheesecake entwined with the vibrant, cocoa-kissed charm of red velvet cake—all on top of a luscious chocolate cookie crust. It’s impressive enough for holidays, birthdays, or just because you want an irresistibly decadent slice with your coffee. Trust me, if you’re a cheesecake or red velvet fan (or both!), this unique mashup deserves a permanent spot in your dessert lineup.

Ingredients You’ll Need
Despite its bakery-worthy appearance, every ingredient in this Red Velvet Cheesecake is delightfully familiar. Each element—whether it’s providing that signature color, creamy texture, or bold chocolatey bite—has a purpose, and together, they create true dessert magic.
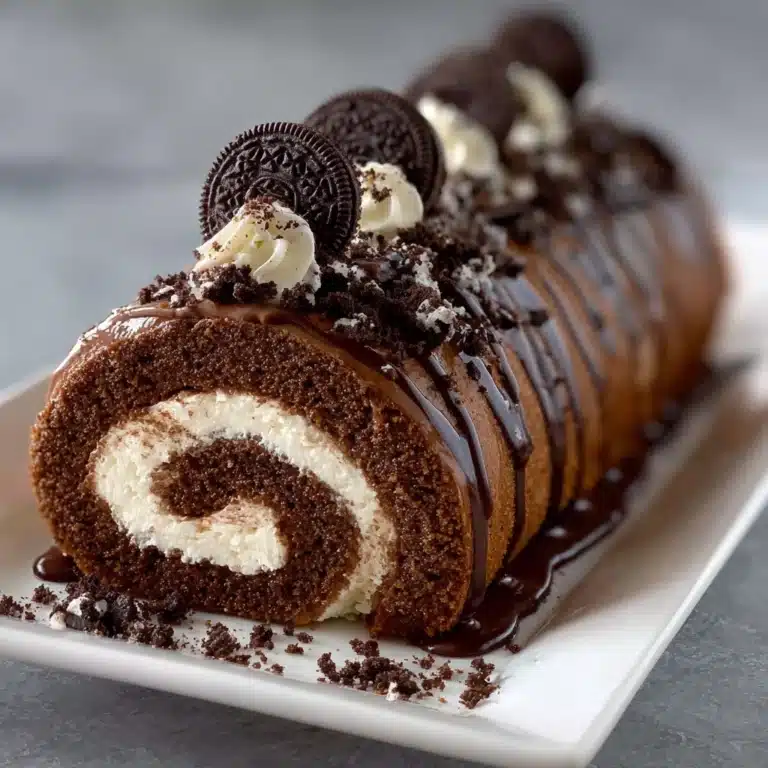
- Chocolate cookie crumbs: The base of your crust brings deep, bittersweet notes and a satisfying crunch—use classic chocolate wafers or Oreos (without the filling).
- Granulated sugar: Sweetens both the crust and the filling, balancing tangy cream cheese and the slight bitterness from cocoa.
- Unsalted butter: Melted butter binds the crumbs for a cohesive, sliceable crust.
- Cream cheese: The undeniable hero—use full-fat and make sure it’s softened for the creamiest, fluffiest filling.
- Sour cream: Adds just the right amount of tang and lightness without overpowering the richness.
- Eggs: Essential for creating that velvety, custard-like texture.
- Cocoa powder: Gives the cake its subtle chocolate signature, deepening both flavor and color.
- Red food coloring: For that iconic red velvet look—a little goes a long way, so choose gel if you want extra vibrancy.
- Vanilla extract: Ties all the flavors together and gives warmth to both filling and swirl.
- Heavy cream: Makes the cheesecake extra smooth and creamy—don’t skip this indulgent touch.
- Egg yolk: Used in the swirl mixture, it creates a slightly richer and silkier swirl layer on top.
How to Make Red Velvet Cheesecake
Step 1: Prepare the Pan
Start by preheating your oven to 325°F (163°C). Line the bottom of a 9-inch (23 cm) springform pan with parchment paper for easy removal, and lightly grease the sides so the Red Velvet Cheesecake releases effortlessly after baking.
Step 2: Make the Chocolate Crust
In a bowl, thoroughly mix the chocolate cookie crumbs, granulated sugar, and melted butter until the mixture is evenly moistened. Press it firmly into the base of the prepared pan. Use the back of a spoon or a flat-bottomed glass to really pack it down—this helps the crust hold together. Pop the whole pan into the fridge while you move on to the filling, so the crust sets up nicely.
Step 3: Blend the Cheesecake Filling
In a large mixing bowl, beat the softened cream cheese and sugar together until completely smooth and fluffy—no lumps allowed! Then blend in the sour cream, followed by the eggs one at a time, making sure each is just combined before adding the next. Add the cocoa powder, red food coloring, vanilla extract, and heavy cream, mixing gently until everything is silky and evenly colored. The batter should look velvety and vibrant, ready to steal the show.
Step 4: Make the Cream Cheese Swirl
In a separate small bowl, use an electric mixer or a sturdy spoon to whip the swirl ingredients: cream cheese, sugar, egg yolk, and vanilla extract. Beat until smooth and creamy—this will give your Red Velvet Cheesecake its signature marbled top.
Step 5: Assemble and Swirl
Pour the luscious red velvet cheesecake batter into your chilled crust and smooth the top. Dollop spoonfuls of the cream cheese swirl mixture over the surface. Use a butter knife or skewer to gently swirl the mixtures together, creating beautiful marbled patterns. Don’t overdo it—the goal is visible swirls for that wow factor!
Step 6: Bake to Perfection
Bake the cheesecake for 55–65 minutes. Watch for the edges to look set while the center still jiggles gently—this means it’ll finish cooking as it cools for maximum creaminess. Once done, turn off the oven, crack the door open, and let the cheesecake cool inside for an hour. This step reduces the chances of cracks and allows the Red Velvet Cheesecake to set up perfectly.
Step 7: Chill and Serve
Transfer the cooled cheesecake to the fridge and chill for at least 4 hours, but overnight is even better for both flavor and texture. Once you’re ready to serve, carefully release the springform sides, transfer to a platter, and get ready for compliments galore!
How to Serve Red Velvet Cheesecake
Garnishes
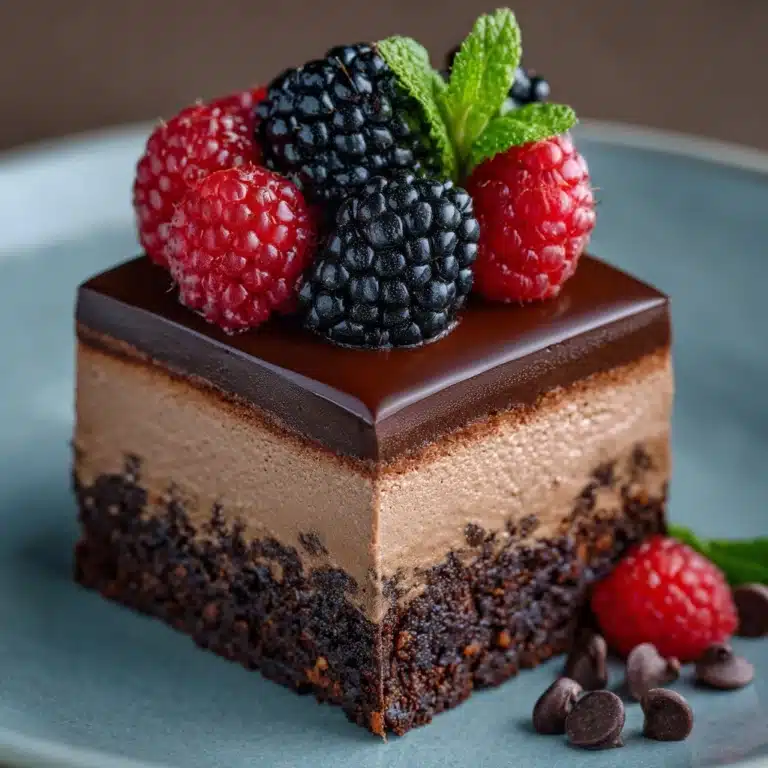
A Red Velvet Cheesecake looks spectacular on its own, but a few simple garnishes elevate it to celebration-level. Try a dusting of cocoa powder, a sprinkle of chocolate shavings, or even a few fresh berries for a pop of color and tartness. If you’re feeling extra decadent, a dollop of freshly whipped cream or a drizzle of chocolate sauce is always welcome.
Side Dishes
While this dessert easily steals the spotlight, pairing Red Velvet Cheesecake with lighter sides helps balance the richness. Consider a fresh fruit salad, tart raspberry coulis, or even a scoop of vanilla bean ice cream. Each adds a refreshing contrast to the dense, creamy cake.
Creative Ways to Present
Slice the cheesecake into even wedges and serve on your prettiest plates, or go mini by baking the batter in individual ramekins for single servings. For a party, try cutting bite-sized squares and arranging them on a platter, each topped with a swirl of cream or a berry for festive finger food.
Make Ahead and Storage
Storing Leftovers
Refrigerate any leftover Red Velvet Cheesecake, well covered, for up to five days. Simply keep it in the pan and wrap with plastic wrap or transfer slices to an airtight container. The flavor and texture improve as it sits, making those next-day slices even more irresistible.
Freezing
For longer storage, Red Velvet Cheesecake freezes beautifully. Once completely cooled and set, wrap the whole cake or individual slices tightly in plastic wrap and a layer of foil. Label and freeze for up to two months. Thaw in the fridge overnight before serving for best results.
Reheating
You usually don’t need to reheat cheesecake, but if you prefer your Red Velvet Cheesecake slightly warm, simply bring a slice to room temperature for 20–30 minutes. Avoid microwaving—it can alter the texture, so patience is your friend here!
FAQs
What kind of chocolate cookies work best for the crust?
Classic chocolate wafer cookies provide a crisp, deeply flavored base, but you can also use Oreo cookies (just remove the filling first). Both lend an intense, chocolaty backdrop that pairs perfectly with the velvety filling.
Can I make Red Velvet Cheesecake without food coloring?
Absolutely! The food coloring gives red velvet its signature look, but the taste comes from cocoa and vanilla. If you’d like a more natural hue, leave out the coloring—your cheesecake will still taste amazing with a rich, cocoa-kissed color.
How do I prevent cracks in my cheesecake?
Allowing the Red Velvet Cheesecake to cool gradually in the oven with the door cracked helps prevent sudden temperature changes, which cause cracks. Using softened ingredients and baking at a low temperature also keep the texture ultra-smooth and crack-free.
Is it safe to eat cheesecake if the center is a little jiggly when I take it out?
Yes, the center should jiggle slightly when the cheesecake is done baking—this means it’s just set. As the cheesecake cools and chills, it will firm up to that creamy, dreamy texture you’re after.
Can I customize the swirl topping?
Of course! While the traditional swirl uses sweetened cream cheese, you could add a touch of citrus zest, swirl in a bit of raspberry puree, or even use a dollop of Nutella for a unique twist on this Red Velvet Cheesecake favorite.
Final Thoughts
I can’t wait for you to try this Red Velvet Cheesecake—there’s something magical about every bite! Whether you serve it at a family celebration or just on a cozy afternoon, I promise it’s one of those desserts people will ask you for again and again. Go ahead, bake it and enjoy the smiles that follow!