Reese’s Peanut Butter No-Bake Bars Recipe
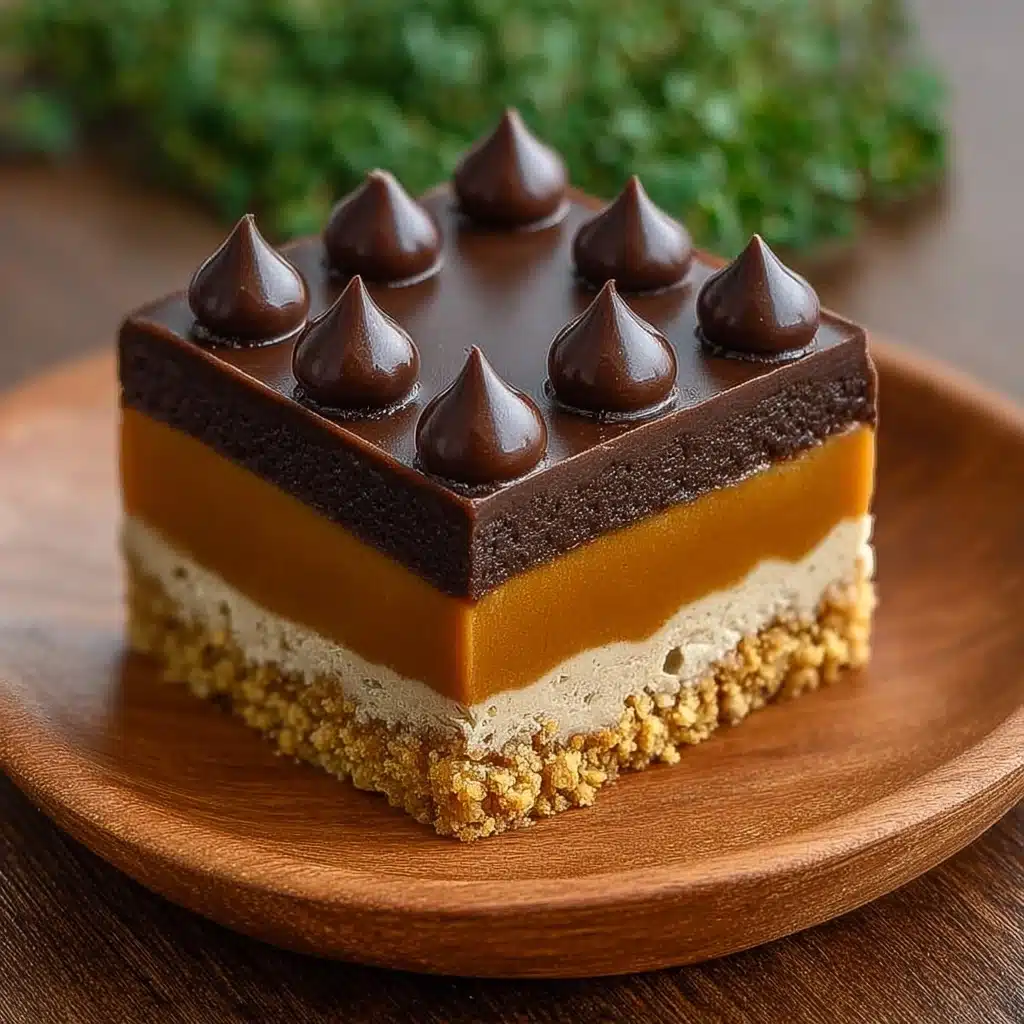
If you’re looking for the simplest path to dessert bliss, let me introduce you to Reese’s Peanut Butter No-Bake Bars. This dreamy treat is everything you love about creamy peanut butter and silky chocolate, stacked into luscious layered squares you can whip up in minutes—no oven required! One bite and you’ll understand why these bars have become a staple for parties, potlucks, and quiet nights at home. Sweet, salty, and utterly nostalgic, this is the recipe you’ll find yourself reaching for again and again.
Ingredients You’ll Need
There’s a magic in the simplicity of these ingredients. Every component has a role, balancing flavor or adding texture, so don’t skip a single one! Here’s what you’ll need to make Reese’s Peanut Butter No-Bake Bars at home:
- Unsalted butter (1 cup, melted): Creates a rich, buttery base that melts into the graham crumbs, helping everything hold together.
- Graham cracker crumbs (2 cups): Adds that crave-worthy, crunchy texture and classic flavor under the peanut butter layer.
- Powdered sugar (2 cups): Dissolves easily for a perfectly sweet, smooth finish—no grainy bites here.
- Creamy peanut butter (1 cup for base and 1/4 cup for topping): Go for classic creamy for the best nostalgic flavor and texture.
- Semi-sweet chocolate chips (1 ½ cups): These melt down silkily for a glossy, chocolatey top that balances the sweetness below.
How to Make Reese’s Peanut Butter No-Bake Bars
Step 1: Prepare the Peanut Butter Base
Start by mixing your melted butter, graham cracker crumbs, powdered sugar, and 1 cup of creamy peanut butter in a large bowl. Use a sturdy spatula or wooden spoon; the mixture will come together quickly and should be smooth, thick, and uniform. This is the decadent foundation for your bars, so take an extra moment to ensure everything’s well blended and there aren’t any dry patches hiding in the corners of your bowl.
Step 2: Press Into the Pan
Line your 9×13-inch baking dish with parchment paper, leaving some overhang for easy lifting later. Scoop the peanut butter mixture into the pan and press it evenly into every corner. I like to use the back of a spoon or a flat-bottomed measuring cup for this—getting a nice, even layer helps each bar look picture-perfect when sliced.
Step 3: Make the Chocolate Topping
Combine the semi-sweet chocolate chips and the remaining 1/4 cup of peanut butter in a microwave-safe bowl. Microwave in 20-second intervals, stirring after each session, until the chocolate is just melted and the mixture is glossy and smooth. Stir gently to blend—this step gives your topping both a luscious shine and a subtle salty-sweet peanut butter echo.
Step 4: Top the Bars
Pour the melted chocolate mixture over the peanut butter base and use an offset spatula or the back of a spoon to smooth it out evenly. Work carefully to cover every inch—this is where that signature glossy chocolate finish comes in. If you’re feeling adventurous, now’s the time to sprinkle a pinch of flaky sea salt over the top for a gourmet twist that makes the chocolate pop.
Step 5: Chill and Slice Reese’s Peanut Butter No-Bake Bars
Pop the pan into the refrigerator for 1 to 2 hours, or until the bars are firm and set. Once chilled, use the parchment overhang to lift the bars out of the pan onto a cutting board. For the neatest slices, run a sharp knife under warm water, dry it, then cut into 20 generous bars—each one is a little square of no-bake heaven!
How to Serve Reese’s Peanut Butter No-Bake Bars
Garnishes
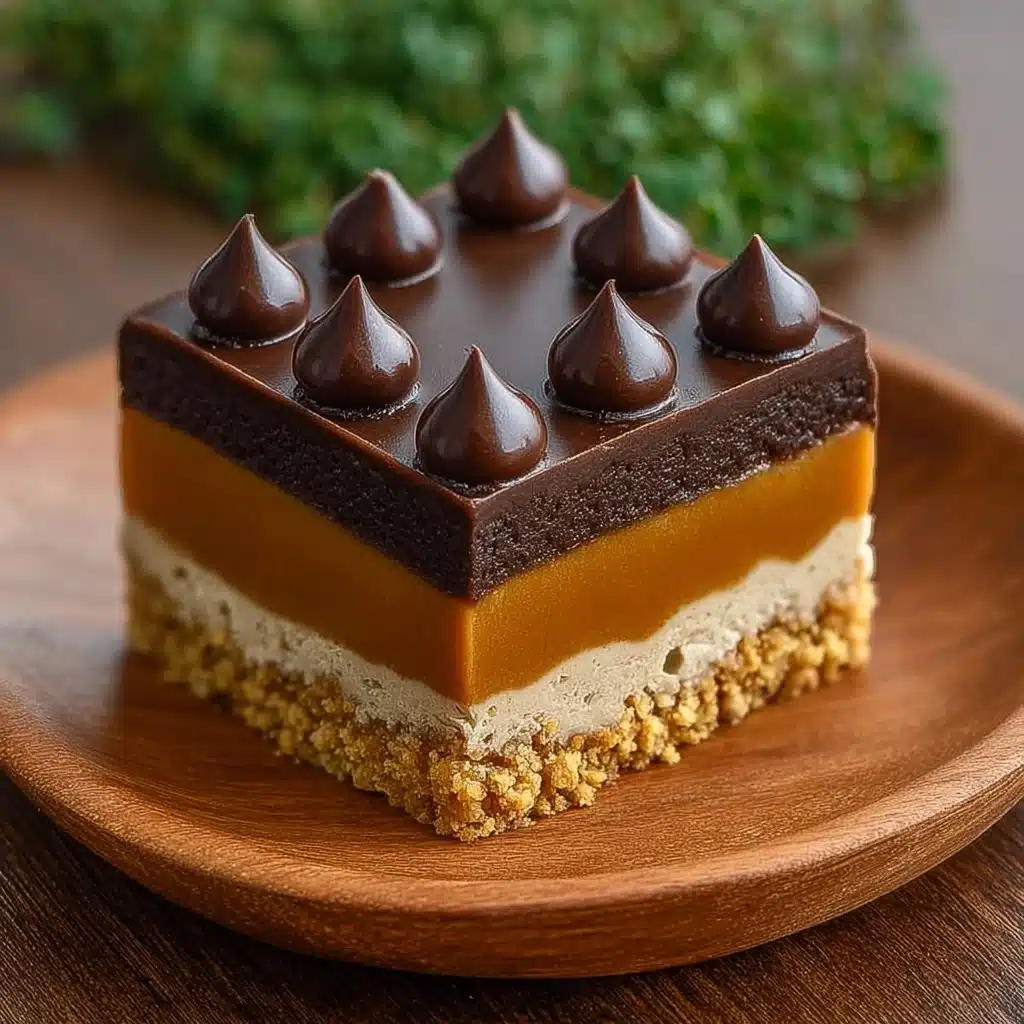
Dress up your Reese’s Peanut Butter No-Bake Bars with a sprinkle of flaky sea salt, a drizzle of melted white chocolate, or even a scatter of chopped roasted peanuts. Not only do these garnishes make your dessert look irresistible, but they also add an extra flavor pop and a bit of crunch for variety.
Side Dishes
Pair these bars with a scoop of vanilla ice cream, a handful of fresh berries, or a tall glass of cold milk for the ultimate sweet snack combo. Their rich peanut butter and chocolate flavor balances beautifully with simple, light sides that don’t steal the spotlight but enhance the treat’s decadent feel.
Creative Ways to Present
If you’re making Reese’s Peanut Butter No-Bake Bars for a party, try cutting them into smaller bite-sized squares and serving them in mini cupcake liners. For holidays, add themed sprinkles to the chocolate before chilling. Or build a dessert platter featuring these bars alongside other no-bake or easy treats—your guests won’t stop talking about it!
Make Ahead and Storage
Storing Leftovers
Reese’s Peanut Butter No-Bake Bars store beautifully in an airtight container in the fridge for up to a week. Keep the bars chilled until just before serving for the best texture—this ensures the chocolate stays glossy and the layers hold their perfect shape.
Freezing
These bars freeze like a dream! Arrange them in a single layer with parchment paper in between if you need to stack. Seal in a freezer-safe container or bag and freeze for up to 2 months. When you’re ready to indulge, just thaw in the fridge overnight or at room temperature for about 30 minutes.
Reheating
With no baking required, you’ll rarely need to “reheat” Reese’s Peanut Butter No-Bake Bars. If you prefer a softer texture or want the chocolate to be gooey, try letting the bars sit at room temperature for 10–15 minutes before serving. Microwaving is not recommended as the chocolate may seize or melt unevenly.
FAQs
Can I use crunchy peanut butter instead of creamy?
Absolutely! Crunchy peanut butter adds a little extra texture and a nutty crunch to the bars, making them even more irresistible. Just be mindful that it can make the base slightly less smooth, but if you love peanuts, you’ll adore the result.
What’s the best way to cut clean slices?
For the sharpest, neatest bars, use a large sharp knife, run it under hot water, and wipe it dry between each cut. This keeps the chocolate from cracking and the peanut butter layer smooth and tidy.
Can I make these gluten-free?
Yes, simply substitute gluten-free graham cracker crumbs! The rest of the ingredients are naturally gluten-free, so you can serve these up to anyone avoiding gluten without missing a beat.
How can I prevent the chocolate layer from separating?
Make sure the peanut butter base is packed firmly and the melted chocolate-peanut butter topping is spread while still warm. Chill the bars promptly so the layers set together, keeping everything beautifully stacked.
Can I double or halve this recipe?
You certainly can! For a smaller batch, halve the ingredients and use an 8×8-inch pan. For parties or big gatherings, double the recipe and use two pans to keep the layers just right and easy to cut.
Final Thoughts
Snag the few simple ingredients, and treat yourself to a pan of Reese’s Peanut Butter No-Bake Bars. These family-favorite treats pack so much chocolate-peanut butter delight into every bite, and I can almost guarantee they’ll disappear faster than you think. Trust me—your sweet tooth will thank you!

