Red Velvet Buttermilk Cake Recipe
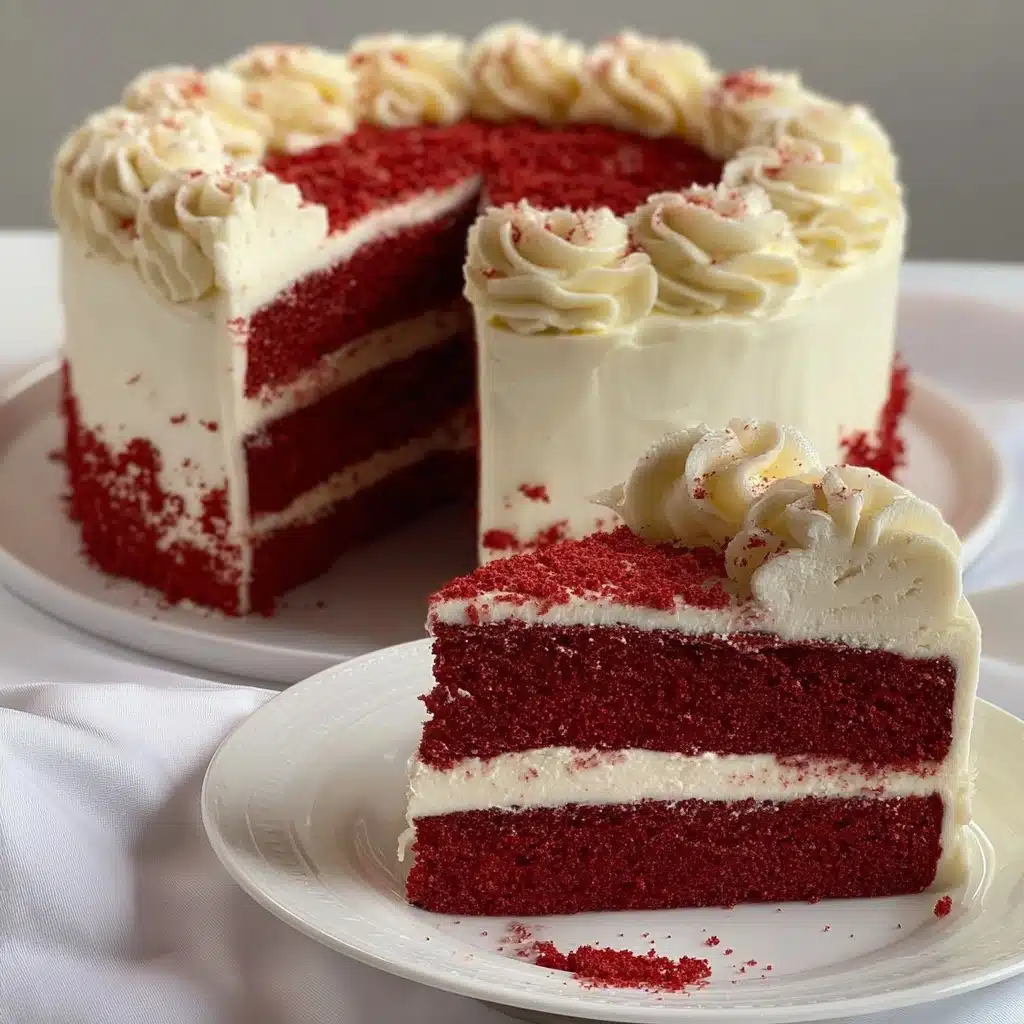
There’s just something delightfully nostalgic and utterly luxurious about a slice of Red Velvet Buttermilk Cake. With its velvety crumb, dramatic hue, and irresistible tang from buttermilk and cream cheese frosting, this showstopper is as beautiful as it is delicious. Whether you’re celebrating a special occasion or simply brightening up an ordinary day, Red Velvet Buttermilk Cake delivers a tender bite with a delicate cocoa note and a tangy cream cheese frosting that’s simply unforgettable.
Ingredients You’ll Need
The magic of Red Velvet Buttermilk Cake is all about balance—richness, moistness, and that signature hint of chocolate all come together with just a handful of pantry staples. Pay close attention to the choice of each ingredient, as every one truly makes its mark on the final flavor, texture, and color.
- All-purpose flour: Gives the cake its tender yet sturdy crumb—stick to this for the perfect structure.
- Granulated sugar: Sweetness in every bite, and helps keep the cake moist without making it heavy.
- Baking soda: Gives the cake its rise; paired with vinegar, it ensures pillowy layers.
- Salt: Enhances flavors and balances the sweetness beautifully.
- Cocoa powder: Just a hint adds depth but doesn’t overtake the classic red color or flavor.
- Vegetable oil: Yields an exceptionally moist crumb and ensures a light texture.
- Buttermilk (room temperature): The star for tang and tenderness—don’t skip this!
- Large eggs (room temperature): Binds everything together, contributing richness and structure.
- Red food coloring: For that iconic vibrance—liquid or gel, your choice!
- White vinegar: A small but mighty ingredient that reacts with baking soda for extra lightness and subtle tang.
- Vanilla extract: Lends warmth and enhances the unique flavor.
- Cream cheese (softened): Essential for dreamy, tangy frosting that pairs perfectly with Red Velvet Buttermilk Cake.
- Unsalted butter (softened): Helps whip the cream cheese frosting into rich, airy clouds.
- Powdered sugar (sifted): Delivers sweetness and silky smoothness for your frosting.
- Heavy cream: A splash or two loosens the frosting to just the right spreadable consistency.
How to Make Red Velvet Buttermilk Cake
Step 1: Prepare and Bake the Cake Layers
Start by preheating your oven to 350°F (175°C) and prepping three 8-inch round cake pans with grease and a light dusting of flour. This ensures those gorgeous layers release without sticking. In one bowl, combine your dry ingredients—flour, sugar, baking soda, salt, and cocoa—so they’re evenly distributed. In a separate large bowl, whisk together the oil, buttermilk, eggs, food coloring, vinegar, and vanilla. Slowly add the dry ingredients into the wet, mixing gently until you see no more streaks. The key here is not to overwork; just a few turns of the spatula ensure a moist, tender cake. Pour the vibrant batter evenly into your pans and bake for 25–30 minutes. When a toothpick comes out clean, the layers are done! Cool for 10 minutes before turning out onto wire racks to finish cooling completely.
Step 2: Make the Cream Cheese Frosting
While the cake cools, get that luscious cream cheese frosting ready! Beat the softened cream cheese and butter together until you have a fluffy, light mixture. Slowly add the powdered sugar, beating after each addition so your frosting stays smooth, not gritty. Pour in the vanilla and adjust the consistency with a tablespoon or two of heavy cream until it’s perfectly spreadable—thick enough to hold swirls, but smooth enough to swipe easily over the cake layers.
Step 3: Assemble the Red Velvet Buttermilk Cake
Now comes the fun part: assembly! Place your first cake layer on a serving plate and cover it with a thick swoop of cream cheese frosting. Repeat with the remaining layers, frosting generously between each one. Smooth the frosting around the outside of the cake, creating elegant swirls or decorative piping as you please. For a classic touch, take any cake scraps from trimming and crumble them to sprinkle artfully on top and around the cake’s edge. This not only looks stunning but highlights the deep red color that makes Red Velvet Buttermilk Cake so iconic.
How to Serve Red Velvet Buttermilk Cake
Garnishes
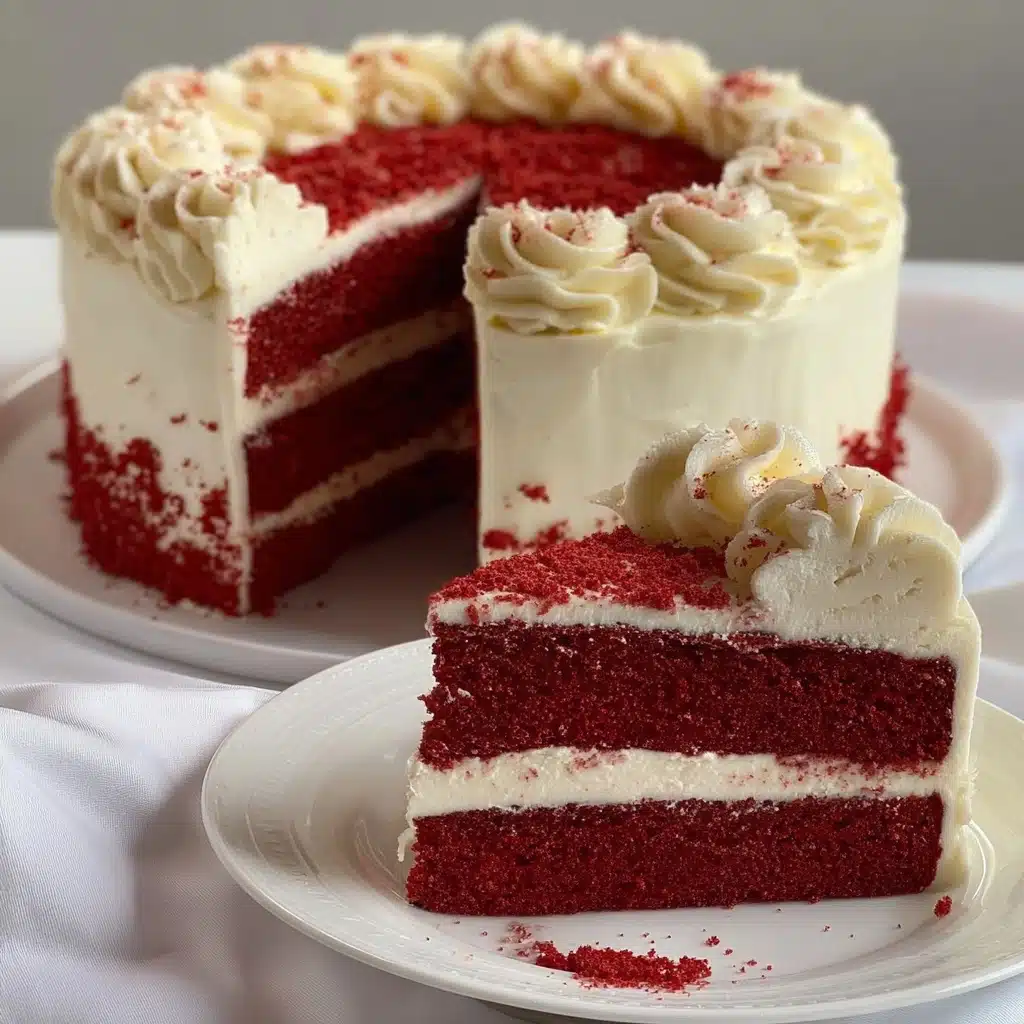
A timeless and simple garnish for Red Velvet Buttermilk Cake is a generous scatter of those vivid cake crumbs—just enough for a pop of color and a hint of textural contrast. You can also add fresh berries, a scattering of edible flowers, or delicate white chocolate curls for special occasions. Little touches go a long way in making each slice feel special and celebratory.
Side Dishes
When serving Red Velvet Buttermilk Cake, think about complementing flavors. A scoop of vanilla bean ice cream or a tart raspberry coulis pairs wonderfully, tempering the sweet richness of the cake and frosting. For drinks, try serving with a hot cup of coffee, black tea, or even a sparkling rosé to cut through the sweetness and keep things feeling festive.
Creative Ways to Present
To really make your Red Velvet Buttermilk Cake the star of the table, consider mini individual cakes for parties, or transform leftovers into adorable cake jars layered with frosting. For a dramatic presentation, slice into tall wedges and serve on bright white plates, letting that bold color do all the talking. You can even use a heart-shaped pan for Valentine’s Day or special anniversaries.
Make Ahead and Storage
Storing Leftovers
Once assembled, Red Velvet Buttermilk Cake can be stored covered in the refrigerator for up to five days. To keep those layers from drying out, simply press a piece of wax paper against the cut sides and make sure the cake is wrapped or in a cake keeper. Chilling also helps the frosting stay firm and delicious.
Freezing
If you need to make the cake ahead or save slices for later, Red Velvet Buttermilk Cake freezes beautifully. For best results, wrap individual cake layers (either frosted or unfrosted) tightly in plastic wrap and then in foil. Stored this way, it will retain its flavor and texture for up to three months. Thaw overnight in the refrigerator before serving.
Reheating
While Red Velvet Buttermilk Cake is best served at room temperature, you can gently remove the chill by letting individual slices sit out for about 30 minutes before serving. If you like your cake slightly warm, zap a slice in the microwave for just 5 to 10 seconds—this softens the frosting beautifully, making every bite taste freshly made.
FAQs
Can I use natural cocoa powder instead of Dutch-processed?
Absolutely! Since the recipe calls for baking soda, natural cocoa powder will work well and help maintain the cake’s acidity and color. Just keep in mind that natural cocoa gives a slightly more pronounced chocolate flavor and a lighter red shade.
What if I don’t have buttermilk?
No worries—homemade buttermilk is easy! For every cup needed, add one tablespoon of white vinegar or lemon juice to a measuring cup, then fill to the one-cup mark with milk. Stir and let sit for five minutes. Your quick buttermilk substitute is ready to use.
Why is vinegar used in Red Velvet Buttermilk Cake?
Vinegar reacts with baking soda and cocoa powder to help the cake rise and develop its unique texture and subtle tang. It also enhances the classic red color, making each layer truly eye-catching.
How do I prevent my layers from sticking to the pans?
Be generous with both greasing and flouring each pan, and consider lining the bottoms with parchment circles for extra insurance. Allow the cakes to cool for a few minutes in their pans before turning out onto wire racks to finish cooling.
Can I make Red Velvet Buttermilk Cake as cupcakes?
You sure can! Simply fill cupcake liners about two-thirds full and bake for 18–20 minutes, checking with a toothpick for doneness. They’ll be just as moist, vibrant, and irresistible, plus perfect for portable treats!
Final Thoughts
Once you taste this Red Velvet Buttermilk Cake, it’s bound to earn a permanent place in your dessert lineup. Each slice is a little celebration, whether you’re serving a crowd or sneaking an indulgent bite all to yourself. Don’t wait for a special occasion—whip it up and let every day feel extraordinary!

