Ube Oreo Cheesecake Recipe
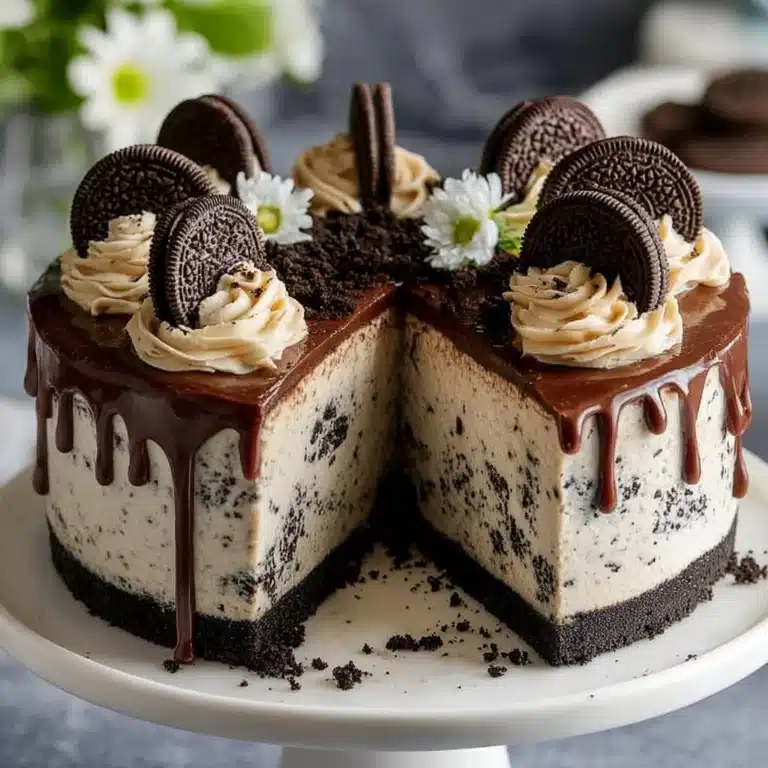
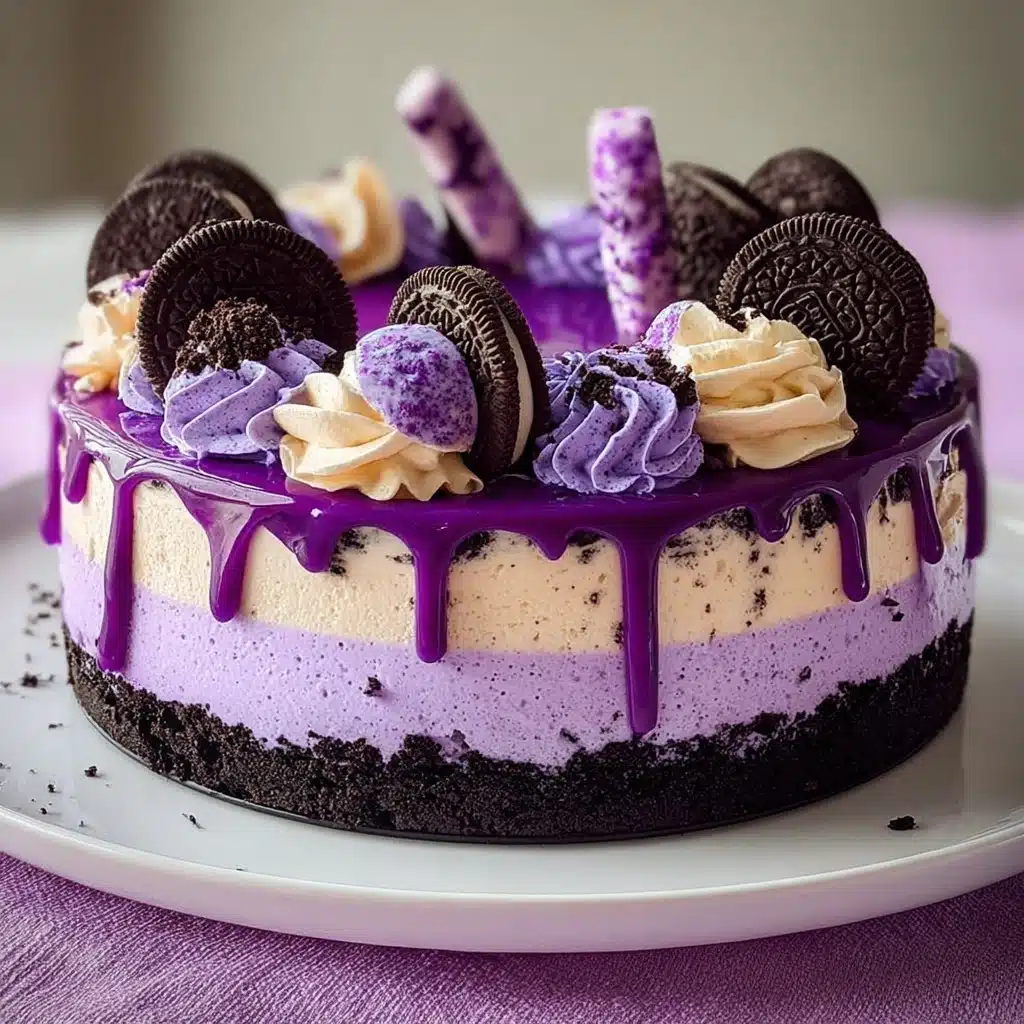
There is something utterly magical about an Ube Oreo Cheesecake that instantly wins hearts and taste buds alike. This dreamy dessert layers the wonderfully creamy texture of classic cheesecake with the vibrant, slightly nutty flavor of ube (purple yam) and the beloved crunch of Oreo cookies. If you love bold colors meeting rich, indulgent bites, this cake brings all the joy of a comfort dessert and a party centerpiece in one spectacular treat. Whether you’re a cheesecake fan or a devoted ube enthusiast, this recipe is truly a showstopper.
Ingredients You’ll Need
Gathering the ingredients for the Ube Oreo Cheesecake is delightfully simple, yet each component plays a key role in creating its unforgettable flavor, texture, and eye-catching hue. From creamy cream cheese to the deep purple of ube halaya, every element melds perfectly to bring the dessert to life.
- Oreo cookies, 200 g (about 20): Crushed for that iconic Oreo crust that adds a crunchy base with nostalgic flavor.
- Melted butter, 80 g (6 tbsp): Binds the crust crumbs together, ensuring a sturdy yet tender foundation.
- Cream cheese, 500 g (2 ¼ cups), softened: The creamy, rich heart of the cheesecake, lending its signature smoothness.
- Sugar, 200 g (1 cup): Sweetens the filling to balance the earthiness of the ube.
- Heavy cream, 200 ml (¾ cup): Adds silkiness and lightness to the batter.
- Large eggs, 3: Provide structure and a delicate rise as the cheesecake bakes.
- Vanilla extract, 2 tsp: Enhances all the flavors with its warm, fragrant notes.
- Ube halaya (purple yam jam), 1 cup: The star ingredient delivering that vibrant purple color and subtly sweet yam flavor.
- Ube extract, few drops (optional): Boosts the ube flavor and deepens the purple color for an even more stunning cake.
- White chocolate, 150 g (¾ cup), melted: Creates a luscious topping with creamy sweetness.
- Heavy cream, 100 ml (⅓ cup) for ganache: Combined with white chocolate to form a smooth, glossy finish.
- Purple food coloring or extra ube jam: To intensify the topping’s color naturally and beautifully.
- Whipped cream: For adding airy, decorative swirls on top.
- Oreo cookies and Oreo wafers: Garnishes that echo the crust and add visual flair.
How to Make Ube Oreo Cheesecake
Step 1: Make the crust
The journey to cheesecake bliss begins with the crust. Crushing the Oreos until fine crumbs form ensures you get that perfect Oreo essence in every bite. Mixing the crumbs with melted butter transforms the crumbs into a firm, buttery base. Press this mixture evenly into your springform pan and chill it while you move on to the filling, letting it set just right for a crisp and tasty foundation.
Step 2: Prepare the filling
For the filling, start by beating the cream cheese and sugar until they blend into a luxuriously smooth and fluffy cream. This is the true soul of your cheesecake. Then, gently whisk in the heavy cream, vanilla extract, and that vibrant cup of ube halaya, ensuring the flavors meld and the batter takes on a beautiful purple tint. Adding eggs one at a time with gentle mixing maintains that silky texture and avoids overbeating. Finally, pour this luscious mixture atop your Oreo crust, ready for baking.
Step 3: Bake
Preheat your oven to 160°C (320°F), then carefully place the cheesecake pan into a water bath. This technique keeps your cheesecake moist and prevents those dreaded cracks on the surface. Bake for 60 to 70 minutes until you see the edges set firmly but the center is still slightly jiggly like a soft hug. Letting it cool slowly inside the oven with the door slightly ajar lets the cake settle perfectly. Once cooled, refrigerate for at least four hours to let the flavors develop and the texture firm up beautifully.
Step 4: Make the topping
The topping adds a little extra magic. Warm cream and pour it over melted white chocolate to create a gleaming ganache that is silky and rich. Stir in purple food coloring or more ube jam to reach that stunning shade only an Ube Oreo Cheesecake can boast. Pour this glorious ganache over the chilled cheesecake, letting it drip along the edges for an irresistible, elegant finish.
Step 5: Decorate
Now comes the fun, artistic part! Pipe fluffy whipped cream swirls across the top for softness and light contrast. Garnish with whole Oreo cookies and wafers, which highlight and repeat the flavors from the crust, making every slice as pretty as it is delicious. Then chill the cake briefly again so the topping and decorations settle perfectly before serving.
How to Serve Ube Oreo Cheesecake

Garnishes
Garnishing your Ube Oreo Cheesecake is more than just aesthetics; it adds texture and flavor contrast that keeps each bite interesting. Consider a dusting of crushed Oreos, a few dollops of whipped cream, and even edible flowers or purple sprinkles for a festive look. These little touches personalize your dessert and create a feast for the eyes and palate.
Side Dishes
This cheesecake pairs wonderfully with a cup of rich, dark coffee or a fragrant jasmine tea, balancing sweetness with slight bitterness or floral notes. For a chilled accompaniment, fresh berries or a light citrus sorbet can brighten up the dessert experience and cut through the creamy richness perfectly.
Creative Ways to Present
If you’re looking to elevate presentation, slice the cake into smaller individual servings and top with mini Oreo pieces and a drizzle of white chocolate ganache. You can also serve it in elegant parfait glasses layered with crushed Oreos and ube cream for a delightful twist on this favorite dessert.
Make Ahead and Storage
Storing Leftovers
Leftover Ube Oreo Cheesecake should be stored in the refrigerator tightly covered to keep it fresh and prevent it from absorbing other odors. It’s best enjoyed within 3 to 4 days as the texture and flavor are at their peak during this time.
Freezing
To freeze, wrap the cheesecake securely in plastic wrap and then aluminum foil to prevent freezer burn. When well wrapped, it can be frozen for up to 1 month. Thaw it in the refrigerator overnight before serving to maintain that perfect creaminess and texture.
Reheating
This cheesecake is best served chilled, so reheating is not recommended. However, if you prefer it slightly less cold, let slices sit at room temperature for 15–20 minutes before digging in. This will soften the ganache and intensify the flavors beautifully.
FAQs
Can I make the Ube Oreo Cheesecake without baking?
Absolutely! For a no-bake version, simply dissolve gelatin in hot water and mix it into your filling before pouring over the crust. Chill until set. This method saves time and still delivers that luscious texture and flavor.
Where can I find ube halaya for this recipe?
Ube halaya is commonly available in Asian grocery stores or specialty markets. Alternatively, you can make your own by cooking and mashing purple yams with sugar and milk or use frozen or canned ube puree for convenience.
Can I substitute Oreos with another cookie for the crust?
Yes! While Oreos contribute a distinctive flavor and color, you can use chocolate wafer cookies, graham crackers, or even digestive biscuits as alternatives, adjusting the amount of butter accordingly for the crust.
How important is the water bath in baking this cheesecake?
The water bath keeps the cheesecake moist and helps prevent cracks on the surface, ensuring a smooth, creamy texture. Though a bit more effort, it’s well worth it for the perfect finish!
Can I skip the ube extract if I don’t have it?
Definitely. Ube extract enhances flavor and color, but the natural ube halaya already provides beautiful taste and hue. You can omit the extract or add a few drops of purple food coloring if you want a stronger color.
Final Thoughts
Sharing this Ube Oreo Cheesecake recipe feels like passing along a little joy and color wrapped up in dessert form. It’s a treat that never fails to impress, blending familiar comforts with unique Filipino flavors. I can’t wait for you to try it, make it your own, and see how this vibrant cheesecake brightens your gatherings and everyday moments alike!