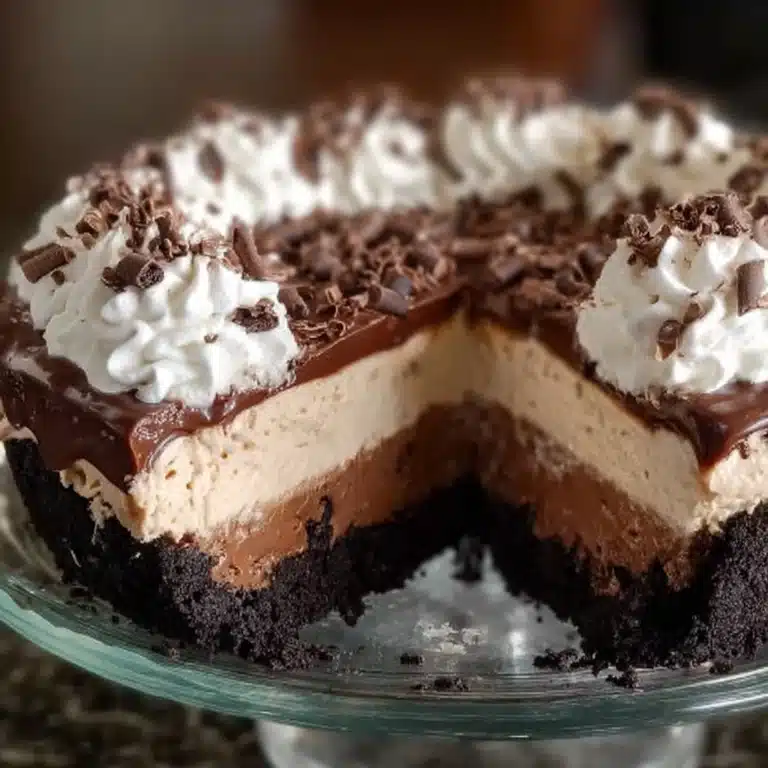
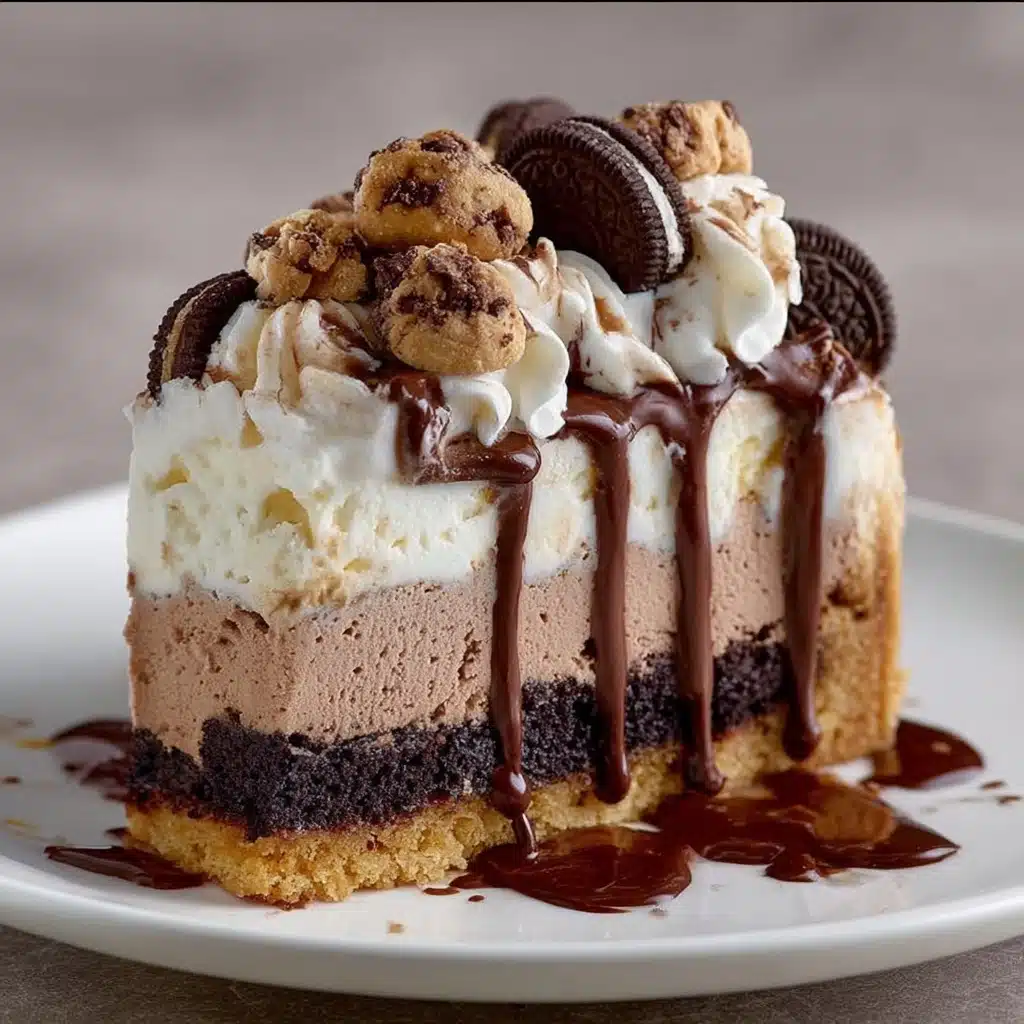
Buster Bar Ice Cream Cake Recipe
If you’re craving the ultimate frozen treat, this Buster Bar Ice Cream Cake is about to become your dessert hero. With lush layers of crushed Oreos, creamy vanilla ice cream, salty peanuts, decadent hot fudge, and a fluffy whipped topping, it’s everything you love about classic ice cream cakes with a playful peanutty twist. Perfect for summer parties, birthdays, or just beating the heat, this showstopper dessert comes together with minimal fuss and maximum flavor. And maybe best of all? Every single bite is pure nostalgia served on a fork.
Ingredients You’ll Need
The beauty of this Buster Bar Ice Cream Cake lies in how simple, yet totally essential, each ingredient is. While you might already have a few of these in your pantry or freezer, together they create the magical taste, texture, and color contrast that makes this cake unforgettable.
- Oreo cookies (24, crushed): The base of your cake—these provide the perfect chocolatey crunch as a crust.
- Unsalted butter (1/4 cup, melted): Holds the Oreo layer together, adding richness to every bite.
- Vanilla ice cream (1/2 gallon, softened): Smooth, creamy, and wonderfully sweet; it creates the key body of the cake.
- Salted peanuts (1 cup): These add the iconic salty crunch, perfectly balancing out all the sweet elements.
- Hot fudge topping (1 jar, about 12 oz): Warm, silky, and decadent, it melts just enough to hug each layer together.
- Whipped topping (1 container, 8 oz, thawed): Light, fluffy, and oh-so-creamy, this finishing touch seals the deal on texture and flavor.
How to Make Buster Bar Ice Cream Cake
Step 1: Mix Up the Oreo Crust
Start by blending those iconic Oreos (yes, filling included!) with melted butter in a medium bowl. Mix until all crumbs are coated and clump together when pinched. This ensures a sturdy, flavorful base for your Buster Bar Ice Cream Cake that’ll slice cleanly and hold up perfectly under all the layers.
Step 2: Press the Crust Into the Pan
Scoop the Oreo-butter mixture into a 9×13-inch baking dish. Grab a flat-bottomed glass or just use your fingers to press it evenly and firmly across the bottom. Getting an even layer here is key—it creates the delectable crunch in every bite of the finished Buster Bar Ice Cream Cake.
Step 3: Spread on the Vanilla Ice Cream
Let your vanilla ice cream soften for a bit so it’s easy to spread but not melted. Dollop it over the crust, then use a spatula to smooth it out into an even, creamy layer. This is the ultimate frosty foundation for those classic Buster Bar Ice Cream Cake layers.
Step 4: Sprinkle on the Salted Peanuts
Now, get generous with those salted peanuts and scatter them over the entire ice cream layer. Their crunch and savory hit are what really make this cake taste like a true Buster Bar treat.
Step 5: Drizzle and Spread the Hot Fudge
Gently warm your hot fudge until it just begins to pour, but avoid getting it too hot (you don’t want to melt the ice cream!). Drizzle the glorious fudge over the peanuts, then carefully spread it into an even layer, creating that signature gooey–chocolate ribbon.
Step 6: Add the Whipped Topping
Scoop out the fluffy whipped topping, then spread it lovingly over the cooled fudge layer. This cloud-like finish is not only delicious, but it makes the cake look beautifully finished and inviting.
Step 7: Freeze Until Firm
Cover your assembled masterpiece and freeze for at least 4 hours (or overnight for the most perfect slices). The waiting is tough, but you’ll be rewarded with a Buster Bar Ice Cream Cake that slices like a dream and holds its shape on a summer plate.
How to Serve Buster Bar Ice Cream Cake

Garnishes
This cake absolutely shines with just a little extra flourish! Sprinkle extra chopped peanuts, a drizzle of chocolate or caramel sauce, or a handful of mini chocolate chips across the top before serving. For a truly Dairy Queen–inspired look, try a few chopped chocolate-covered peanuts or a dusting of crushed Oreos.
Side Dishes
Since the Buster Bar Ice Cream Cake is incredibly rich and decadent, a fresh fruit platter on the side can balance things out beautifully. Slices of strawberries, bananas, or even a tart berry salad create a lovely contrast. For parties, try small bowls of fresh whipped cream so guests can add even more to their slice.
Creative Ways to Present
If you want to mix things up, cut your cake into fun shapes with cookie cutters, stack mini squares for a dessert tower, or serve individual portions in cupcake liners for a playful picnic treat. Dressing up each plate with a swirl of fudge or caramel sauce underneath the cake adds restaurant flair.
Make Ahead and Storage
Storing Leftovers
No worries if you have extras! Just cover the Buster Bar Ice Cream Cake tightly with plastic wrap or foil and store it in the freezer. It holds together beautifully for up to a week, retaining all that creamy, crunchy, fudgy magic.
Freezing
This cake was made for the freezer. In fact, freezing for a full 4 hours (or longer) is what helps each layer set. Wrapped well, your cake can be stored in the freezer for up to two weeks—making it perfect to make ahead for parties or special occasions.
Reheating
Luckily, there’s no reheating required! Simply let the Buster Bar Ice Cream Cake sit at room temperature for 5 minutes before slicing, so your knife glides through all the layers. For a slightly softer texture, let individual slices rest on the plate a few extra minutes before digging in.
FAQs
Can I substitute another flavor of ice cream?
Absolutely! Try chocolate, peanut butter, or even coffee ice cream for a fun twist on the classic Buster Bar Ice Cream Cake. You can totally customize the flavor to match your favorite combos.
Is there a way to make this cake nut-free?
Of course. You can skip the peanuts entirely or swap them with sunflower seeds or pretzel bits for that salty crunch. Just be mindful of any cross-contaminants in your other ingredients if allergies are a concern.
Can I use homemade whipped cream instead of store-bought?
Yes! Freshly whipped cream is a wonderful swap for store-bought topping. Whip about a cup of heavy cream with a little powdered sugar until soft peaks form, then spread as directed for a fluffier finish.
How far in advance can I assemble the cake?
You can assemble the Buster Bar Ice Cream Cake up to a week ahead. Just keep it covered in the freezer, and add any extra garnishes right before serving to keep everything fresh and crunchy.
What’s the best way to cut perfect slices?
For clean slices, use a sharp knife and dip it in hot water between cuts. This melts through the layers and keeps your servings looking sharp and bakery-worthy.
Final Thoughts
I can’t recommend this Buster Bar Ice Cream Cake enough—it’s pure joy in dessert form. Whether you’re celebrating, hosting friends, or just treating yourself, it brings smiles and a sweet hit of nostalgia in every single forkful. Don’t wait too long to try it; your freezer deserves a treat this good!