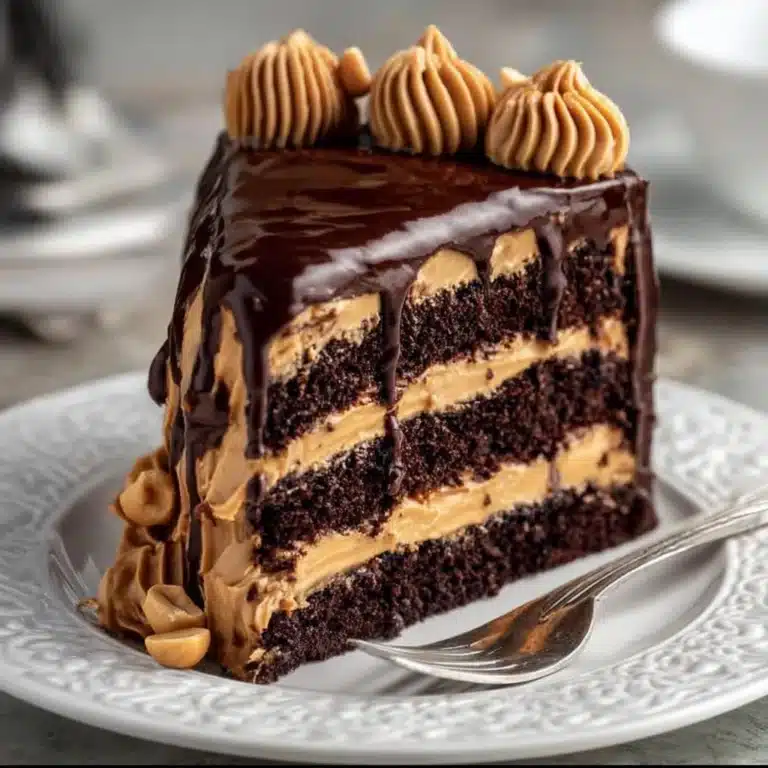
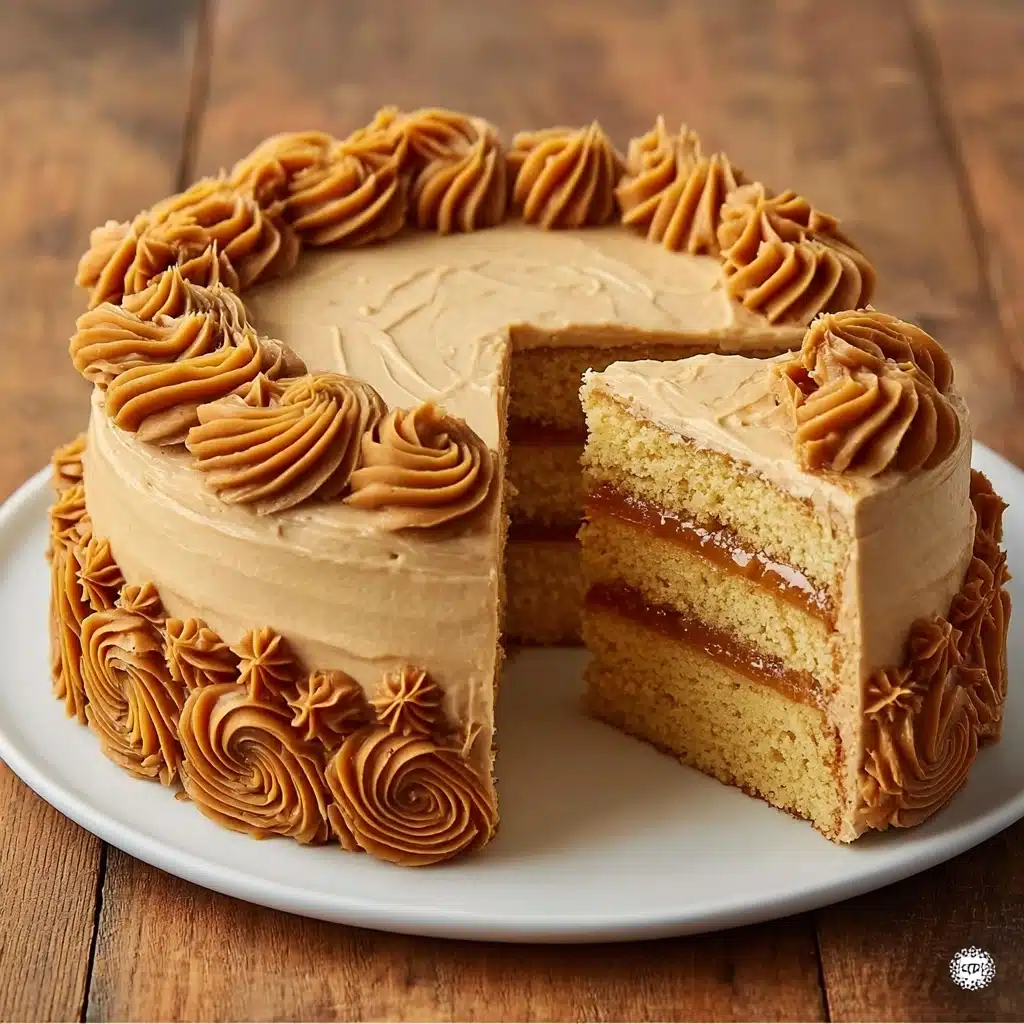
Caramel Layer Cake Recipe
If you are on the lookout for a show-stopping dessert that balances rich sweetness with buttery goodness, the Caramel Layer Cake is your new best friend. This cake boasts tender, moist layers infused with vanilla and enveloped in luscious caramel buttercream frosting, accented perfectly by a homemade caramel sauce filling. Each bite delivers that dreamy caramel flavor wrapped in soft cake, making it an irresistible treat for celebrations or a decadent weekend indulgence. Trust me, once you taste this Caramel Layer Cake, it will become a beloved staple in your baking repertoire.
Ingredients You’ll Need
Gathering the ingredients for this Caramel Layer Cake is straightforward, yet each one plays a crucial role in creating the perfect texture, flavor, and color. From the fluffy, tender cake layers to the caramel-infused frosting, every component counts.
- All-purpose flour: Provides structure and the ideal crumb for soft cake layers.
- Baking powder: Ensures the cake rises light and fluffy.
- Salt: Enhances flavor and balances sweetness.
- Unsalted butter: Adds richness and moisture to both cake and frosting.
- Granulated sugar: Sweetens the cake and helps achieve a tender crumb.
- Large eggs: Bind the ingredients and add richness.
- Vanilla extract: Infuses a warm, aromatic flavor that complements caramel beautifully.
- Milk: Keeps the cake moist and tender.
- Sugar (for caramel sauce): The base for that golden, sweet caramel flavor.
- Butter (for caramel sauce): Creates a silky, luscious texture in the caramel.
- Heavy cream: Adds creaminess and depth to the caramel sauce.
- Powdered sugar: For a smooth, fluffy caramel buttercream frosting.
- Pinch of salt: Balances sweetness in both sauce and frosting for a complex flavor profile.
How to Make Caramel Layer Cake
Step 1: Prepare the Cake Batter
Start by preheating your oven to 180°C (350°F), then grease and line two 8-inch round cake pans to ensure your cake releases easily after baking. In a medium bowl, whisk together the all-purpose flour, baking powder, and salt—this combination ensures your layers rise beautifully and stay tender. In a separate bowl, cream the softened butter and granulated sugar together until your mixture is light and fluffy, a crucial step for an airy cake. Beat in the eggs one at a time, allowing each to fully incorporate, then add in the vanilla extract. Finally, alternate adding the dry ingredients and milk to the mix, stirring just until combined to avoid overworking the batter.
Step 2: Bake the Cake Layers
Divide the batter evenly between your prepared pans, smoothing the tops for an even rise. Bake for 25 to 30 minutes, or until a toothpick inserted in the center comes out clean—this is your cue that the cake is perfectly baked and ready to cool. Remove from the oven and let the cakes cool completely in their pans before turning them out; this step helps ensure your layers remain intact when assembling.
Step 3: Make the Caramel Sauce
For the heart of this Caramel Layer Cake, the golden caramel sauce, melt sugar in a heavy saucepan over medium heat, stirring gently until it turns a deep golden color. Once melted, add the butter and whisk until fully incorporated. Carefully pour in the heavy cream while stirring continuously—this will create some bubbling, so proceed with caution. Stir the mixture until smooth and glossy, then add a pinch of salt to bring out the rich flavors. Set aside to cool completely before using it as both a filling and in the frosting.
Step 4: Prepare the Caramel Buttercream Frosting
Beat the softened unsalted butter until it’s soft and creamy. Gradually add powdered sugar to keep the texture smooth without lumps. Stir in vanilla extract, a pinch of salt, and the cooled caramel sauce. Continue beating the mixture until it becomes light and fluffy, ready to coat your cake in luscious, velvety caramel goodness.
Step 5: Assemble the Caramel Layer Cake
Place one cooled cake layer on your serving plate and spread a generous amount of the caramel sauce over it. This gooey center is what makes this Caramel Layer Cake stand out. Carefully place the second layer on top, then frost the entire cake with the caramel buttercream, smoothing it out or swirling for a rustic charm. Allow the frosting to set slightly before slicing and indulging.
How to Serve Caramel Layer Cake

Garnishes
To elevate the visual appeal and add texture contrast, consider garnishing the cake with flaky sea salt sprinkled on top to enhance the caramel flavor. You can also add chopped toasted pecans or walnuts for crunch, or even delicate edible gold leaf for a touch of elegance that dazzles at special occasions.
Side Dishes
This Caramel Layer Cake pairs beautifully with a scoop of vanilla bean ice cream or lightly whipped cream to balance its sweetness. Fresh berries or a tart berry compote also work wonderfully alongside the cake, offering bursts of freshness and color that enliven every bite.
Creative Ways to Present
Try serving this cake on a rustic wooden board for a cozy, inviting look perfect for family gatherings. For a modern twist, create a mini version in cupcake form with a dollop of caramel sauce on top. Wrapping a slice in parchment and tying with twine makes a charming gift that’s sure to win hearts.
Make Ahead and Storage
Storing Leftovers
After enjoying your Caramel Layer Cake, wrap leftover slices tightly in plastic wrap or store them in an airtight container in the refrigerator. This helps maintain the moistness of the cake and the silky texture of the frosting for up to 3 to 4 days, so you can savor the buttery caramel goodness later.
Freezing
You can freeze the entire Caramel Layer Cake or individual slices by wrapping them carefully in plastic wrap and then aluminum foil. Place the wrapped cake in a freezer-safe container to prevent freezer burn. When frozen properly, the cake keeps well for up to 2 months without losing that luscious caramel flavor and tender crumb.
Reheating
Before serving frozen cake slices, thaw them overnight in the refrigerator for best results. If you crave a warm treat, gently reheat slices in a microwave for 10 to 15 seconds or let come to room temperature to enjoy the full caramel experience without melting the frosting.
FAQs
Can I use salted butter in the caramel sauce and frosting?
It’s best to use unsalted butter so you can control the salt level precisely. Salted butter may make the caramel sauce and frosting too salty, overpowering the delicate caramel flavor.
What can I substitute for heavy cream in the caramel sauce?
If you don’t have heavy cream, you can use full-fat coconut milk or evaporated milk, but keep in mind it may slightly alter the texture and flavor of the caramel sauce.
How do I prevent my caramel from hardening?
Make sure to add the butter and cream slowly while stirring continuously. Once the sauce cools, storing it in an airtight container helps maintain its softness. Reheating gently before use will restore its gooey texture.
Can I make this Caramel Layer Cake gluten-free?
Yes! Substitute the all-purpose flour with a gluten-free flour blend designed for baking. Just ensure your baking powder is gluten-free and you might need to adjust liquid slightly depending on the blend’s absorbency.
Is this cake suitable for a large gathering?
Absolutely! Simply multiply the ingredients to make more layers or larger cakes. The rich flavors and beautiful presentation make it a crowd-pleaser at any party or celebration.
Final Thoughts
This Caramel Layer Cake is truly a celebration of all things caramel — rich, buttery, sweet, and utterly indulgent. Baking it is a joyful experience that rewards you with stunning results and rave reviews from everyone lucky enough to try a slice. Don’t hesitate to make this your next dessert adventure; your taste buds will thank you for it!