Cherry Chocolate Cheesecake Recipe
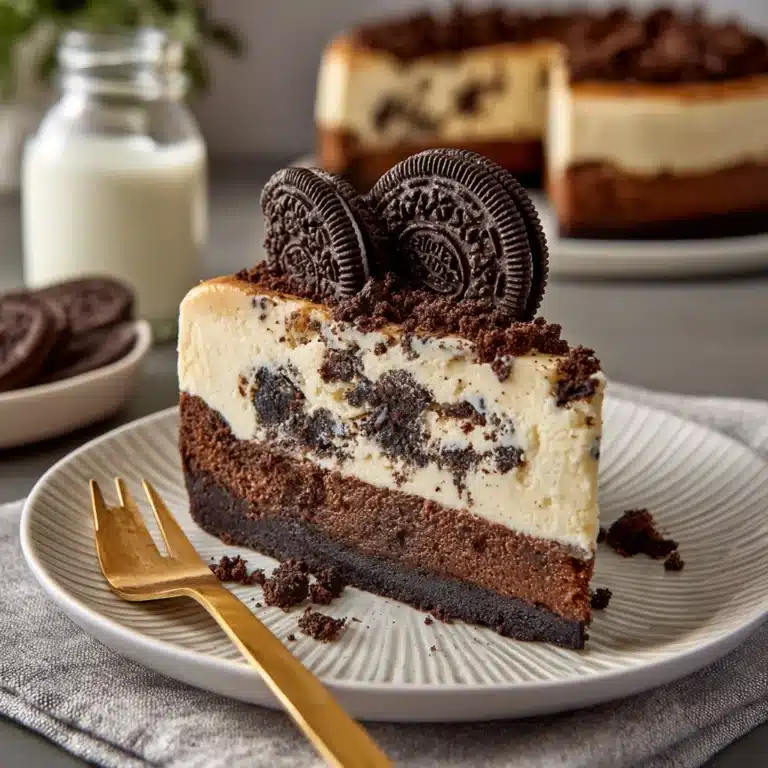
If you’re looking for a dessert that’s the absolute definition of celebration, this Cherry Chocolate Cheesecake Recipe is it. Imagine a crunchy chocolate cookie crust, an ultrasmooth and creamy cheesecake ripple with sweet cherry puree, and a crown of glossy cherries and whipped cream for the finishing flourish. This treat blends luscious fruity brightness with deep chocolate allure, and every bite is pure joy. Let me walk you through how to bring this showstopper to your own table!
Ingredients You’ll Need
One of the best things about this Cherry Chocolate Cheesecake Recipe is that you don’t need anything fancy—just a few classic ingredients, each playing an important role for taste, color, and that irresistibly creamy texture. Here’s how each one shines in this dreamy dessert.
- Crushed chocolate cookies: These create the base, adding a dark, rich flavor and a little crunch that perfectly contrasts with the creamy filling.
- Melted butter: It binds the crust together and helps it firm up for easy slicing later.
- Sugar (for crust and filling): A touch in the crust brings balance, while more in the filling means every bite is just sweet enough.
- Cream cheese: The major player! It’s what gives the cheesecake its luscious, tangy richness.
- Eggs: These help set the filling and provide that signature creamy-but-solid cheesecake structure.
- Sour cream: This boosts smoothness and adds a slight tang, keeping the filling velvety smooth.
- All-purpose flour: A spoonful keeps the filling firm but tender.
- Vanilla extract: Just a splash to round out the flavors and give the filling warmth.
- Cherry puree: The star of the show — sweet, tart, and super-fruity, it weaves that juicy cherry taste right into the cheesecake.
- Red food coloring (optional): For those wanting a really dramatic color, a drop or two makes the cherry swirl pop.
- Cherry pie filling or compote: This goes on top, adding shine and an extra juicy kick.
- Fresh cherries: The ultimate garnish for both flavor and presentation — they make everything look more inviting!
- Whipped cream: A classic cloudlike topping that makes each slice extra special.
- Dark chocolate shavings (optional): For a Black Forest twist, a sprinkle of chocolate takes it totally over the top.
How to Make Cherry Chocolate Cheesecake Recipe
Step 1: Prepare the Chocolate Cookie Crust
Begin by preheating your oven to 325°F (160°C) so everything’s ready when you’ve assembled your crust. Combine the crushed chocolate cookies, sugar, and melted butter in a bowl. Give it a good mix until the crumbs are evenly moistened. Then, press the mixture firmly into the bottom of your springform pan in an even layer. Bake for ten minutes to set the crust, and let it cool completely before adding the filling—this helps keep the crust crisp and prevents sogginess.
Step 2: Make the Cherry Cheesecake Filling
In a large mixing bowl, beat together the softened cream cheese and sugar until dreamily smooth—no lumps wanted here! Beat in the eggs one at a time, making sure to mix gently (this keeps the batter light and creamy). Next, stir in the sour cream, all-purpose flour, and vanilla. Now comes the magic: gently fold in the cherry puree, and add a few drops of red food coloring if you’d like a pop of color. The mixture will turn a beautiful shade of blush pink!
Step 3: Assemble and Bake
Pour your luscious cherry cheesecake mixture over the cooled crust and smooth it out. For the creamiest result, set your springform pan inside a larger roasting pan and add about an inch of hot water around it—this water bath helps the cheesecake cook evenly and avoids cracks. Bake for 55–65 minutes; the sides should look set but the center will still jiggle slightly. Turn off the oven, crack the oven door open, and let the cheesecake rest for an hour to prevent sudden temperature changes (which can cause cracks).
Step 4: Chill Thoroughly
When the cheesecake is done resting, transfer it to the fridge and let it chill out for at least four hours, or even better, overnight. This patience pays off: chilling helps the flavors meld and the texture firm up perfectly, making slicing and serving an absolute breeze. Resist the urge to dig in too soon—you want perfection!
Step 5: Decorate and Serve
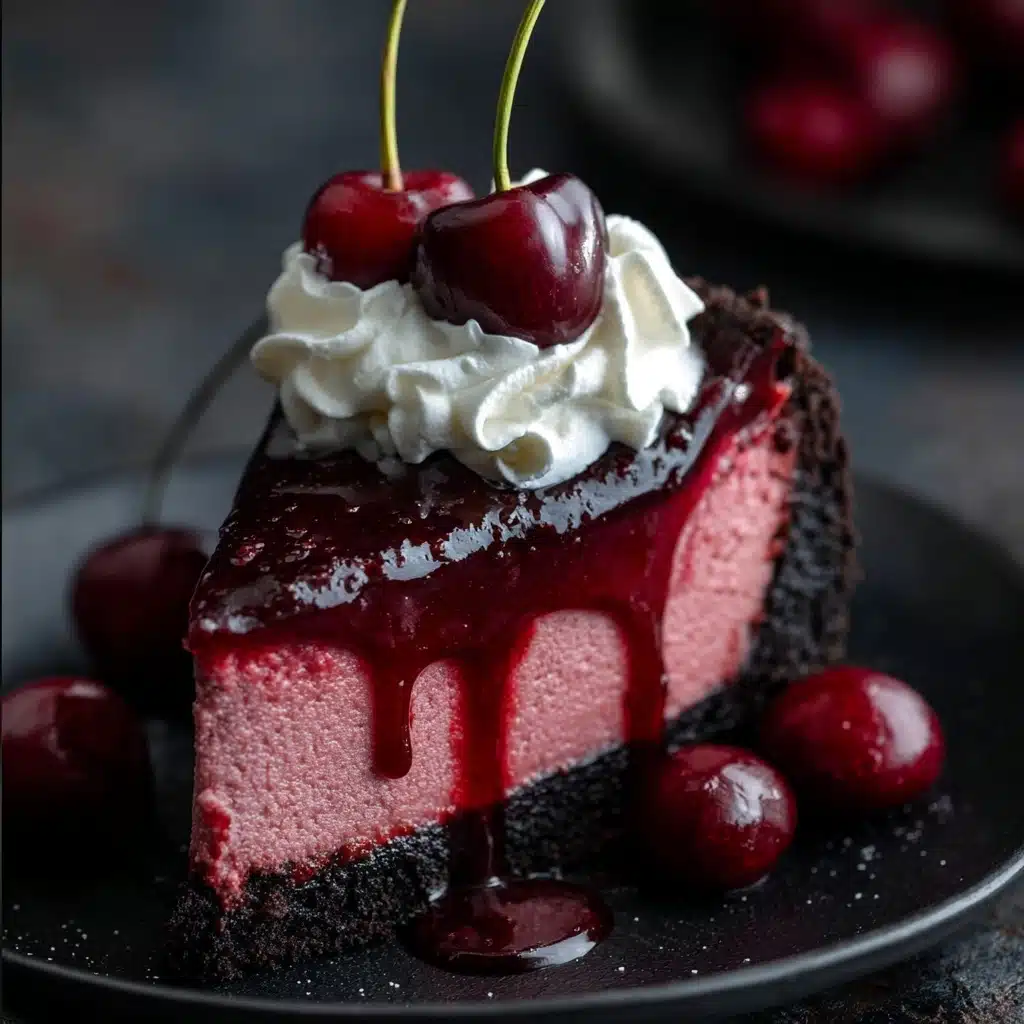
To finish, spoon a generous layer of cherry compote or pie filling over the top. Add beautiful swirls of whipped cream around the edges, nestle a few fresh cherries on top, and for a true Black Forest vibe, finish with a shower of dark chocolate shavings. The finished Cherry Chocolate Cheesecake Recipe will look as spectacular as it tastes!
How to Serve Cherry Chocolate Cheesecake Recipe

Garnishes
The right garnish truly elevates this Cherry Chocolate Cheesecake Recipe. Alongside the glossy cherry topping, be as playful or classic as you like: big swirls of whipped cream, a few glistening whole cherries, and extra-dark chocolate shavings add irresistible texture, color, and a touch of indulgence. The finishing touches can turn your cheesecake into a celebration centerpiece!
Side Dishes
Pairing this cheesecake is all about balance. Serve thin slices with a cup of coffee or espresso for bitterness to cut the richness, or with a scoop of vanilla ice cream for even more decadence. A fresh berry salad on the side adds a refreshing contrast and brings out the cherry notes in the filling.
Creative Ways to Present
Don’t be afraid to have fun with presentation! You can make individual mini cheesecakes in cupcake tins for parties, or use a heart-shaped pan for a romantic twist. Even layering slices in parfait glasses with extra cherries and whipped cream makes for a stunning (and super easy) dessert. No matter how you serve it, this Cherry Chocolate Cheesecake Recipe always impresses.
Make Ahead and Storage
Storing Leftovers
To keep your cheesecake fresh, store leftover slices covered in the refrigerator. Wrap the pan with plastic wrap or transfer slices to an airtight container. The Cherry Chocolate Cheesecake Recipe will stay delicious for up to five days—which means plenty of chances to sneak a little midnight treat!
Freezing
This cheesecake freezes beautifully for those days when you need dessert in a hurry. First, chill the cheesecake thoroughly in the fridge. Then, wrap it (whole or sliced) tightly in plastic wrap and a layer of foil. Label and freeze for up to two months. For best results, freeze without the cherry topping, then add fresh compote after thawing.
Reheating
No reheating is needed—cheesecake is best served chilled! If you prefer a softer texture, set your slice out at room temperature for 10–15 minutes before serving. If frozen, let it thaw overnight in the fridge (still wrapped) for the creamiest texture, then garnish and enjoy.
FAQs
Can I make this Cherry Chocolate Cheesecake Recipe gluten-free?
Absolutely! Just substitute your favorite gluten-free chocolate cookies for the crust and use a 1:1 gluten-free flour blend for the filling. Everything else remains exactly the same, and you’ll still get all the delicious flavor and texture.
How do I prevent cracks in my cheesecake?
A gentle water bath is key for smooth, crack-free cheesecake. Also, avoid overmixing once you add the eggs and allow the cheesecake to cool gradually in the oven with the door open. Proper chilling before slicing also helps maintain that perfectly creamy appearance.
Can I use frozen cherries for the puree?
Yes, frozen cherries work beautifully for this Cherry Chocolate Cheesecake Recipe. Just thaw and drain them well before blending into a smooth puree. This gives you fresh cherry flavor even when cherries are out of season.
What size pan should I use?
A standard 9-inch springform pan is perfect for this recipe. If you use a different size, just keep an eye on the baking time: a smaller, deeper pan may need a little more time, while a larger pan will bake faster.
Can I make this ahead for a special occasion?
Definitely! In fact, this cheesecake is even better after an overnight chill in the fridge. You can make it 1–2 days ahead, then add your cherry topping and garnishes right before serving for a flawless, showstopping dessert.
Final Thoughts
If you’re searching for a wow-worthy finale to your meal, look no further than this Cherry Chocolate Cheesecake Recipe. It’s a dessert that’s as much about the joy of making and sharing as it is about indulgence. Gather your ingredients, invite a friend to help, and enjoy each delicious step—this is one treat you’ll want to make again and again!