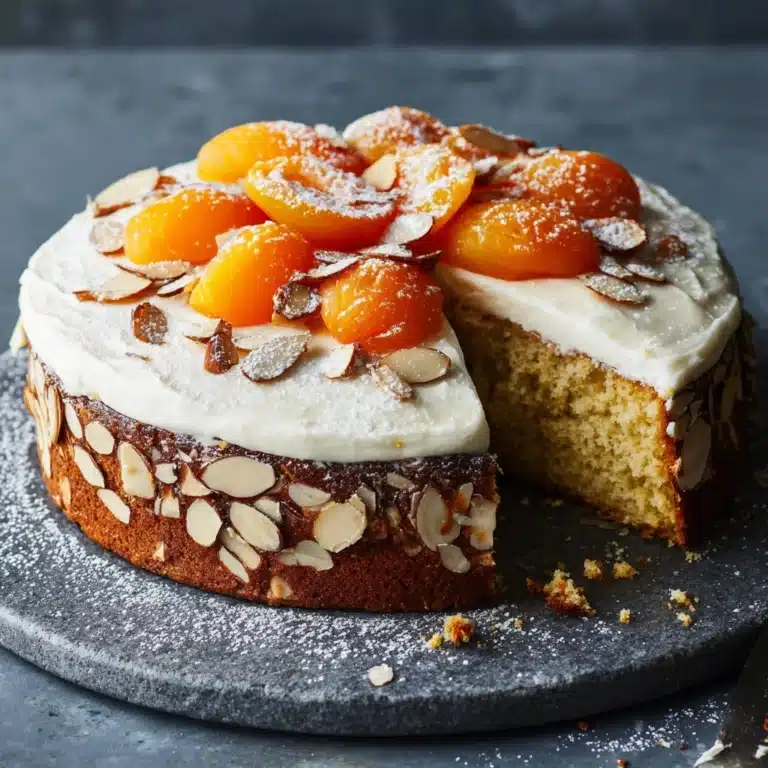
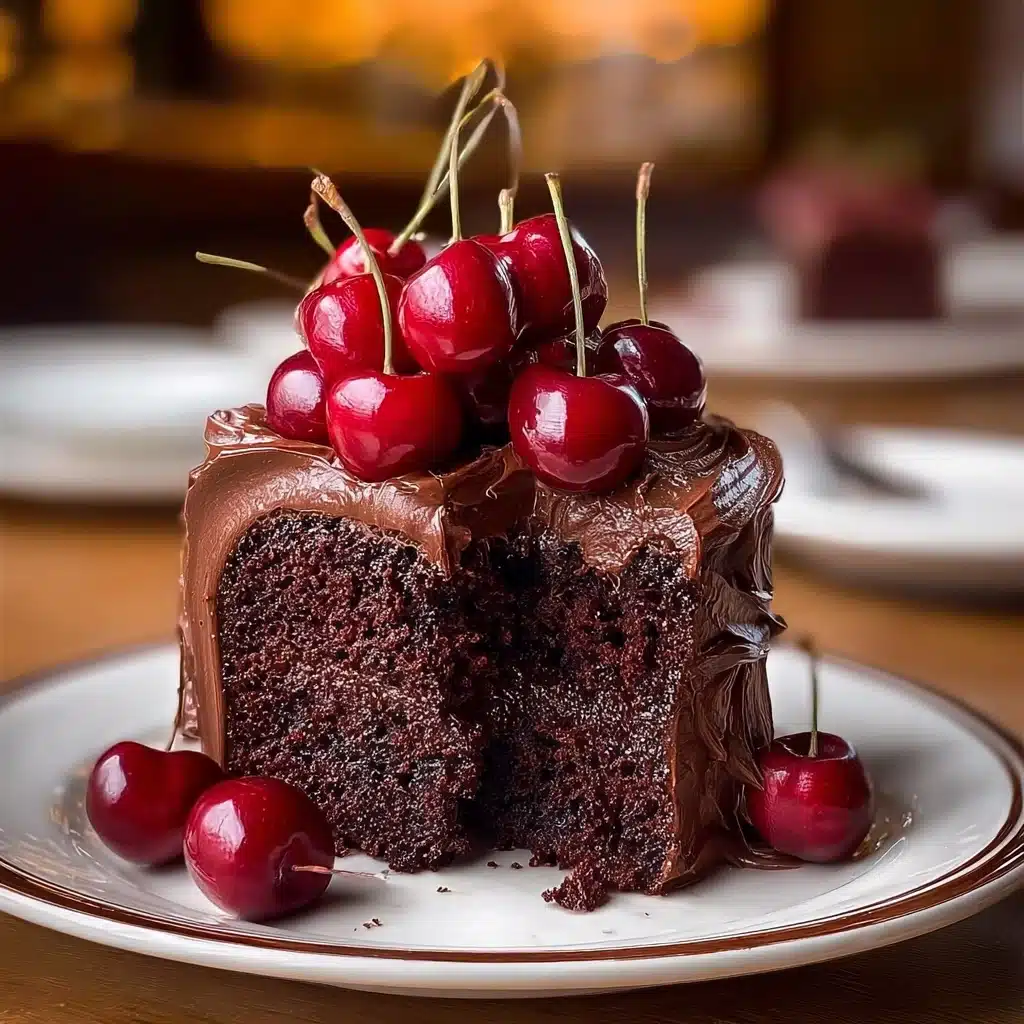
Chocolate Cherry Cake Recipe
This Chocolate Cherry Cake has a charm that’s simply impossible to resist: tender chocolate crumb, juicy bursts of cherries, and a silky ganache topping create a nostalgic-yet-sophisticated treat that’ll wow your friends at birthdays or any weeknight you just want something extra special. With its minimal steps and pantry-friendly ingredients, this cake is all about maximum flavor for minimum fuss. Give it a try, and you’ll quickly see why it’s my go-to for effortless dessert magic!
Ingredients You’ll Need
All it takes are a handful of simple ingredients, each one playing a unique role in making this Chocolate Cherry Cake extra irresistible. From creating a moist crumb to adding bursts of rich flavor, you probably have most of these on hand!
- Chocolate cake mix: The foundation of our cake, keeping it simple and guaranteeing a consistently rich cocoa base.
- Cherry pie filling: This is the secret to pockets of juiciness and sweet-tart fruit that elevate every bite.
- Large eggs: Bind the cake together for a fluffy, cohesive crumb.
- Vanilla extract: Rounds out the chocolate flavor with a gentle, aromatic note.
- Semisweet chocolate chips: The star of our ganache, giving a glossy, deep chocolate finish.
- Heavy cream: Melted with chocolate chips for a perfectly smooth, pourable ganache.
- Fresh cherries (optional): Add a gorgeous pop of color and extra cherry flavor when used as a garnish.
How to Make Chocolate Cherry Cake
Step 1: Prepare Your Pan and Oven
Begin by preheating your oven to 350°F (175°C). Give your 9×13-inch baking pan a light coat of nonstick spray or butter. This ensures the cake releases beautifully—and saves you from any sticky surprises later!
Step 2: Mix the Cake Batter
Grab a large mixing bowl. Add the chocolate cake mix, cherry pie filling, eggs, and vanilla extract all at once. No need to fuss with a mixer—just a sturdy spoon or spatula will do the trick. Stir until everything is combined and the batter is smooth, dotted with glistening cherries.
Step 3: Bake the Cake
Pour the batter into your prepared pan and use a spatula to smooth it out evenly. Pop it in the oven and bake for 30-35 minutes. To test doneness, insert a toothpick in the center—the cake is ready when it comes out clean with just a few moist crumbs.
Step 4: Cool Completely
Resist digging in just yet! Let the cake cool completely in the pan on a wire rack. This sets the crumb for easy slicing and preps the surface for that luscious ganache top.
Step 5: Make the Chocolate Ganache
While the cake cools, warm your heavy cream (either on the stovetop until steaming or in the microwave for about a minute). Pour it over the chocolate chips in a bowl, and wait one minute. Stir gently until everything melts into a glossy, pourable ganache—pure chocolate bliss!
Step 6: Frost and Garnish
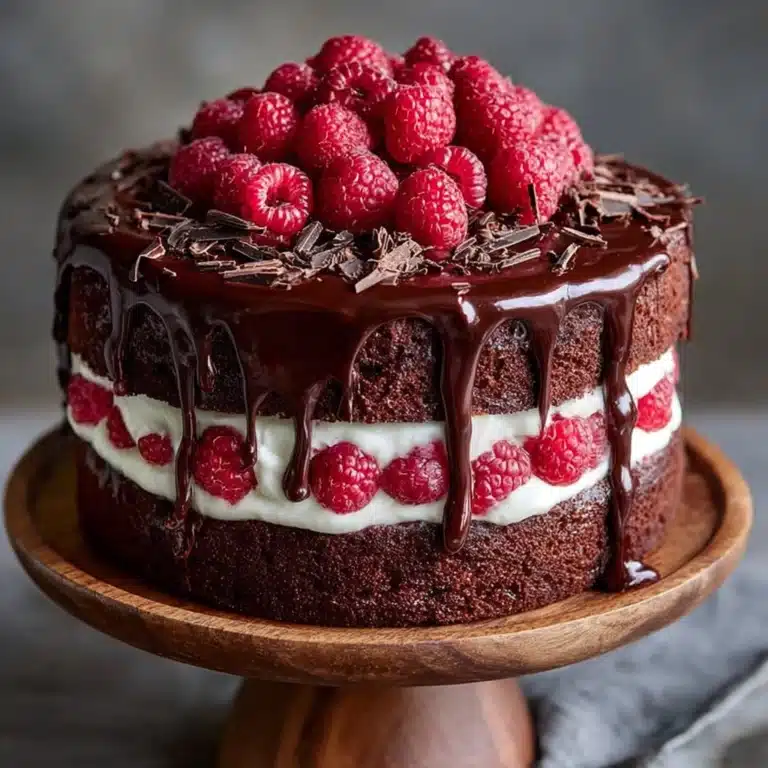
Pour the ganache over the cooled cake, using a spatula or the back of a spoon to spread it to the edges. Top with a handful of fresh cherries if you like. Slice, admire, and take a moment to appreciate your Chocolate Cherry Cake before everyone dives in.
How to Serve Chocolate Cherry Cake

Garnishes
For a show-stopping finish, crown your slices with glossy fresh cherries. A dusting of powdered sugar or a drizzle of cherry syrup adds even more pizzazz. For extra sparkle, try chocolate curls or a few chopped pistachios for color and crunch.
Side Dishes
This cake is lovely on its own, but pairing it with a scoop of vanilla ice cream or a dollop of whipped cream makes it downright irresistible. A mug of coffee or a glass of cold milk brings out both the cocoa and cherry notes wonderfully.
Creative Ways to Present
If you want to go the extra mile, bake the batter in individual ramekins for mini cakes, or use a cookie cutter to create heart-shaped servings for a romantic twist. Layer cubes of Chocolate Cherry Cake with whipped cream and extra cherries in parfait glasses for a stunning trifle.
Make Ahead and Storage
Storing Leftovers
Cover the cooled, frosted cake tightly with plastic wrap or foil and store at room temperature for up to two days. If your kitchen runs warm, keep it in the refrigerator, where it’ll stay fresh (and deliciously fudgy) for up to 5 days.
Freezing
To freeze, cut the cake into slices and wrap each piece in plastic wrap, then place them in a freezer bag. Store in the freezer for up to 2 months. Thaw slices overnight in the fridge or at room temperature before enjoying.
Reheating
Chocolate Cherry Cake tastes incredible at room temperature, but if you prefer it warm, microwave individual slices for around 10 seconds. The ganache softens just enough for a freshly-frosted experience.
FAQs
Can I make this Chocolate Cherry Cake without eggs?
Yes, you can substitute the three eggs with a flaxseed or chia egg (1 tablespoon ground flaxseed or chia mixed with 3 tablespoons water per egg), or use a commercial egg replacer for a vegan-friendly version.
Can I use homemade cherry filling instead of canned?
Absolutely! If you have a batch of homemade cherry pie filling, go right ahead. Just use approximately the same amount (21 ounces or about 2-1/2 cups) for the best results.
Will this cake work with other kinds of cake mix?
It will! Try swapping in a devil’s food or dark chocolate cake mix for an even deeper cocoa flavor, or use a gluten-free chocolate cake mix if needed—just follow the same method for fabulous results.
Can I use milk instead of heavy cream for the ganache?
Heavy cream gives the ganache a silky, rich finish, but you can use whole milk in a pinch. The ganache will be a little thinner, but still delicious—try adding a splash more chocolate chips if needed to thicken it up.
What’s the best way to cut neat slices?
For clean, bakery-worthy slices, use a sharp knife wiped clean between each cut. If your ganache has firmed up a lot, dipping your knife in hot water first makes slicing absolutely effortless!
Final Thoughts
I truly can’t recommend this Chocolate Cherry Cake enough—whether you’re baking for a crowd or treating yourself, it delivers on flavor, ease, and pure chocolate-cherry joy every single time. Give it a try, and I guarantee you’ll be hooked after the very first slice!