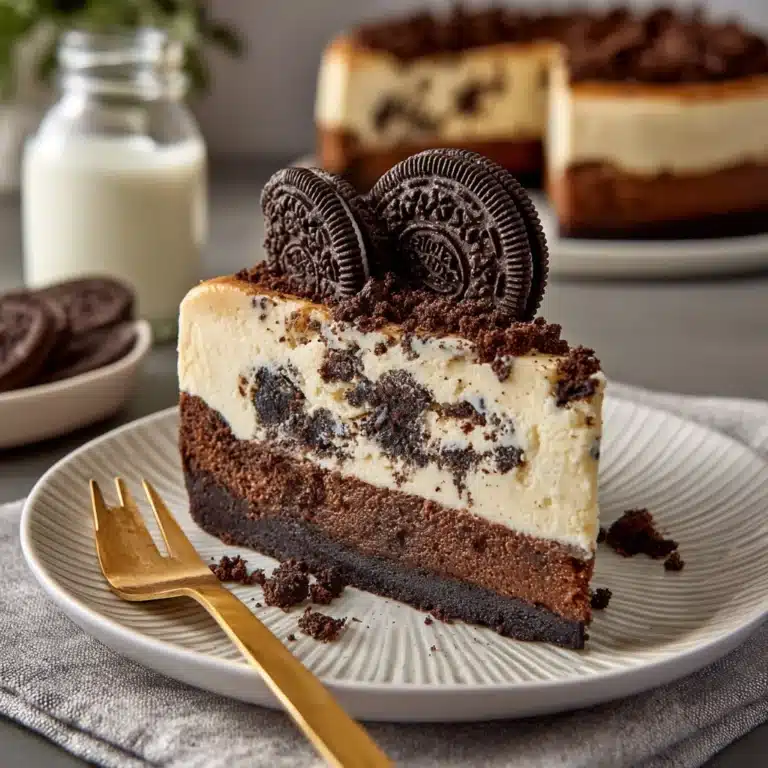
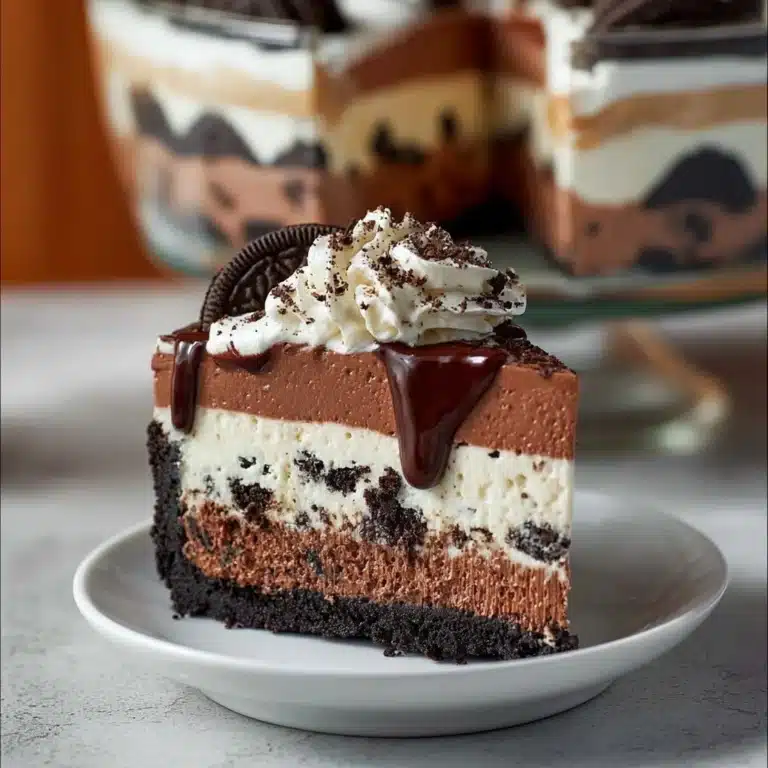
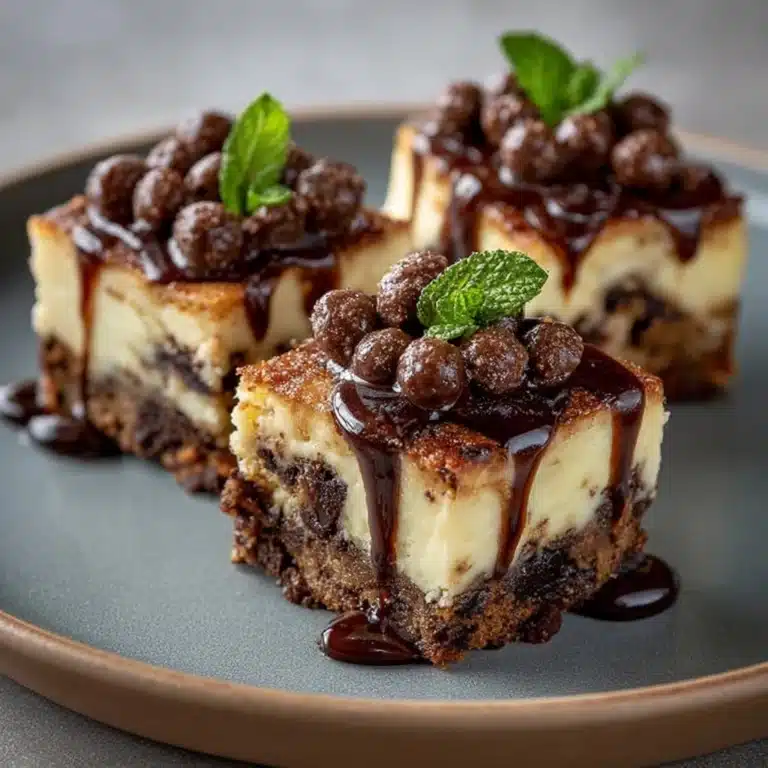
Chocolate Mousse Cake Recipe
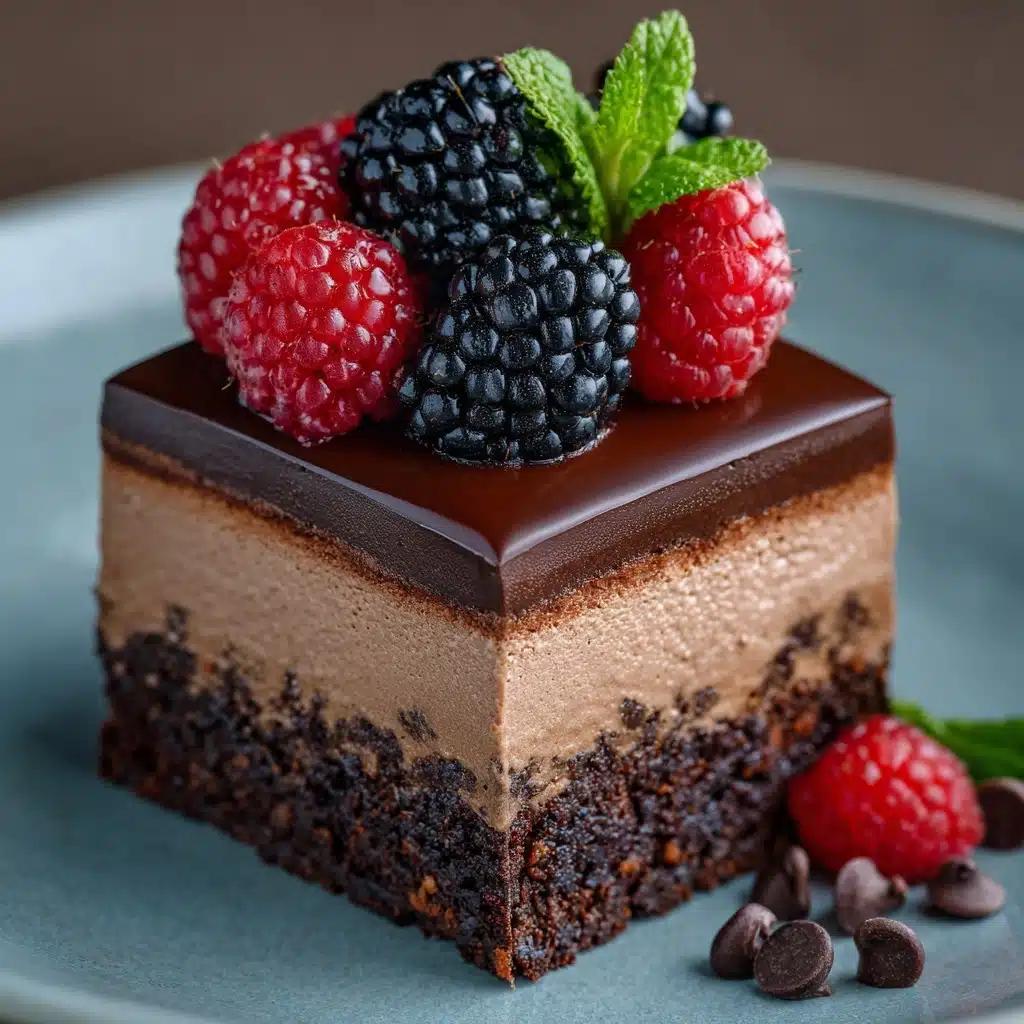
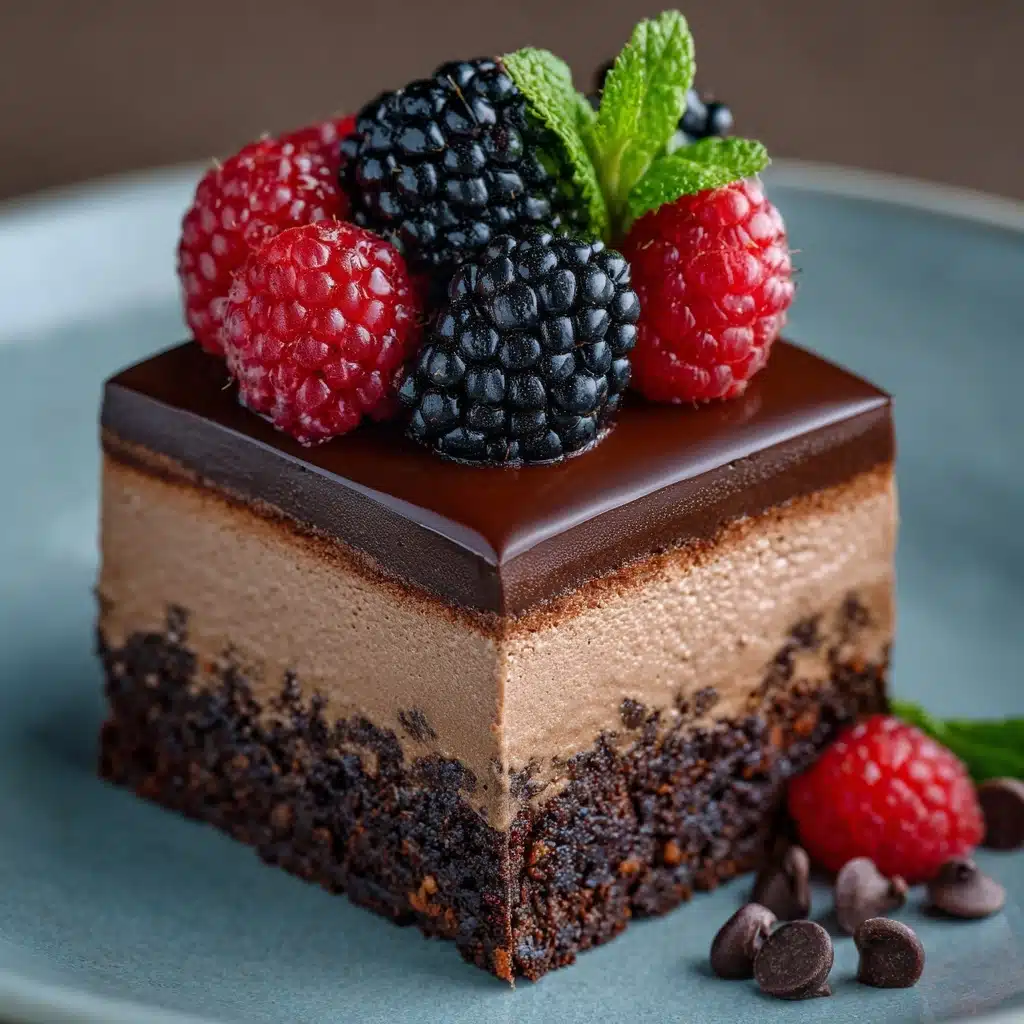
If you’re on the hunt for a dessert that’s outrageously decadent and absolutely showstopping, this Chocolate Mousse Cake is your golden ticket. A crisp chocolate cookie crust forms the foundation, topped with a cloud-like layer of rich chocolate mousse and finished with pillowy whipped cream. Every forkful is pure bliss, melding textures and cocoa goodness in a way that feels both sophisticated and comfortingly nostalgic. Whether you’re planning a celebration or just surprising yourself midweek, this irresistible Chocolate Mousse Cake turns any moment into a special occasion.
Ingredients You’ll Need
Great desserts don’t need a laundry list of ingredients — it’s about selecting quality staples that shine together. Each component here plays a key role in crafting the irresistible taste and velvety texture of your Chocolate Mousse Cake.
- Chocolate cookie crumbs: These form the perfect crispy, chocolatey base. Use Oreos (without the cream) for a rich, deep flavor.
- Unsalted butter: Essential for binding the crust and adding a buttery finish that melts in your mouth.
- Semi-sweet chocolate: The heart of the mousse, providing robust flavor and silky texture. Choose a high-quality bar for melting.
- Heavy cream: Used in both the mousse and topping, it lends luscious creaminess and body to the cake.
- Powdered sugar: Adds just the right touch of sweetness without overwhelming the chocolate.
- Vanilla extract: A dash brings warmth and sophistication, making every bite sing.
- Chocolate shavings or cocoa powder: For a beautiful finishing touch, these elevate both the look and flavor of your masterpiece.
How to Make Chocolate Mousse Cake
Step 1: Prepare Your Pan
Line an 8-inch springform pan with parchment paper. This makes removing and slicing the cake a breeze after chilling — nothing sticks, and every slice comes out picture-perfect.
Step 2: Make the Chocolate Cookie Base
Combine chocolate cookie crumbs and melted butter in a bowl, mixing until the crumbs are evenly moistened. Press this mixture firmly and evenly into the bottom of your pan. Pop it in the fridge while you tackle the next steps, allowing it to set up nice and firm.
Step 3: Melt the Chocolate
Take your chopped semi-sweet chocolate and melt it gently using a double boiler or in the microwave in short, 15-second bursts, stirring between each interval. Once melted, set it aside to cool just slightly; you want it smooth and glossy but not hot.
Step 4: Whip the Cream for Mousse
In a large bowl, whip 1½ cups heavy cream with 3 tablespoons powdered sugar and 1 teaspoon vanilla extract until you see soft peaks form. This whipped cream acts as the foundation of your mousse, making it incredibly airy yet stable.
Step 5: Fold the Mousse Together
Gently fold the cooled, melted chocolate into your whipped cream mixture. Work slowly and use a spatula, turning the bowl as you go, until everything is fully combined and luscious. The result should be totally uniform, light, and mousse-like.
Step 6: Layer the Mousse
Retrieve your pan from the fridge and spread the chocolate mousse over the crust. Smooth the top with an offset spatula or the back of a spoon, aiming for an even, neat layer. This step ensures your Chocolate Mousse Cake looks as lovely as it tastes.
Step 7: Prepare and Add the Whipped Topping
In a clean bowl, whip the remaining 1 cup heavy cream with 2 tablespoons powdered sugar and 1 teaspoon vanilla extract until stiff peaks form. Dollop this over the mousse layer, spreading it right up to the edges for a beautiful finish.
Step 8: Chill the Cake
Patience is key! Chill your assembled Chocolate Mousse Cake for at least 6 hours, or overnight if possible. This sets the mousse perfectly and allows all the flavors to meld beautifully.
Step 9: Garnish and Serve
Just before serving, adorn your cake with chocolate shavings or a delicate dusting of cocoa powder. These gorgeous touches make your dessert utterly irresistible and insta-worthy.
How to Serve Chocolate Mousse Cake
Garnishes
Garnishing your Chocolate Mousse Cake is more than just a finishing touch — it’s your chance to make it truly your own. Scatter chocolate curls, shavings, or a veil of cocoa powder for elegance, or top with fresh berries for color and a pop of tartness. A few mint leaves can add a splash of green and freshness to your slice.
Side Dishes
While this cake is the star attraction, a scoop of vanilla ice cream, a drizzle of raspberry coulis, or even some lightly sweetened whipped cream pairs beautifully and balances the richness. If you’re serving coffee or espresso, the combination is nothing short of divine.
Creative Ways to Present
Go beyond tradition by assembling the Chocolate Mousse Cake in individual jars or glasses for a portable and picture-perfect treat. Try slicing it into petite squares for a party platter, or experiment with piping the mousse and topping layers for a swirled, bakery-style effect.
Make Ahead and Storage
Storing Leftovers
Store any leftover Chocolate Mousse Cake in the refrigerator, wrapped tightly or covered with an airtight lid. It’ll keep for up to 3 days, though it’s so delicious it rarely lasts that long! The chilled environment keeps the mousse light and the crust crisp.
Freezing
This cake is wonderfully freezer-friendly. Place slices or the entire cake (well-wrapped in plastic and foil) in the freezer for up to one month. Just thaw overnight in the fridge before serving for best texture and flavor — you may even enjoy it slightly frozen for a frosty twist.
Reheating
Since this dessert is meant to be enjoyed chilled, there’s no need for reheating. If you find your cake has gotten too cold in the freezer, let it rest at room temperature for 15 minutes before slicing and serving.
FAQs
Can I use a different type of chocolate for this mousse cake?
Absolutely! Semi-sweet chocolate is classic, but you can go darker for a bolder flavor, or use milk chocolate for a milder, sweeter mousse. Just be sure to use a bar meant for baking so it melts smoothly without seizing.
What if I don’t have a springform pan?
You can still make this cake! Line a regular round cake pan with parchment, leaving extra hanging over the sides. Use the overhang to gently lift out the cake once it’s chilled and set.
How do I get neat, clean slices?
Use a large, sharp knife dipped in hot water and wiped dry between each slice. This ensures smooth cuts through the mousse and clean layers for a stunning presentation.
Can I make this Chocolate Mousse Cake ahead of time?
Yes, in fact, it’s best made in advance! Prepare it up to 24 hours ahead and keep chilled until ready to serve. The flavors deepen and the texture becomes even more luscious with some good chill time.
Can I add other flavors or mix-ins?
Definitely! Try infusing the cream with espresso powder for a mocha twist, folding in a little orange zest, or topping with caramel drizzle. The base recipe is versatile — let your imagination (and taste buds) lead the way!
Final Thoughts
If you’re looking for a dessert that dazzles every single time, this Chocolate Mousse Cake is calling your name. It’s rich, elegant, and feels like a treat from your favorite bakery — yet amazingly doable in your own kitchen. Give it a try and share the joy (and some extra slices) with friends and family!

