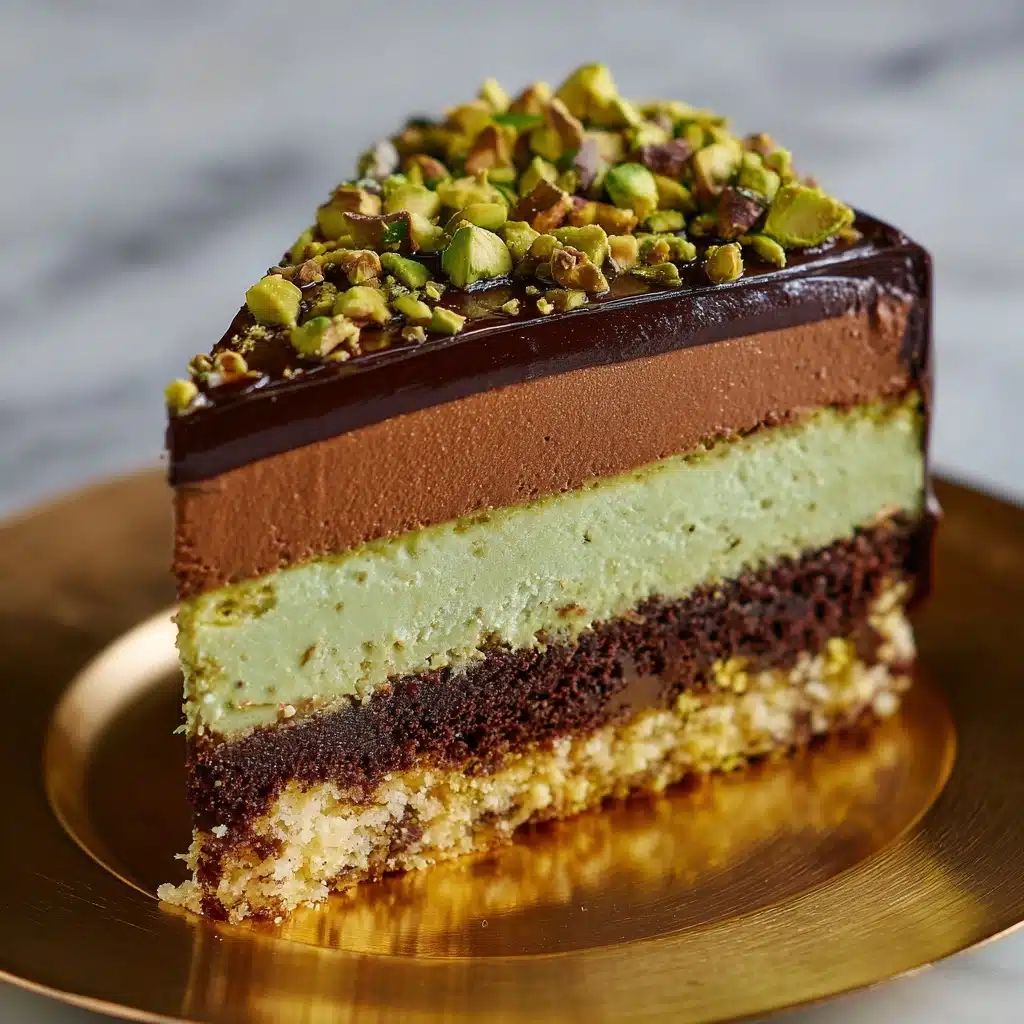
Chocolate Pistachio Cake Pie Recipe
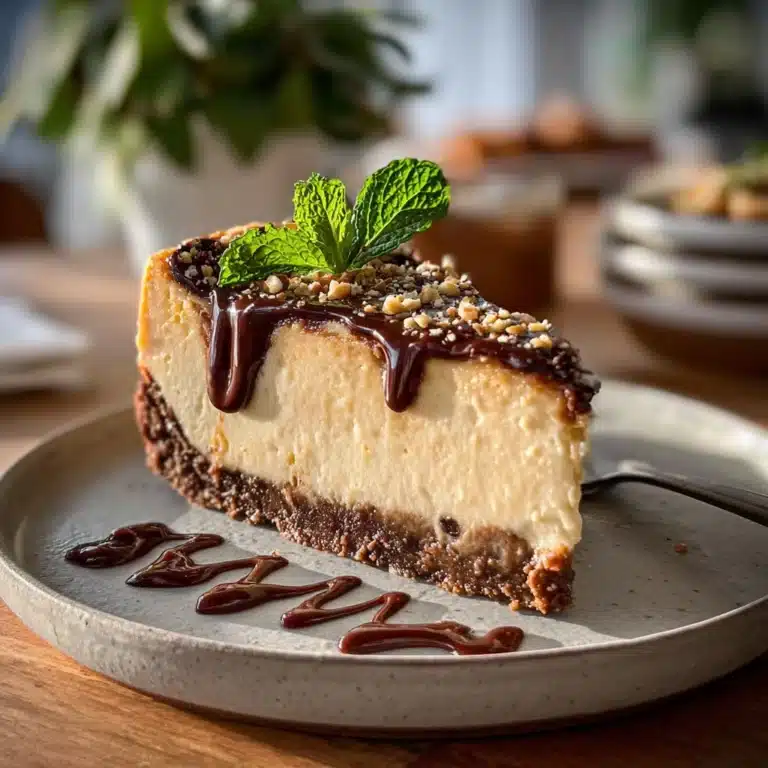
If you’ve ever wished for something that brilliantly sits at the intersection of ooey-gooey chocolate cake and a satisfyingly crisp pie, this Chocolate Pistachio Cake Pie will make your dessert dreams come true! Imagine a fudgy, rich cake filling cradled in a dark cookie crust and adorned with pops of buttery green pistachios — it’s a dazzling showstopper for gatherings, holidays, or simply treating yourself on a weekday. As someone who’s obsessed with the magic of both cake and pie, this recipe is a new personal favorite, and I can’t wait for you to fall in love with it, too.

Ingredients You’ll Need
Let’s gather the essentials! Each ingredient is simple on its own, but together they create something truly memorable. Every item brings its own special magic, from flavor to texture to presentation.
- Chocolate cookie crumbs: These form the base for a deeply chocolaty, crunchy crust that holds everything together.
- Melted butter (for crust): Adds richness, ensures the crust binds, and gives it that melt-in-your-mouth texture.
- All-purpose flour: Provides structure for the cake filling — no fuss, just the dependable backbone of every great bake!
- Sugar: Sweetens the filling and balances the bittersweet notes from both the cocoa and the nuts.
- Unsweetened cocoa powder: Deepens the flavor and gives the filling its decadent chocolate edge.
- Salt: Just enough to sharpen flavors and offset the sweetness.
- Large eggs: Three eggs ensure the filling is lush, tender, and perfectly set.
- Unsalted butter (melted): Adds moisture and flavor, blending seamlessly into the batter.
- Milk: Keeps the filling soft with just the right density — not too heavy, not too light.
- Vanilla extract: Elevates all the chocolatey notes and rounds out the pie’s flavor profile.
- Shelled pistachios (chopped): The star! Their unique flavor and vibrant color make every bite special.
- Chocolate chips (optional topping): Melts into gooey puddles on top — for those who want extra indulgence.
- Extra pistachios (for garnish): Adds crunch, color, and a fresh nutty aroma to finish the pie beautifully.
How to Make Chocolate Pistachio Cake Pie
Step 1: Prep the Chocolate Cookie Crust
Start by preheating your oven to 350°F (175°C). In a medium bowl, stir together the chocolate cookie crumbs and melted butter until every crumb glistens and looks a bit like wet sand. Press this mixture firmly and evenly into the bottom and up the sides of a 9-inch pie dish. Use the back of a spoon or the bottom of a glass to really pack it down for a crust that holds together beautifully after baking.
Step 2: Mix the Dry Ingredients
In a large bowl, whisk together the flour, sugar, cocoa powder, and salt. This step ensures that the cocoa is evenly distributed, so every bite of your Chocolate Pistachio Cake Pie is equally chocolaty and delicious. It’s the perfect way to avoid any pesky lumps!
Step 3: Combine the Wet Ingredients
In another bowl, beat the eggs until foamy and pale. Add in the melted butter, milk, and vanilla extract, mixing until thoroughly combined. This creamy mixture will make your filling moist, tender, and aromatic — all the best qualities in a cake pie!
Step 4: Bring It All Together
Pour the wet mixture into the bowl of dry ingredients. Gently stir until you have a smooth, uniform batter. Resist the urge to overmix — just enough so there are no pockets of dry flour. Next, fold in the chopped pistachios, distributing those gorgeous green gems throughout.
Step 5: Assemble and Bake
Carefully pour the cake batter into your prepared chocolate crust, smoothing the top. Place your pie in the oven and bake for 35 to 40 minutes, until the center looks set and just a little jiggly. The aroma as it bakes is your first reward — deeply chocolaty with subtle nutty scents wafting through the kitchen.
Step 6: Topping Time
While the pie is still warm from the oven, sprinkle chocolate chips over the top if you’re using them. Let them melt into glossy perfect puddles, then scatter extra pistachios for that irresistible crunch and a pop of color. Allow your Chocolate Pistachio Cake Pie to cool completely before slicing, so each piece holds its shape.
How to Serve Chocolate Pistachio Cake Pie
Garnishes
The easiest (and prettiest) way to finish your Chocolate Pistachio Cake Pie is with a handful of chopped pistachios scattered over the top. If you’re feeling extra fancy, a light dusting of powdered sugar or a drizzle of warm chocolate sauce can make it even more eye-catching and indulgent. A little whipped cream or a scoop of vanilla ice cream adds a cool, creamy contrast that makes every bite utterly luxurious.
Side Dishes
This dessert is a show-stealer on its own, but if you want something on the side, try serving with fresh berries — raspberries or strawberries are especially nice, as their tartness balances the chocolate. For a dinner party or special occasion, a simple espresso or strong coffee pairs beautifully, cutting through the richness and complementing the flavors.
Creative Ways to Present
Turn your Chocolate Pistachio Cake Pie into individual treats by using mini tart pans for single servings. Or, serve pie slices on a platter surrounded by candied pistachios and curls of chocolate for a festive look. If you’re making it for a birthday or celebration, consider decorating the top with edible flowers or a swirl of mascarpone cream for a jaw-dropping presentation.
Make Ahead and Storage
Storing Leftovers
Once completely cooled, cover the Chocolate Pistachio Cake Pie well with plastic wrap or foil and refrigerate. It keeps beautifully for up to 4 days, and the flavors become even more pronounced after a night in the fridge. I love sneaking a small slice whenever the chocolate craving hits!
Freezing
If you want to save some for later, wrap individual slices tightly in plastic wrap, then in foil, and tuck them in an airtight container. The pie freezes well for up to 2 months. Just remember to add garnishes like whipped cream or extra pistachios after thawing for the freshest presentation.
Reheating
For a warm, fudgy experience, microwave a slice for just 10-15 seconds or until gently warmed through. Keep an eye out — you want the chocolate chips to soften but not melt away entirely. If you prefer, you can also reheat in a low oven (about 300°F) for 10 minutes. Serve immediately for maximum gooey joy!
FAQs
Can I use a store-bought crust instead of making my own?
Absolutely! Store-bought chocolate cookie crusts are wonderfully convenient and a great time-saver. Just make sure to use a 9-inch crust so the filling bakes up perfectly in your Chocolate Pistachio Cake Pie.
Do I need to toast the pistachios?
While it’s not required, toasting the pistachios briefly in a dry skillet really brings out their unique flavor and gives extra crunch. Cool them before adding to the batter for the best results.
Can this be made gluten-free?
Yes! Swap the all-purpose flour for your favorite gluten-free blend and make sure your cookie crumbs are also gluten-free. The texture and taste of your Chocolate Pistachio Cake Pie should be just as dreamy.
Why did the center of my pie sink slightly?
This sometimes happens if the pie is slightly underbaked or if it cools too quickly. Don’t worry — the sunken center is a great spot to pile on your toppings, and the texture will still be rich and delicious.
Can I add other types of nuts?
Certainly! While pistachios are the star here, you can try hazelnuts, almonds, or walnuts for a different twist. Just keep in mind that each nut brings its own flavor and texture to your Chocolate Pistachio Cake Pie.
Final Thoughts
I hope this Chocolate Pistachio Cake Pie becomes as beloved in your home as it is in mine. Every layer is packed with fun flavors and textures that make each bite a delight, and it’s so simple to put together. Give this recipe a try — I promise, you’ll be asked to make it again and again!