Creamy Hazelnut Insert Recipe
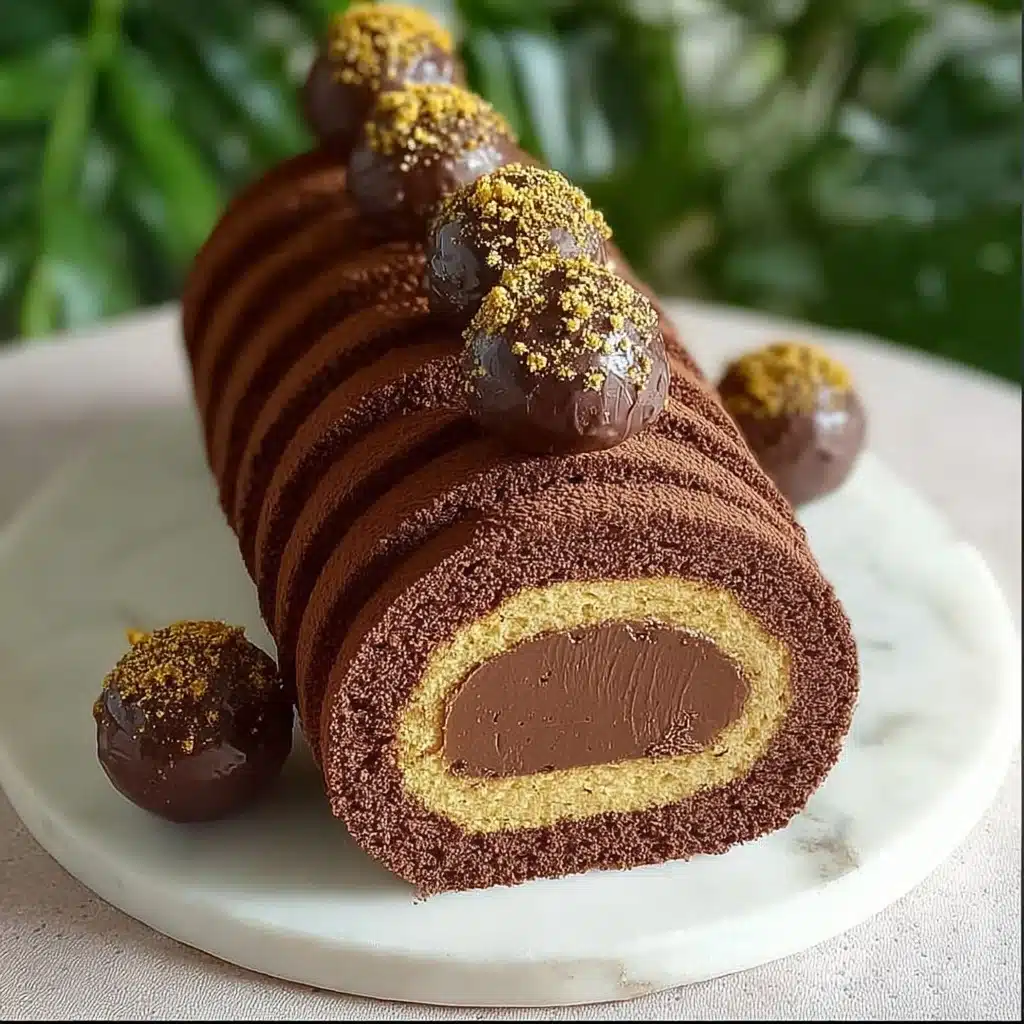
Meet your new show-stopping secret: Creamy Hazelnut Insert. This luscious nutty filling transforms any cake, entremet, or mousse into a gourmet experience. Imagine breaking through a cloud of chocolate mousse to discover a silky, rich hazelnut core—pure magic with every bite! Whether you’re planning a dinner party dessert or simply want to add a sophisticated twist to your bakes, this Creamy Hazelnut Insert is your golden ticket to next-level deliciousness.

Ingredients You’ll Need
The magic of this Creamy Hazelnut Insert lies in its simple, quality ingredients. Each one is essential—contributing a layer of flavor, smoothness, or structure for that dreamy, nutty result.
- Hazelnuts (150g): Roasted hazelnuts give the insert a warm, toasty depth and irresistible aroma.
- Milk (40g): Just enough to bring out the creaminess in your hazelnut paste, making it easy to blend and spreadable.
- Liquid Cream (140g): Adds silkiness, making the insert velvety and rich, perfect for that melt-in-your-mouth feel.
- Sugar (70g): Balances the natural earthiness of the hazelnuts with just the right touch of sweetness.
- Gelatin (2.4g, powder or sheet): Sets the mixture to sliceable perfection—ideal for making an insert that holds its shape inside desserts!
How to Make Creamy Hazelnut Insert
Step 1: Roast the Hazelnuts
Preheat your oven to 150°C (300°F). Spread hazelnuts in a single layer on a baking sheet and toast them for 10 minutes. This brings out their natural oils and makes their flavor so much more intense. Once cooked, let them cool slightly, then rub them vigorously between your hands or inside a clean towel to remove most of their papery skins. A little bit of skin is fine, but removing as much as possible keeps the Creamy Hazelnut Insert extra silky.
Step 2: Make Hazelnut Paste
Pop your toasted, skinned hazelnuts into a food processor. Blend them until you see a sandy texture, then keep going until it turns into a thick, fine paste—this may take a few minutes and occasional scraping down of the bowl. Pour in the milk and keep blending. The mixture should come together into a thick, creamy hazelnut paste that will be the heart and soul of your Creamy Hazelnut Insert.
Step 3: Heat Cream & Gelatin
Pour your liquid cream and sugar into a saucepan over medium heat. Stir until the sugar dissolves and the cream is steamy but not bubbling. Meanwhile, hydrate your gelatin according to the package directions. Off the heat, add your drained gelatin to the warm cream mixture, stirring until dissolved—that’s the secret to a sliceable, melt-in-the-mouth Creamy Hazelnut Insert.
Step 4: Emulsify
Pour the hot cream mixture over your hazelnut paste in the blender or processor. Blend until absolutely smooth, scraping down sides as needed. The goal? A perfectly creamy, uniform mixture with no gritty bits. This step brings all those toasty flavors together for a Creamy Hazelnut Insert that feels impossibly silky.
Step 5: Mold & Chill
Pour your blend into a silicone insert mold, or any small loaf pan lined with cling film for easy removal. Freeze until completely solid—this makes it much easier to handle and ensures your Creamy Hazelnut Insert sits beautifully in the center of your mousse cake or entremet. Once frozen, it’s ready to be your secret showstopper!
How to Serve Creamy Hazelnut Insert
Garnishes
Dress up your Creamy Hazelnut Insert with a swoosh of dark chocolate ganache, a sprinkle of toasted chopped hazelnuts, and perhaps a dusting of cocoa powder. A few gold leaf flakes or chocolate curls add a bakery finish that makes the whole dessert pop!
Side Dishes
This insert loves to be paired with a chocolate mousse, crisp praline layers, or a scoop of vanilla bean ice cream. The contrasting textures—soft, crunchy, creamy—bring out the best in each other, letting your Creamy Hazelnut Insert be the star without stealing the whole show.
Creative Ways to Present
Of course, classic chocolate mousse cakes adore this insert, but you can get playful! Slice it into bars wrapped in a chocolate shell for elegant petit fours, layer it in individual verrines for a fancy dinner party treat, or even swirl cubes into homemade semifreddo for a summer twist. The possibilities with Creamy Hazelnut Insert are nearly endless!
Make Ahead and Storage
Storing Leftovers
Wrap any extra Creamy Hazelnut Insert tightly in plastic wrap and place it in an airtight container in the fridge if you plan to use it within 3–4 days. Keeping it chilled preserves its fresh flavor and luscious texture for whenever inspiration strikes!
Freezing
This insert is a freezer favorite! For perfect results, freeze it in its mold. Once solid, pop it out, wrap well, and keep frozen for up to one month. Thaw in the fridge before assembling your final dessert so it retains its glossy finish and ultra-smooth bite.
Reheating
No reheating is needed—simply let your Creamy Hazelnut Insert thaw gently in the fridge (if frozen) until soft enough to slice. Avoid microwaving or applying heat, as that could break its lovely structure and texture.
FAQs
Can I make the Creamy Hazelnut Insert in advance?
Absolutely! This recipe actually benefits from being made ahead. You can freeze the set insert for up to a month, making it super handy for assembling showstopper desserts whenever you want.
What can I use if I don’t have a silicone insert mold?
Don’t worry! A small loaf pan lined with plastic wrap works beautifully. Once the Creamy Hazelnut Insert is frozen, you can unmold and slice it as needed—it still delivers that gorgeous layered surprise inside your dessert.
Is there a dairy-free version?
Definitely! Swap the milk and cream for your favorite unsweetened non-dairy alternatives like oat or almond milk and coconut cream. Just be aware that the texture may vary slightly, but the wonderful nutty flavor will shine through.
How do I keep my insert from tasting gritty?
The secret is patience when blending your hazelnuts—blend until silky smooth before adding liquids. If you want it absolutely velvety, strain the mixture through a fine mesh after emulsifying, ensuring your Creamy Hazelnut Insert is perfectly smooth.
Can I double the recipe?
You sure can! Simply double all ingredient amounts. A larger batch means more Creamy Hazelnut Insert to play with, and it freezes well, letting you add gourmet flair to multiple desserts.
Final Thoughts
This Creamy Hazelnut Insert isn’t just another component—it’s the flavor-packed heart of your next baking adventure. If you love surprising your guests (or just yourself!) with something special tucked inside your dessert, give this recipe a try. One bite, and you’ll never look at hazelnuts the same way again!