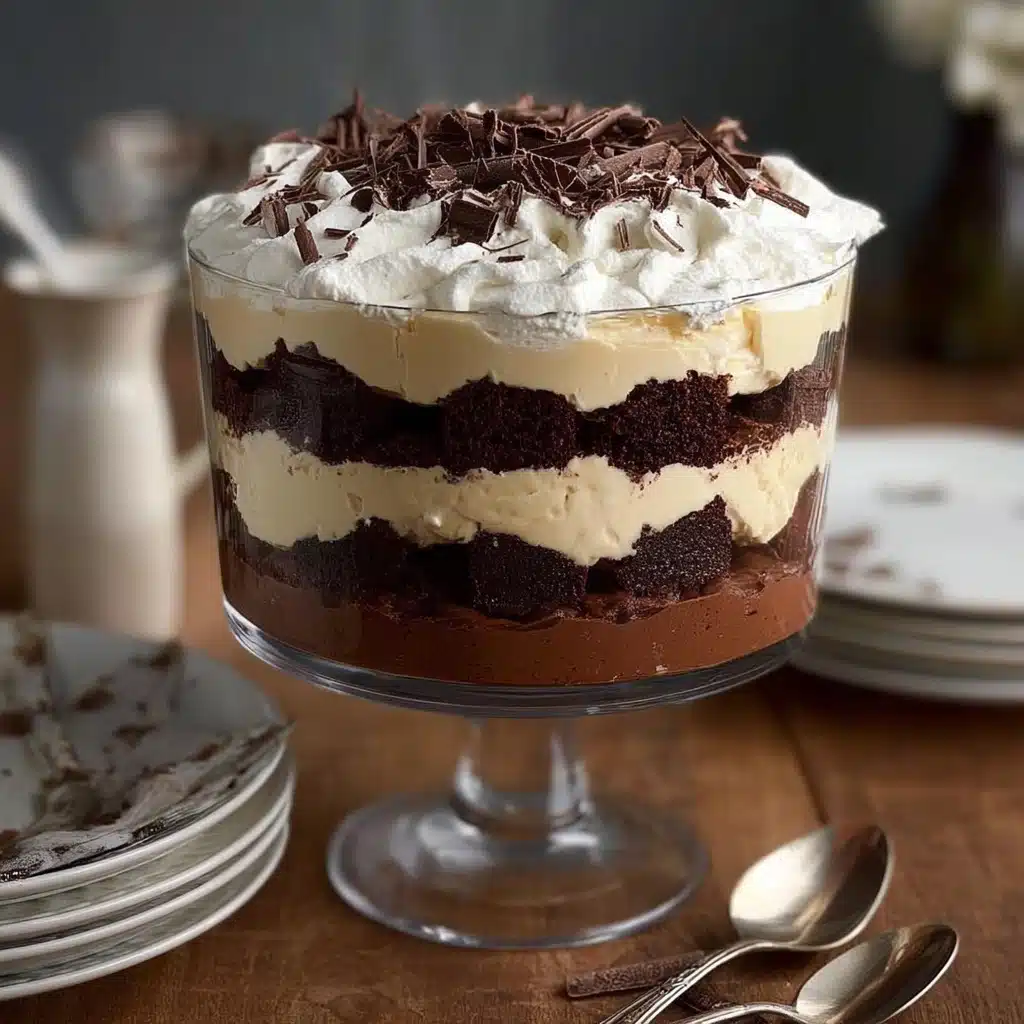
Heavenly Chocolate Cheesecake Trifle Recipe
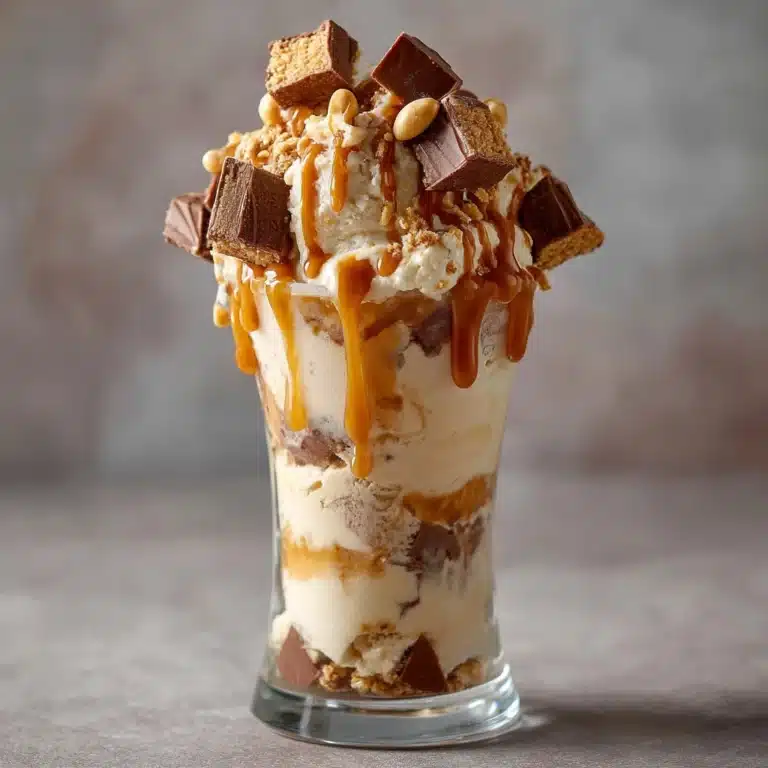
If you’re searching for the ultimate show-stopping dessert, look no further than this Heavenly Chocolate Cheesecake Trifle. It’s an absolute dream: decadent chocolate cake, velvety chocolate pudding, and a fluffy cheesecake mousse come together in gorgeous layers, crowned with luscious chocolate sauce and fancy chocolate garnishes. This is the kind of treat you bring when you want to steal the spotlight at potlucks or create lifelong chocolate-loving memories at home. The layers add drama, but assembly is a breeze, making it both stunning and totally doable for anyone craving a true chocolate celebration.

Ingredients You’ll Need
The beauty of this trifle lies in its super simple but perfectly balanced ingredients. Each component brings its own magic, from the tender cake foundation to the pillowy cheesecake layer and all the silky, chocolatey touches. Let’s break down the essentials you’ll need for this irresistible Heavenly Chocolate Cheesecake Trifle!
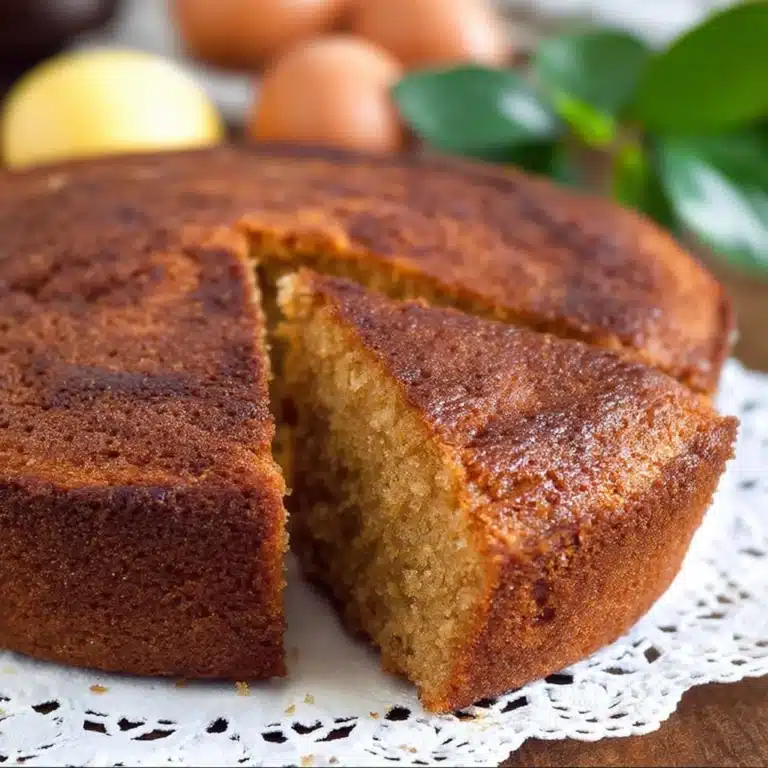
- Chocolate Cake: Use your favorite chocolate cake recipe or a store-bought version—crumbled up, it soaks up flavors and stays melt-in-your-mouth moist.
- Prepared Chocolate Pudding: Rich, smooth pudding adds indulgent creaminess with a deep cocoa punch.
- Chocolate Sauce or Ganache: A glossy drizzle envelopes each layer in bold, bittersweet chocolate flavor.
- Cream Cheese (softened): This forms the base of the cheesecake layer, giving delightfully tangy richness.
- Powdered Sugar: Sweetens the cheesecake filling for the perfect balance to all that chocolate intensity.
- Vanilla Extract: A splash enhances the sweetness and adds wonderful depth to the cheesecake portion.
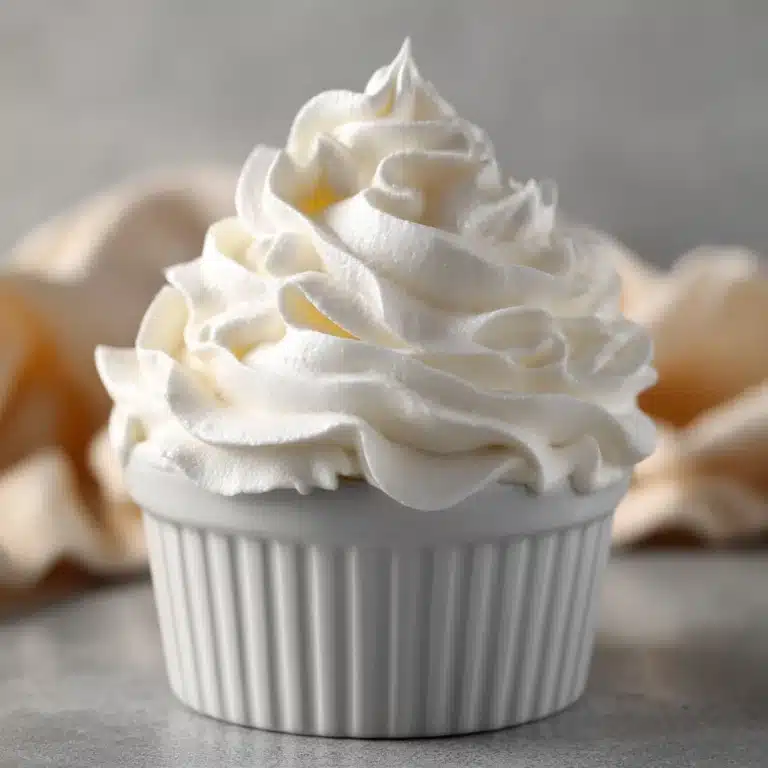
- Whipped Topping: Folds into the cheesecake layer for extra fluff and tops the trifle like a cloud.
- Chocolate Truffles or Chocolate Balls: For garnish, these give each bite a bite of bold luxury and flair.
- Chocolate Shavings: A sprinkling on top creates an irresistible, elegant look as a finishing touch.
How to Make Heavenly Chocolate Cheesecake Trifle
Step 1: Make the Cheesecake Layer
Start by blending the softened cream cheese with the powdered sugar and vanilla extract until completely smooth and creamy—this is key for that luxurious texture! Next, gently fold in half of the whipped topping. This transforms the mixture into an airy, mousse-like cheesecake that’s light but still totally decadent. It’s amazing what a simple stir can do for the flavor and the cloud-like consistency of this layer.
Step 2: Begin Assembling the Trifle
Grab your largest trifle dish or a clear glass bowl. Begin the drama by covering the bottom with a thick layer of crumbled chocolate cake—this lays the flavorful foundation. Spoon a generous layer of the creamy cheesecake mixture right on top. Spread it evenly so every bite gets some! Then, drape a luscious layer of chocolate pudding over the cheesecake. Finish each round with a graceful drizzle of chocolate sauce or ganache, letting it ooze into every nook.
Step 3: Repeat Layers for Height and Flavor
Now, get ready to make magic happen—repeat the crumbled cake, cheesecake, pudding, and chocolate ganache layers until your dish is filled to the brim. Don’t worry if things get a little messy: that rustic, layered look is what makes trifles so welcoming. When you reach the top, crown it all with the remaining whipped topping, swirling it artfully for maximum impact.
Step 4: Adorn with Garnishes
The fun isn’t over yet! Decorate the very top of your Heavenly Chocolate Cheesecake Trifle with a scattering of chocolate truffles or chocolate balls. These will sit pretty like jewels on a cloud. Then, grab a chocolate bar and use a vegetable peeler or grater to shower the surface with chocolate shavings. This final touch adds elegance, crunch, and even more chocolate indulgence.
Step 5: Chill and Serve
Resist the urge to dig in right away—cover and refrigerate the whole trifle for at least an hour. This rest time allows the flavors to meld, the pudding and cake layers to become extra moist, and the entire dessert to chill into refreshing, decadent slices. Once you’re ready to serve, bring your masterpiece out and prepare for some very excited reactions.
How to Serve Heavenly Chocolate Cheesecake Trifle
Garnishes
Go big on the garnishes for a dessert that’s as eye-catching as it is luscious. Pile on extra chocolate truffles, sprinkle with chocolate shavings, or even add a few fresh berries for pop and freshness. A light dusting of cocoa powder adds drama, and a touch of sea salt brings out all the rich flavors—so don’t be shy with the finishing touches.
Side Dishes
This Heavenly Chocolate Cheesecake Trifle is the life of the party on its own, but you can pair it with a bowl of juicy berries or a scoop of tangy fruit sorbet for a contrast of flavors. If you really want to indulge, serve along homemade whipped cream or a crisp biscotti on the side for dipping and crunch.
Creative Ways to Present
For stunning individual desserts, layer the trifle in small mason jars or tall glasses—guests will love having their own mini trifle! You can also make an over-the-top sundae bar by setting out bowls of the trifle alongside a buffet of extra toppings like crushed cookies, sprinkles, or even caramel sauce. This dessert is made for dramatic presentation, so let your imagination run wild.
Make Ahead and Storage
Storing Leftovers
Keep any leftover Heavenly Chocolate Cheesecake Trifle covered in the refrigerator. The longer it sits, the more the layers meld together, becoming even richer and more cohesive. Aim to enjoy leftovers within three days to maintain the best texture and flavor—but trust me, it rarely lasts that long!
Freezing
While trifles are best enjoyed fresh, you can freeze portions in air-tight containers for up to one month. If using whipped topping, freezing works well; just keep in mind that the texture of cake and pudding may soften further upon thawing. Let frozen trifle thaw overnight in the fridge before serving.
Reheating
This is a no-bake, chilled dessert, so you’ll want to enjoy Heavenly Chocolate Cheesecake Trifle straight from the refrigerator. No reheating needed! If it’s been frozen, let it thaw in the fridge as mentioned. For that just-made look, you can always refresh the garnishes right before serving.
FAQs
Can I make Heavenly Chocolate Cheesecake Trifle in advance?
Absolutely! In fact, this trifle actually gets better as it sits. You can assemble it a day ahead, cover, and chill until ready to serve. Just add the final garnishes right before bringing it to the table to keep them looking perfect.
What kind of chocolate cake works best?
You can use any chocolate cake you love—homemade or store-bought works beautifully. Rich, fudge-like cakes give an extra level of decadence, but a lighter chocolate sponge will soak up the layers for a more classic trifle texture.
Can I substitute homemade whipped cream for the whipped topping?
Yes! Homemade whipped cream is a fantastic substitute for the store-bought whipped topping in both the cheesecake layer and for the topping. Just whip about 1 cup of heavy cream with a bit of sugar until soft peaks form.
Is there a way to make this trifle gluten-free?
Definitely! Simply use your favorite gluten-free chocolate cake and double-check that your pudding and chocolate sauce are gluten-free certified. The cheesecake and whipped topping layers are naturally gluten-free.
How many people does this trifle serve?
A standard trifle dish of Heavenly Chocolate Cheesecake Trifle easily serves 10–12 people generous portions, making it ideal for gatherings and celebrations. You can also divide it among smaller cups for adorable, individual servings.
Final Thoughts
There’s something truly magical about digging into this Heavenly Chocolate Cheesecake Trifle—it brings wow factor, joy, and pure chocolate bliss to any table. Whether you’re making it for a special occasion or simply to treat yourself, I can’t recommend it enough. Gather your ingredients, start layering, and prepare for rave reviews from everyone lucky enough to get a spoonful.