Layered Jello Delight Recipe
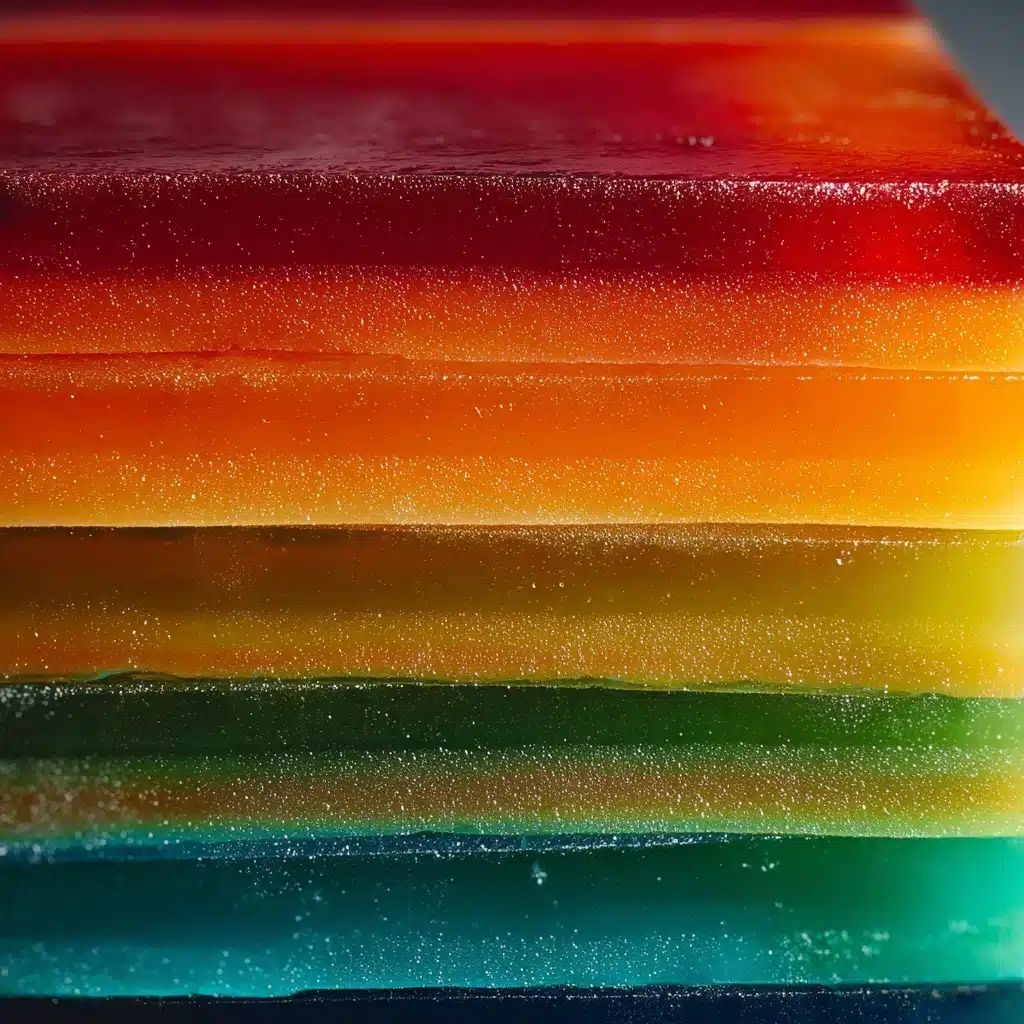
Prepare yourself for a show-stopping treat, because Layered Jello Delight is about to steal the spotlight at your next get-together! This playful dessert is bursting with vibrant colors and fruity flavors that will catch every eye at the table. With each dazzling layer separated by a cloud of whipped topping and topped with juicy fresh fruit, this is one of those recipes that’s as much fun to assemble as it is to devour. Whether you’re hosting a party or simply want to sweeten up family night, Layered Jello Delight is all about bringing a little whimsy—and a lot of flavor—into your kitchen.
Ingredients You’ll Need
It’s amazing what a handful of ingredients can do when combined thoughtfully. Every single element in Layered Jello Delight adds something special—flavor bursts, creamy texture, shimmering colors, or a fresh finish. Here’s the scoop on what you’ll need, plus a handy tip for each:
- Flavored gelatin (3 boxes, e.g., strawberry, lime, orange): Choose bold colors and flavors you love—these create the vibrant stripes and fruity punch in every bite.
- Boiling water (4 cups): Essential for dissolving the gelatin thoroughly—make sure it’s nice and hot for the smoothest layers.
- Cold water (3 cups): Helps cool the gelatin down quickly and brings the perfect jiggle-set texture.
- Whipped topping (1 cup): A creamy cloud that separates the jello layers; it spreads best when slightly softened.
- Fresh fruit for garnish (optional): Adds a burst of natural sweetness and a gorgeous finish—berries, grapes, or sliced citrus are all delicious.
How to Make Layered Jello Delight
Step 1: Prepare and Dissolve Your First Gelatin Layer
Begin by picking your favorite flavor for the first layer—let’s say strawberry for a bold foundation. Empty one box of gelatin into a mixing bowl, then pour in 1 cup of boiling water, stirring thoroughly until the powder has completely dissolved. This ensures a perfect, smooth texture for each layer.
Step 2: Cool and Pour
Add 1 cup of cold water to the dissolved gelatin, mixing gently. Pour this mixture into a clear glass dish or individual cups for personalized treats. Pop the dish in the refrigerator for about 30 minutes, just until the jello is set but still slightly sticky to the touch. Patience here pays off with flawless, clean layers.
Step 3: Add the Creamy Whipped Topping
Gently smooth about 1/3 cup of whipped topping over your set jello layer. Use the back of a spoon or an offset spatula for even coverage. This layer adds a lovely contrast in both color and texture, creating that signature look and taste of Layered Jello Delight.
Step 4: Repeat for Next Flavors
Now, repeat the process for the remaining gelatin flavors (try lime and orange, but let your imagination run wild!). Remember to wait until each previous layer is set but not fully firm before spooning on whipped topping and pouring the next gelatin layer. You’ll end up with beautiful, defined stripes of color and flavor.
Step 5: Chill Completely and Garnish
After the final layer is added, refrigerate the entire dessert for at least two more hours until all the layers are completely firm. Just before serving, crown your masterpiece with a scatter of fresh fruit. And there it is—Layered Jello Delight, ready to wow your guests with every spoonful!
How to Serve Layered Jello Delight
Garnishes
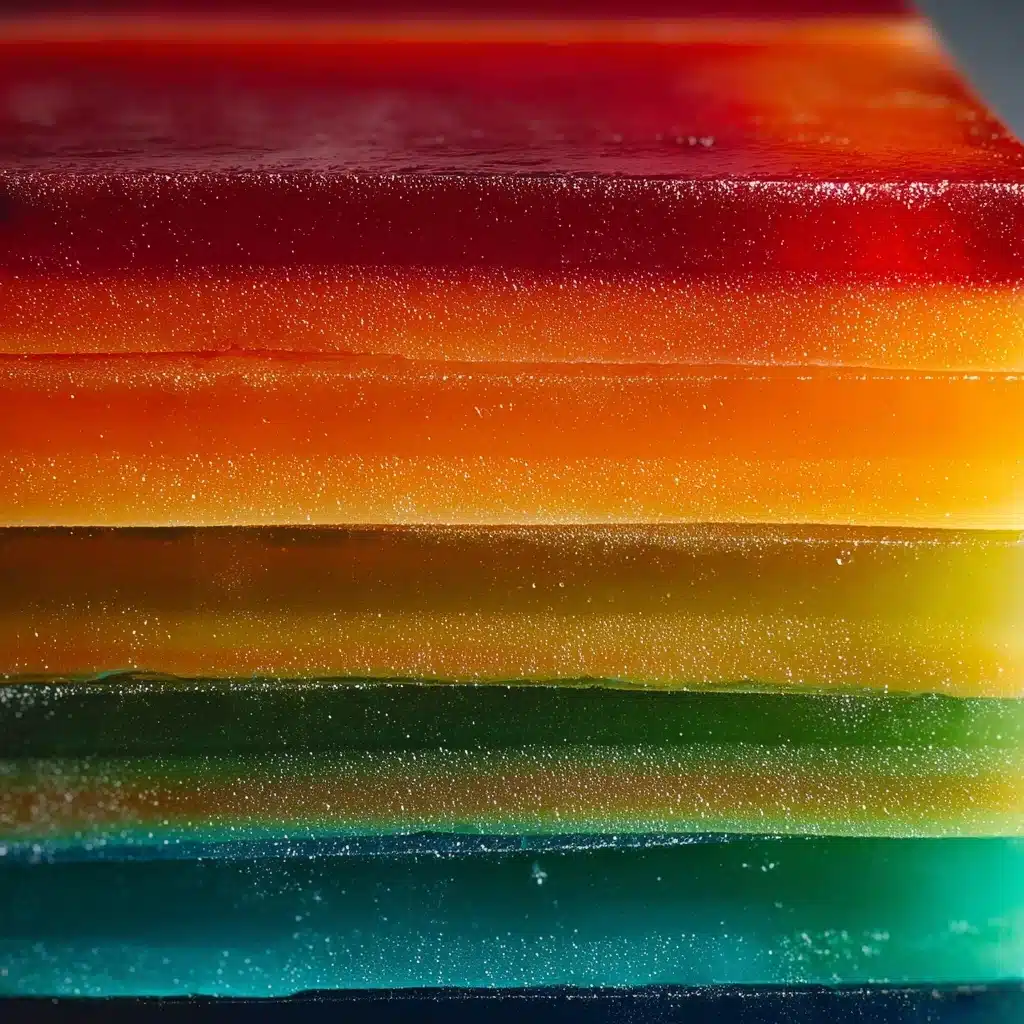
A well-chosen garnish elevates both the look and flavor of Layered Jello Delight. Fresh berries, diced mango, or a few bright citrus segments on top add a hint of luxury and a hit of juicy freshness. For extra flair, sprinkle a little zest or even edible flowers—all eyes will be on your colorful creation!
Side Dishes
This dessert is fabulously refreshing on its own, but you can pair Layered Jello Delight with delicate shortbread cookies, lemon bars, or a scoop of sorbet for an extra-chilled treat. For summer picnics, offer a fruit salad alongside—the combination of textures and temperatures is simply irresistible.
Creative Ways to Present
Think beyond a single serving dish! Layered Jello Delight also looks fabulous in clear jars, wine glasses, or even mini trifle bowls for parties. Create individualized portions for every guest, or go big with a stunning trifle-style centerpiece—they’ll all look dazzling with those colorful stripes.
Make Ahead and Storage
Storing Leftovers
Layered Jello Delight holds up beautifully in the fridge for up to three days. Cover your dish tightly with plastic wrap to keep it fresh and prevent it from absorbing any odors. Slices or individual cups stay just as vibrant and delicious, making this an ideal make-ahead dessert for busy hosts.
Freezing
Freezing isn’t recommended for Layered Jello Delight, as the gelatin tends to lose its signature texture once thawed. The whipped topping and fruit can also get a bit watery. For best results, stick with refrigeration—you’ll be glad you did!
Reheating
Unlike some desserts, there’s no need—or reason—to reheat this sweet treat. Layered Jello Delight is meant to be enjoyed cold, straight from the fridge. A quick transfer to serving dishes and it’s ready to dazzle all over again.
FAQs
Can I use sugar-free gelatin for Layered Jello Delight?
Absolutely! Sugar-free gelatin works just as well as the original, so you can easily adapt this recipe to fit your dietary needs while still enjoying all that color and fun.
What’s the best way to avoid mixing the layers together?
Patience is key. Always chill each layer until it’s set but still a little tacky before adding whipped topping and the next layer. Pour the new layer gently over the back of a spoon to keep those stripes crisp and beautiful.
Can I add fruit inside the layers?
You sure can! Just gently stir finely chopped fruit into each layer as it’s cooling—but before it’s set. Avoid fruits like fresh pineapple or kiwi, though, as they can prevent the gelatin from setting properly.
Is it possible to make Layered Jello Delight dairy-free?
Definitely. Swap the regular whipped topping for a plant-based version or coconut whipped cream. You won’t miss a thing, and everyone can enjoy a slice of the fun!
How far in advance can I make this dessert?
Feel free to assemble your Layered Jello Delight up to two days ahead. The layers stay gorgeous and firm in the fridge, so you can focus on other party details without worry.
Final Thoughts
If you’ve never tried creating your own Layered Jello Delight, now’s the perfect time to dive in! It’s bright, joyful, and truly customizable—plus, every bite brings a little burst of nostalgia and fun. Gather your favorite flavors and get ready to wow your friends and family with this irresistible, beautiful dessert.

