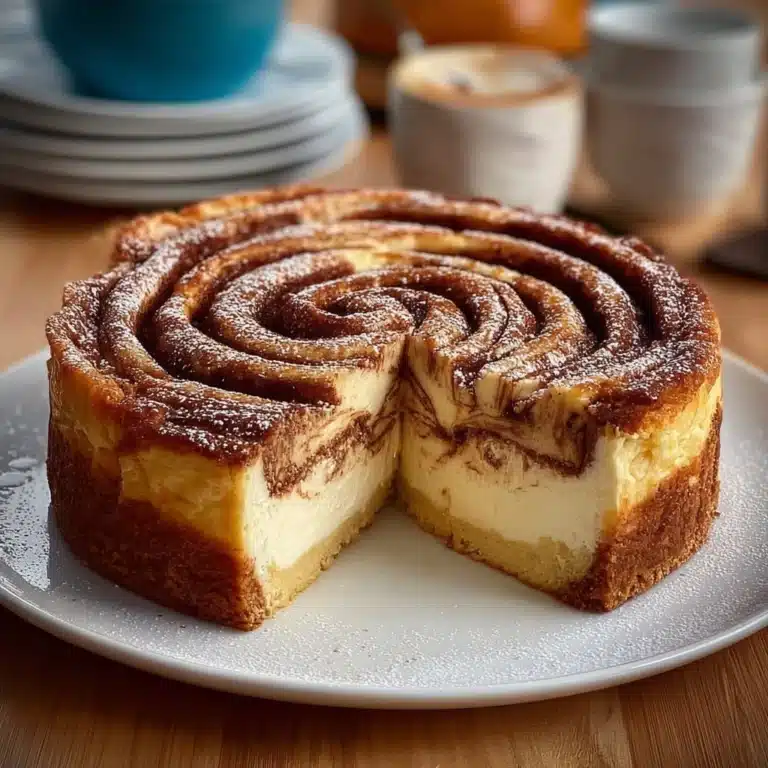
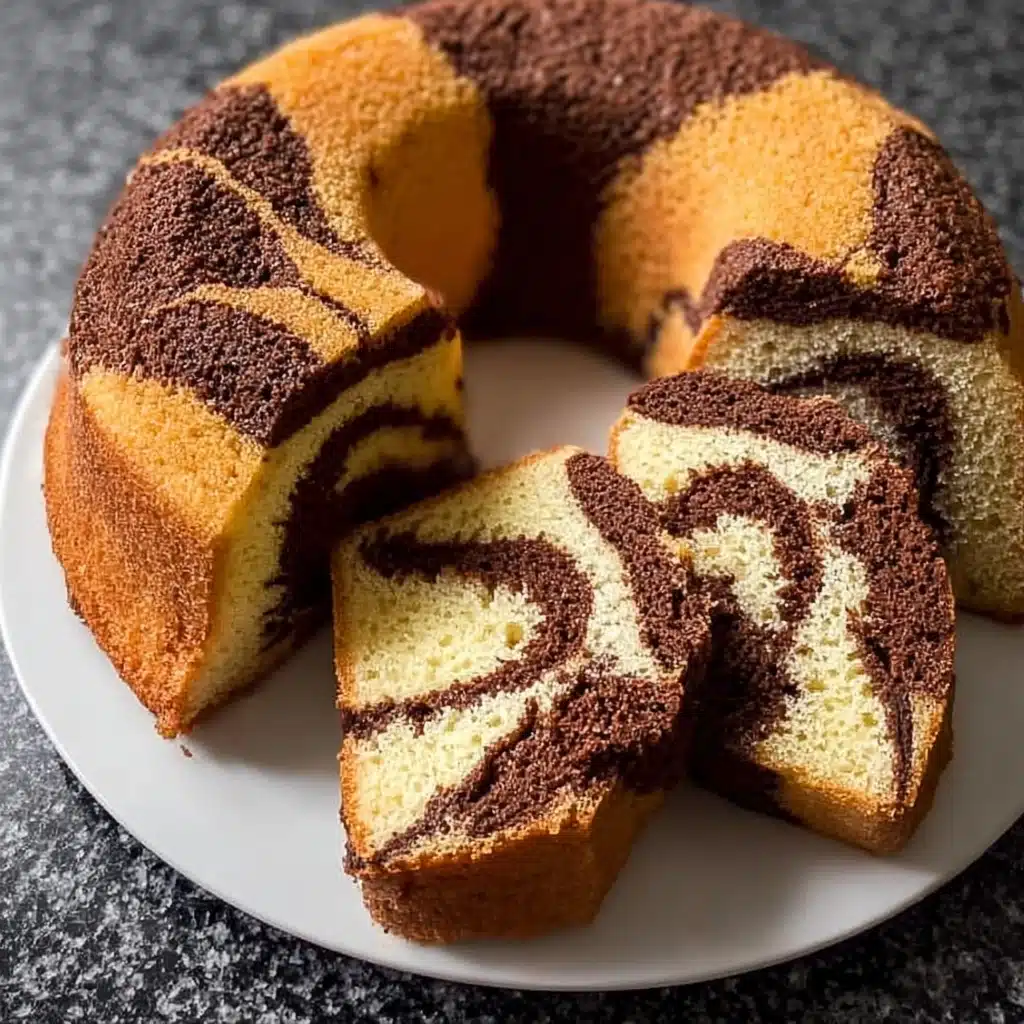
MARBLE BUNDT CAKE RECIPE
The MARBLE BUNDT CAKE RECIPE is the ultimate blend of elegance and comfort, delivering ribbons of rich chocolate and golden vanilla swirled together in every slice. This cake is perfect for gatherings or cozy afternoons, with its tender crumb, beautiful presentation, and irresistible combination of flavors. Whether you’re a seasoned baker or just beginning your cake adventures, the marbling technique is as fun as it is impressive, making it the true showstopper at any table.
Ingredients You’ll Need
What I love about the MARBLE BUNDT CAKE RECIPE is how it takes simple, classic baking staples and transforms them into something extraordinary. Each ingredient plays a vital role, creating a cake that’s moist, aromatic, and beautifully marbled every time.
- All-purpose flour: Provides a sturdy base that gives the cake structure without making it dry.
- Baking powder: Offers that essential lift to make every bite light and fluffy.
- Salt: Just a pinch is needed to balance sweetness and enhance flavor depth.
- Unsalted butter (softened): Brings richness and moisture, while also allowing you to control the salt level.
- Granulated sugar: Sweetens the cake and helps create a soft, tender crumb.
- Large eggs (room temperature): Bind the batter and contribute to the cake’s richness and airy texture.
- Whole milk: Adds moisture and helps with the cake’s smooth, soft crumb.
- Vanilla extract: Gives the vanilla swirls their classic, fragrant warmth.
- Unsweetened cocoa powder: The star of the chocolate swirl, delivering bold cocoa flavor and deep color.
- Hot water: Blooming the cocoa powder with hot water ensures a smooth, fudgy chocolate swirl.
- Extra granulated sugar (optional): Use this for a sweeter, more decadent chocolate swirl—totally up to your taste!
How to Make MARBLE BUNDT CAKE RECIPE
Step 1: Prep Your Pan and Ingredients
Start by preheating your oven to 350°F (175°C). Generously grease and flour your bundt pan (or loaf pans, if you’re going that route). Proper prep ensures that marbled masterpiece pops out easily without sticking—or heartbreaking crumbles.
Step 2: Mix Dry Ingredients
In a medium bowl, sift together the flour, baking powder, and salt. Sifting isn’t just for show here; it aerates the flour and ensures your leaveners and salt are evenly distributed, setting you up for a perfect, tender cake crumb.
Step 3: Cream Butter and Sugar
Beat the softened butter and granulated sugar in a large mixing bowl until the mixture is light and fluffy, about 3 to 5 minutes. This stage is worth a little patience—it introduces air that truly gives the MARBLE BUNDT CAKE RECIPE its signature plush texture.
Step 4: Add Eggs
Add the eggs one at a time, mixing well after each addition. This careful method keeps the batter smooth and helps it emulsify, setting the stage for a tight, even crumb. Don’t rush it—you want each egg to fully blend before adding the next.
Step 5: Combine Milk and Dry Mixture
Alternate adding the sifted dry ingredients and the milk to your butter mixture, beginning and ending with the dry ingredients. Stir gently and never over-mix—this keeps your cake tender and avoids density. Finish with a splash of fragrant vanilla extract.
Step 6: Prepare the Chocolate Swirl
Time to work some marbling magic! In a small bowl, whisk together the unsweetened cocoa powder, hot water, and the extra sugar if you’d like a sweeter swirl. Scoop out about a third of your vanilla batter and combine it with the chocolate mixture until fully incorporated and lusciously chocolatey.
Step 7: Layer and Swirl the Batters
Pour half the vanilla batter into the prepared pan, then dollop in your chocolate batter, followed by the rest of the vanilla. Grab a knife or wooden skewer and give it a few gentle swirls—too much and you’ll lose those gorgeous marbled ribbons, so aim for three or four passes for the perfect effect.
Step 8: Bake
Set your marbled creation on the center rack and bake for 50 to 60 minutes. You’re looking for a golden exterior and a toothpick that comes out clean (or with a few moist crumbs) when inserted. The aroma will let you know you’re getting close!
Step 9: Cool and Unmold
Remove the cake from the oven and let it rest in the pan for 10 minutes—this allows the cake structure to settle, making unmolding easier. Invert gently onto a wire rack and let cool completely. It’s worth the wait, promise!
Step 10: Serve
Finish with your choice of a dusting of powdered sugar or a decadent drizzle of glaze. Each slice of your MARBLE BUNDT CAKE RECIPE will reveal lovely chocolate-vanilla swirls that are as delightful to look at as they are to eat.
How to Serve MARBLE BUNDT CAKE RECIPE

Garnishes
This cake is beautiful as-is, but you can add a snowy sprinkle of powdered sugar, a simple vanilla glaze, or even a drizzle of melted chocolate. For a touch of crunch, a handful of sliced almonds or chocolate shavings on top adds texture and eye-catching appeal.
Side Dishes
Serve your MARBLE BUNDT CAKE RECIPE with a scoop of vanilla ice cream, fresh berries, or a dollop of lightly sweetened whipped cream. These sides brighten the flavors while making your cake plate look truly inviting.
Creative Ways to Present
Try slicing the cake and arranging the pieces in a fan on a platter to showcase the marbling, or serve individual slices with chocolate or caramel sauce drizzled in a zigzag across the plate. For an extra-special touch, pair each serving with a mini espresso or a fun dessert wine.
Make Ahead and Storage
Storing Leftovers
Once completely cooled, wrap your MARBLE BUNDT CAKE RECIPE tightly in plastic wrap or store in an airtight container at room temperature for up to 3 days. Avoid refrigerating unless your kitchen is especially warm, as refrigeration can dry out the crumb.
Freezing
This cake freezes beautifully! Wrap slices or the whole cake tightly in plastic wrap, then a layer of aluminum foil. Freeze for up to 2 months. Thaw at room temperature, still wrapped, to maintain maximum moistness and freshness.
Reheating
If you prefer your cake slightly warm, pop a slice in the microwave for 10 to 15 seconds. It’ll taste just-baked and the swirls will be wonderfully fragrant all over again.
FAQs
Can I use cake flour instead of all-purpose flour?
You can! Cake flour will make the cake even more delicate and tender. Just substitute cup-for-cup, but know the texture will be lighter—which is a lovely twist.
How do I prevent the cake from sticking to the bundt pan?
Be generous when greasing and flouring your bundt pan, making sure you get into every nook and cranny. For extra insurance, use a baking spray with flour, and let the cake cool for 10 minutes in the pan before turning it out.
Can I add chocolate chips to the batter?
Absolutely! Fold a few chocolate chips into the chocolate portion of the batter for extra chocolate bursts in every bite. Just be careful not to overload, so the marbling effect still shines through.
How do I make a glaze for this cake?
A simple confectioners’ sugar glaze (powdered sugar plus a few teaspoons of milk or cream and vanilla) works wonders. Drizzle it over the cooled cake for a glossy, sweet finish that seeps into every crevice.
Can I make this MARBLE BUNDT CAKE RECIPE ahead of time for a party?
Yes! The flavors actually deepen after a day, so feel free to bake it the night before your event. Store it well-wrapped at room temperature, and add any toppings just before serving for the freshest look.
Final Thoughts
Bake this MARBLE BUNDT CAKE RECIPE once, and it’ll quickly become your go-to for celebrations, gifts, or simply when you want something wonderfully homemade. The marbled swirls are a labor of love, and each slice is as beautiful as it is delicious—so don’t be surprised when you’re asked for the recipe again and again!