Mini Fruit Tarts with Glaze Recipe
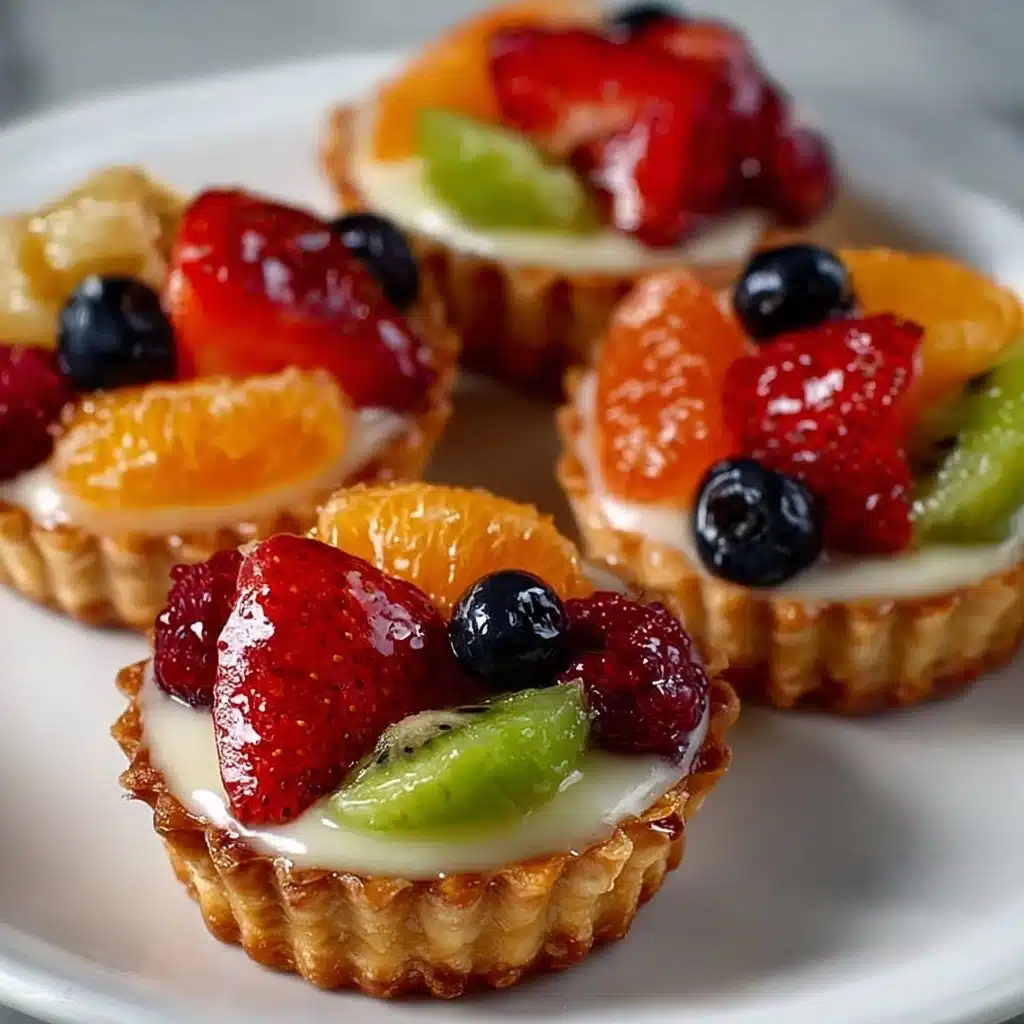
If you’re searching for an eye-catching dessert that’s as delightful to eat as it is to present, Mini Fruit Tarts with Glaze are pure magic. Imagine buttery, golden tart shells cradling a pillow of silky pastry cream, all crowned with a kaleidoscope of glistening fresh fruit and a luminous apricot glaze. These tarts taste like sunshine on a plate, and they’re the ultimate treat to impress at gatherings or spoil yourself on a cozy weekend. With their vibrant colors and melt-in-the-mouth textures, Mini Fruit Tarts with Glaze strike the perfect balance between beauty and flavor.
Ingredients You’ll Need
The ingredient list for Mini Fruit Tarts with Glaze is refreshingly simple, but each component plays a vital role in the final masterpiece. Fresh, quality produce and a bit of thoughtful assembly make every bite irresistible.
- All-purpose flour: Forms the structure of the tart shell and gives that perfect crisp bite.
- Unsalted butter (cold, cubed): Essential for flaky, tender pastry; keep it cold for the best texture.
- Sugar: Adds just the right touch of sweetness to balance the rich cream and tangy fruit.
- Egg yolk: Binds the dough and adds a subtle richness to the tart base.
- Cold water: Brings the dough together without melting the butter—just enough to make it cohesive.
- Pastry cream (or vanilla custard): Creates a dreamy, creamy center that pairs beautifully with fruit.
- Fresh fruits: Go wild! Kiwi slices, strawberries, blackberries, orange segments, and red currants make for a stunning display and varied flavors.
- Fresh mint leaves: For an aromatic, refreshing garnish that elevates the whole tart.
- Apricot jam (or any clear fruit jam): The secret to that irresistible glossy finish—your glaze will make those fruits pop!
- Water: Thins the jam perfectly for brushing over delicate fruit.
How to Make Mini Fruit Tarts with Glaze
Step 1: Make the Tart Shells
Start by blending the flour and sugar in a bowl, then rub in the cold, cubed butter until your mixture resembles fine breadcrumbs. The trick to sensational tart shells is to keep everything cold, so don’t be afraid to chill your hands if needed! Add in the egg yolk and a splash of cold water; mix gently until the dough just comes together. Wrap it up and let it chill for 30 minutes—this rest ensures a tender, flaky crust. Once chilled, roll out the dough and cut it into circles, then press them into mini tart molds. Prick the bases with a fork to prevent puffing as they bake. Pop them in a preheated oven at 180°C (350°F) for about 12–15 minutes, or until beautifully golden.
Step 2: Prepare the Filling
While your tart shells cool, grab your favorite pastry cream (or a dreamy vanilla custard, if you prefer). Once the shells are at room temperature, spoon or pipe the cool pastry cream inside each mini shell. Don’t worry about perfection—a rustic swirl of cream is just as inviting as a neat piped design!
Step 3: Assemble the Tarts
Now for the fun part: decorating! Arrange your fresh fruit slices on top of the pastry cream in whatever pattern calls to you—mix colors and shapes for dazzling results. From vibrant kiwi and cheery strawberries to juicy blackberries and glossy currants, each tart is a mini canvas for your creativity.
Step 4: Make the Glaze
To achieve that classic patisserie shine, heat the apricot jam and a little water in a small pan, stirring until it’s melted and smooth. Strain the glaze if you want it extra clear. With a pastry brush, gently coat the fruit with the warm glaze. This not only makes your Mini Fruit Tarts with Glaze look professional but also keeps the fruit juicy and vibrant.
Step 5: Garnish and Serve
For a finishing flourish, add a mint leaf or two to each tart. Their subtle fragrance and fresh green pop are the perfect contrast to the glossy fruits. Chill the finished tarts until you’re ready to serve—each bite will reward you with rich cream, crisp pastry, and the sparkle of fresh fruit.
How to Serve Mini Fruit Tarts with Glaze

Garnishes
A sprig of fresh mint is always a classic, but you can also try powdered sugar dusted lightly over the tarts for a snowy effect, or thinly sliced citrus zest for a zippy twist. Edible flowers (like violets or pansies) take Mini Fruit Tarts with Glaze from lovely to breathtaking, especially for special occasions.
Side Dishes
Pair these tarts with a dollop of softly whipped cream or a scoop of vanilla ice cream for extra indulgence. Light, crisp cookies or a simple berry compote on the side add layers of flavor, or balance the sweetness with a strong cup of espresso or fragrant tea.
Creative Ways to Present
Show off your handiwork by arranging the Mini Fruit Tarts with Glaze on a beautiful tiered cake stand for afternoon tea, nestling them in pastel cupcake wrappers for parties, or plating each tart with swirls of coulis and a mint sprig for a restaurant-style dessert course. Individual platters and playful layouts always elicit big smiles!
Make Ahead and Storage
Storing Leftovers
Once assembled, Mini Fruit Tarts with Glaze keep best in the refrigerator, covered loosely with plastic wrap. They’ll stay delicious for up to two days. The pastry may soften a bit over time, but the flavors meld nicely, making late-night treats almost as good as freshly made.
Freezing
If you love planning ahead, bake the tart shells in advance and freeze them in an airtight container for up to one month. Thaw at room temperature and then fill and top with fruit and glaze when you’re ready to serve. Avoid freezing fully assembled tarts—fresh fruit changes texture after freezing and won’t have that just-picked sparkle.
Reheating
While Mini Fruit Tarts with Glaze are best enjoyed chilled or at room temperature, you can refresh the tart shells in a warm oven for three to five minutes before assembling to bring back their crispiness. Avoid reheating the filled tarts, as the cream and fruit are most luscious when kept cool.
FAQs
Can I use store-bought tart shells for this recipe?
Absolutely! Store-bought mini tart shells are a great time-saver and work perfectly if you’re short on time. Just fill, decorate, and glaze as directed for the same beautiful results.
Which fruits work best for Mini Fruit Tarts with Glaze?
Almost any fresh fruit you love can be used, but firmer varieties like berries, kiwi, and citrus segments hold their shape and look the most striking. Softer fruits like bananas or peaches are delicious too but add them just before serving to prevent browning.
Can I make them dairy-free?
Yes! Try a dairy-free pastry cream made with coconut or almond milk, and swap the butter for a plant-based alternative in the crust. The result is just as luscious yet suitable for dairy-free guests.
How do I stop my tart shells from getting soggy?
The key is to let the shells cool completely before filling. For extra insurance, you can brush the inside of cooled tart shells with melted white chocolate—let it set, and you’ll have a protective barrier against moisture.
Does the glaze have to be apricot jam?
Not at all! Any light-colored, clear fruit jam works. Apple jelly, peach jam, or even a little honey thinned with water can create a gorgeous shine and a touch of extra flavor to suit your fruit selection.
Final Thoughts
Making Mini Fruit Tarts with Glaze is a joyful kitchen adventure, and the dazzling results never fail to draw a crowd. Whether you’re celebrating something special or just want to treat yourself, this recipe brings the elegance of a French patisserie right into your home. Go ahead—gather your favorite fruits, set up your tart assembly line, and savor every bright, creamy, and buttery bite.