Red Velvet Cheesecake Recipe
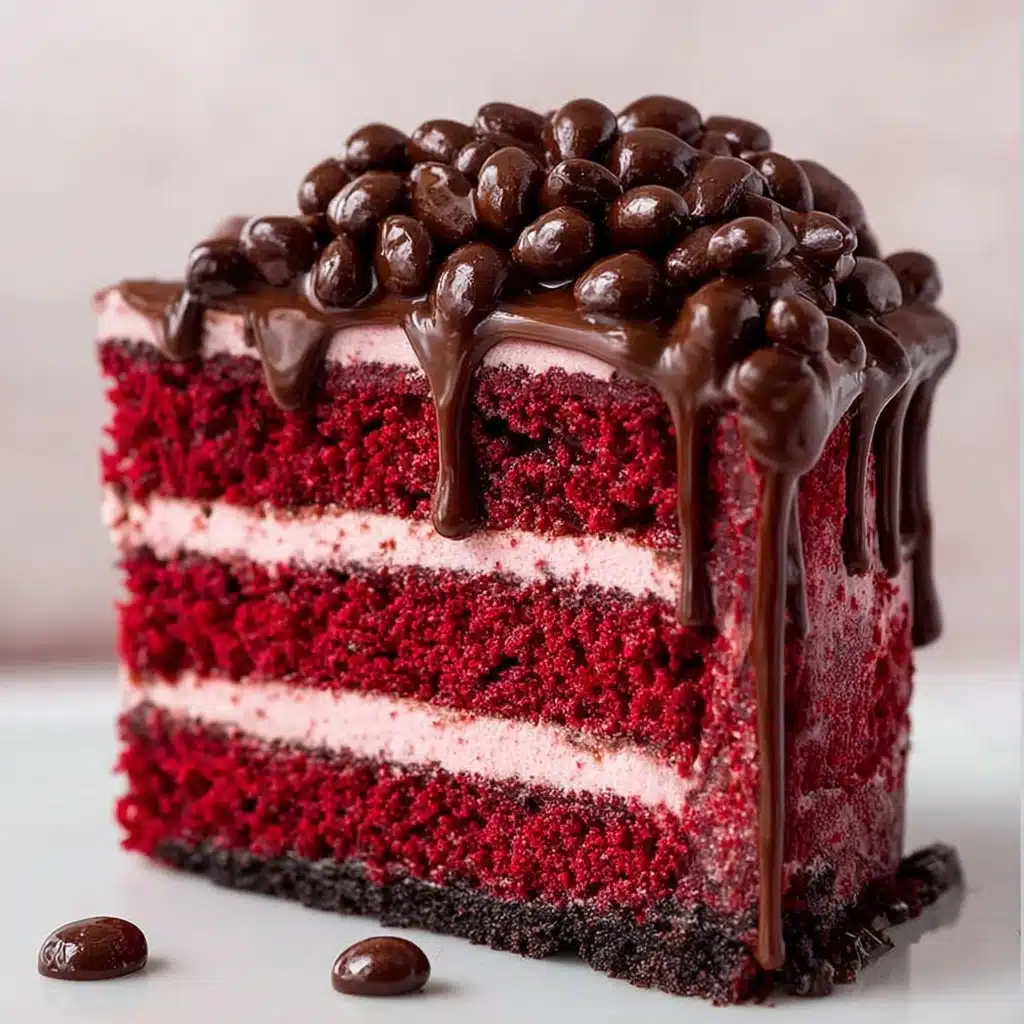
If you have a penchant for rich, velvety desserts that feel like a warm hug in every bite, then you are absolutely going to adore this Red Velvet Cheesecake. Combining the tender crumb and subtle cocoa flavor of classic red velvet cake with the creamy, luscious soul of cheesecake, this treat is a dreamy fusion that will captivate anyone lucky enough to try it. Whether it’s a special occasion or just one of those days demanding a spectacular slice of comfort, this Red Velvet Cheesecake is simply irresistible, delivering the perfect balance of sweetness, texture, and that iconic red hue that makes it unforgettable.
Ingredients You’ll Need
Gathering the right ingredients is the first and most rewarding step when making this Red Velvet Cheesecake. Each component plays a vital role—whether it’s the cream cheese that provides decadent smoothness, the cocoa powder that deepens the flavor, or the buttermilk that tenderizes the cake layers perfectly. Let’s break down what you’ll need to bring this beautiful dessert to life.
- All-purpose flour: The building block for the structure of your red velvet cake layers, ensuring they hold just right.
- Unsweetened cocoa powder: Adds subtle chocolate notes that define classic red velvet flavor without overpowering.
- Baking soda: Helps the cake rise to a fluffy, airy texture.
- Salt: Enhances all the flavors and balances the sweetness.
- Granulated sugar: Sweetens both the cake and the cheesecake layers perfectly.
- Vegetable oil: Keeps the red velvet layers moist and tender throughout.
- Large eggs: Provide structure and richness, binding everything seamlessly.
- Buttermilk: Gives a tangy depth and helps tenderize your cake crumb beautifully.
- Vanilla extract: Adds warm, aromatic notes that elevate all layers of this dessert.
- White vinegar: Reacts with baking soda to lift the cake and brighten flavors.
- Red food coloring: The signature vibrant color that makes red velvet instantly recognizable and so festive.
- Cream cheese (for cheesecake and frosting): Essential for rich, silky cheesecake and luscious cream cheese frosting that ties everything together.
- Sour cream: Enhances the cheesecake’s creamy texture and slight tang.
- Unsalted butter: Provides stability and richness in the frosting, allowing it to be smooth and spreadable.
- Powdered sugar: Sweetens and thickens the frosting for that flawless finish.
- Optional garnishes: Red velvet cake crumbs, white chocolate curls, and fresh berries add a stunning visual and subtle bursts of flavor.
How to Make Red Velvet Cheesecake
Step 1: Prepare the Cheesecake Layer
Start with the creamy heart of this dessert—the cheesecake layer. It’s crucial to soften your cream cheese beforehand to avoid lumps, then beat it with sugar until you get a silky, smooth texture. Incorporate your eggs one at a time to create a stable mixture, then add sour cream and vanilla for that signature richness and tang. Pour this luscious batter into a parchment-lined springform pan and bake gently at a low temperature until just set. Cooling and chilling the cheesecake once baked is key; this not only firms it up but also helps the flavors develop.
Step 2: Bake the Red Velvet Cake Layers
Next up are the iconic red velvet cake layers. Prepping your dry ingredients separately, including a touch of cocoa powder and baking soda, ensures balanced flavor and perfect lift. In another bowl, whisk your sugar, oil, and eggs together until silky smooth before folding in buttermilk, vanilla, vinegar, and that dreamy red food coloring. Gently combine the wet and dry ingredients without overmixing to keep the batter tender and tender. Once your batter is divided into two pans, bake until a toothpick comes out clean—the sweet, tender cake layers will complement the creamy cheesecake perfectly.
Step 3: Make the Cream Cheese Frosting
A flawless Red Velvet Cheesecake demands an outstanding frosting. Start by beating softened butter and cream cheese together until light and fluffy, then gradually add powdered sugar for sweetness and thickness. Vanilla extract is the finishing touch to bring all those flavors into harmony. This frosting not only adds sweetness and stability but also helps marry the layers together, giving your cake that stunning polished look and irresistible richness.
Step 4: Assemble the Cake
Assembling this layered delight is where your masterpiece begins to come alive. Place one red velvet cake layer on your serving plate and spread a thin coat of frosting to anchor the cheesecake layer. Then carefully lay the chilled cheesecake on top—this layering technique highlights the creamy layer beautifully inside the cake. Add a little frosting above the cheesecake before topping with the second cake layer. Use the remaining frosting to envelop the entire cake, smoothing the edges so it looks as delightful as it tastes. This step requires a gentle hand, but the payoff is entirely worth it.
Step 5: Decorate and Chill
Bring your Red Velvet Cheesecake to the next level by decorating with red velvet crumbs, white chocolate curls, or juicy fresh berries. These garnishes add texture contrast and a burst of color, making your cake as visually stunning as it is delicious. Chilling the assembled cake for at least an hour before slicing ensures clean layers and perfect servings every time.
How to Serve Red Velvet Cheesecake
Garnishes
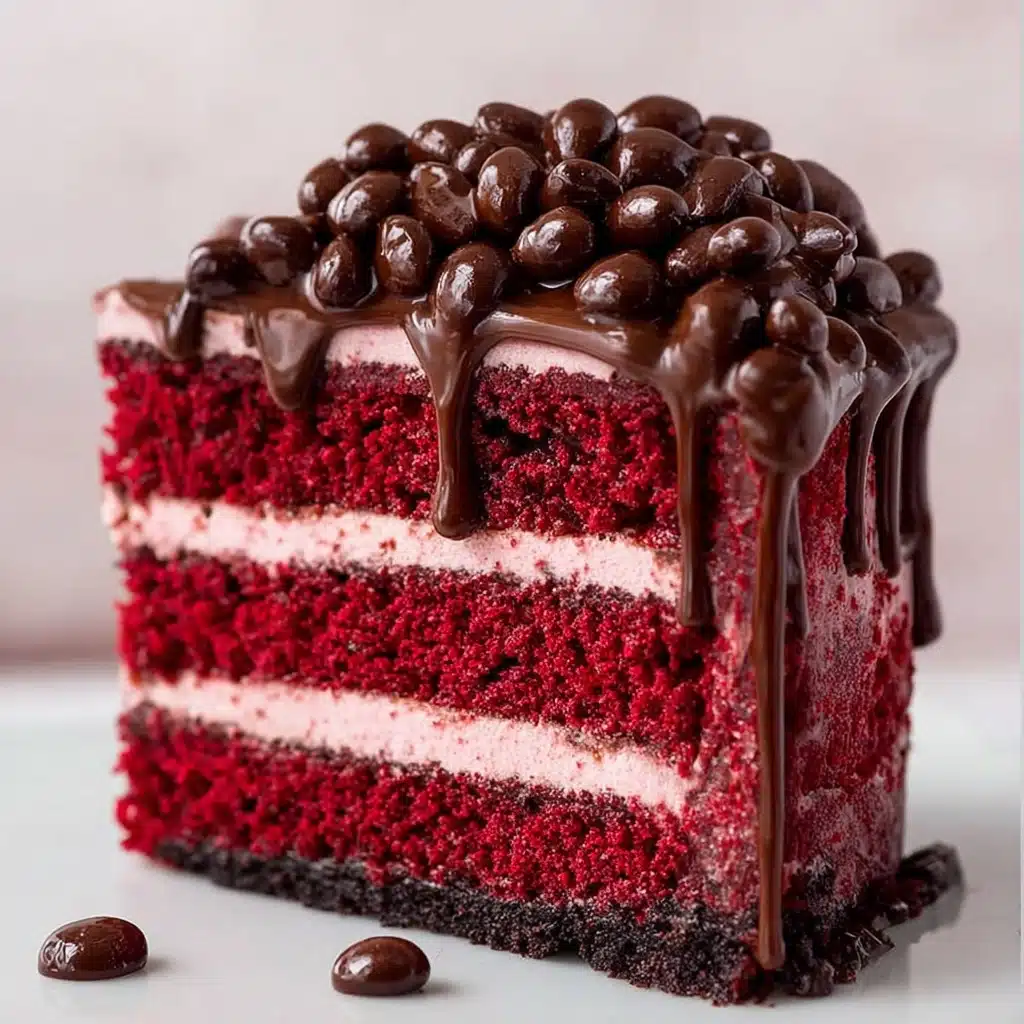
Garnishes are the finishing touches that elevate your Red Velvet Cheesecake to a showstopper. Sprinkling red velvet cake crumbs around the edges adds a rustic charm, while delicate white chocolate curls contribute a sophisticated sweetness and texture contrast. Fresh berries like raspberries or strawberries bring a bright tartness and vivid color that perfectly balances the cake’s creamy richness.
Side Dishes
If you want to create a dessert spread that truly impresses, consider serving your Red Velvet Cheesecake with lightly toasted pecans or a dollop of freshly whipped cream. A hot cup of coffee or rich hot chocolate also pairs exceptionally well, complementing the dessert’s sweetness without overpowering it. These sides enhance the experience and make each bite feel more indulgent.
Creative Ways to Present
This Red Velvet Cheesecake can also be presented in individual mini parfait cups by layering crumbled cake, cheesecake bites, and frosting, topped with garnishes. Alternatively, serve it as an elegant trifle for a crowd, or even as a stunning naked cake by leaving the frosting thin and exposed to reveal the beautiful red layers and cheesecake in between. Any way you choose to present it will wow your guests and make the occasion memorable.
Make Ahead and Storage
Storing Leftovers
Once you’ve enjoyed your delicious Red Velvet Cheesecake, any leftovers should be tightly covered with plastic wrap or stored in an airtight container in the fridge. This keeps the cake fresh and its textures intact for up to 4 days, while making sure the cheesecake stays soft and the frosting retains its luscious creaminess.
Freezing
Freezing is a great option if you want to prepare this cheesecake in advance or save leftovers for later treats. Wrap the whole cake or individual slices securely in plastic wrap and then aluminum foil to prevent freezer burn. Frozen Red Velvet Cheesecake can be stored for up to 2 months. When ready to enjoy, thaw it overnight in the fridge for the best texture and flavor.
Reheating
Since the cheesecake is best served chilled, reheating is generally not recommended. However, if you prefer a slightly softer texture, allow the cake to sit at room temperature for about 15–20 minutes before serving. This subtle warming reveals all the luscious flavors and makes the cheesecake wonderfully smooth without risking any melting or separation of the frosting.
FAQs
Can I make the Red Velvet Cheesecake without food coloring?
Yes, you can skip the red food coloring, but the signature vibrant red color will be lost. The cake will still have the delicious flavor, but the presentation won’t be as classic or striking.
Can I use a regular cream cheese instead of softened?
Softened cream cheese is important to achieve a smooth batter and frosting without lumps. If your cream cheese is cold, it may result in a grainy texture, so plan ahead to let it come to room temperature.
How long does the Red Velvet Cheesecake last in the fridge?
Properly stored in an airtight container, your Red Velvet Cheesecake will stay fresh and delicious for up to 4 days in the refrigerator, allowing you to savor each slice without worry.
Is it possible to make this recipe gluten-free?
Absolutely! Just substitute the all-purpose flour with a gluten-free blend designed for baking. This swap can work beautifully, but ensure your baking powder and other ingredients are also gluten-free.
Can I substitute the buttermilk in the cake layers?
If you don’t have buttermilk on hand, you can make a buttermilk substitute by adding one tablespoon of white vinegar or lemon juice to one cup of milk and letting it sit for 5 minutes. This gives the batter the tenderizing acidity it needs.
Final Thoughts
There is something truly magical about the combination of cream cheese richness and the delicate crumb of red velvet, and this Red Velvet Cheesecake captures that magic perfectly. Every slice is a little celebration with its striking layers, decadent texture, and balanced sweetness. If you love decadent desserts that show off your baking skills and satisfy your taste buds, I wholeheartedly encourage you to try making this recipe—you’ll find it becomes a beloved classic on your dessert table in no time.

