Rustic Apple Pie Bars Recipe
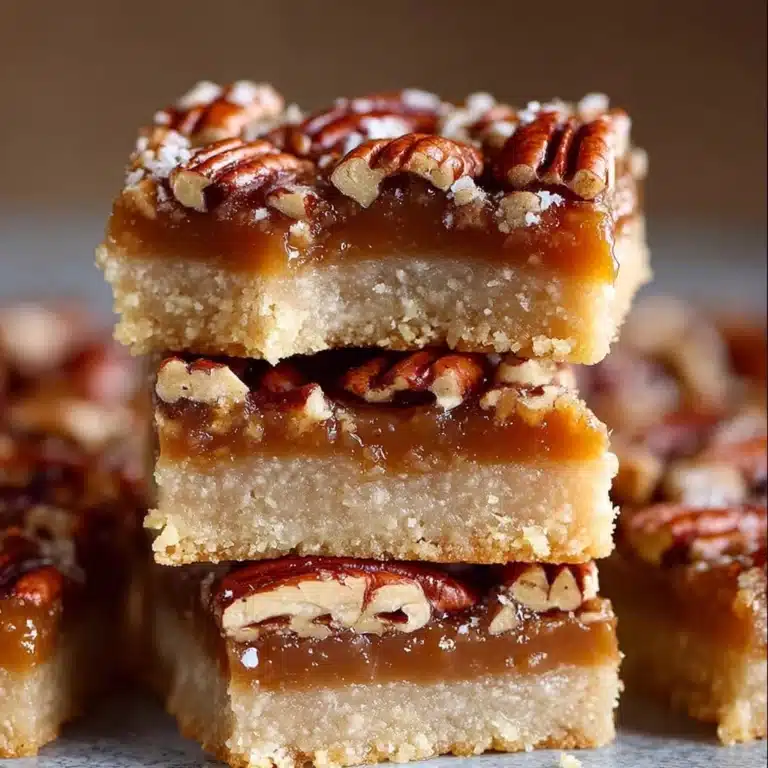
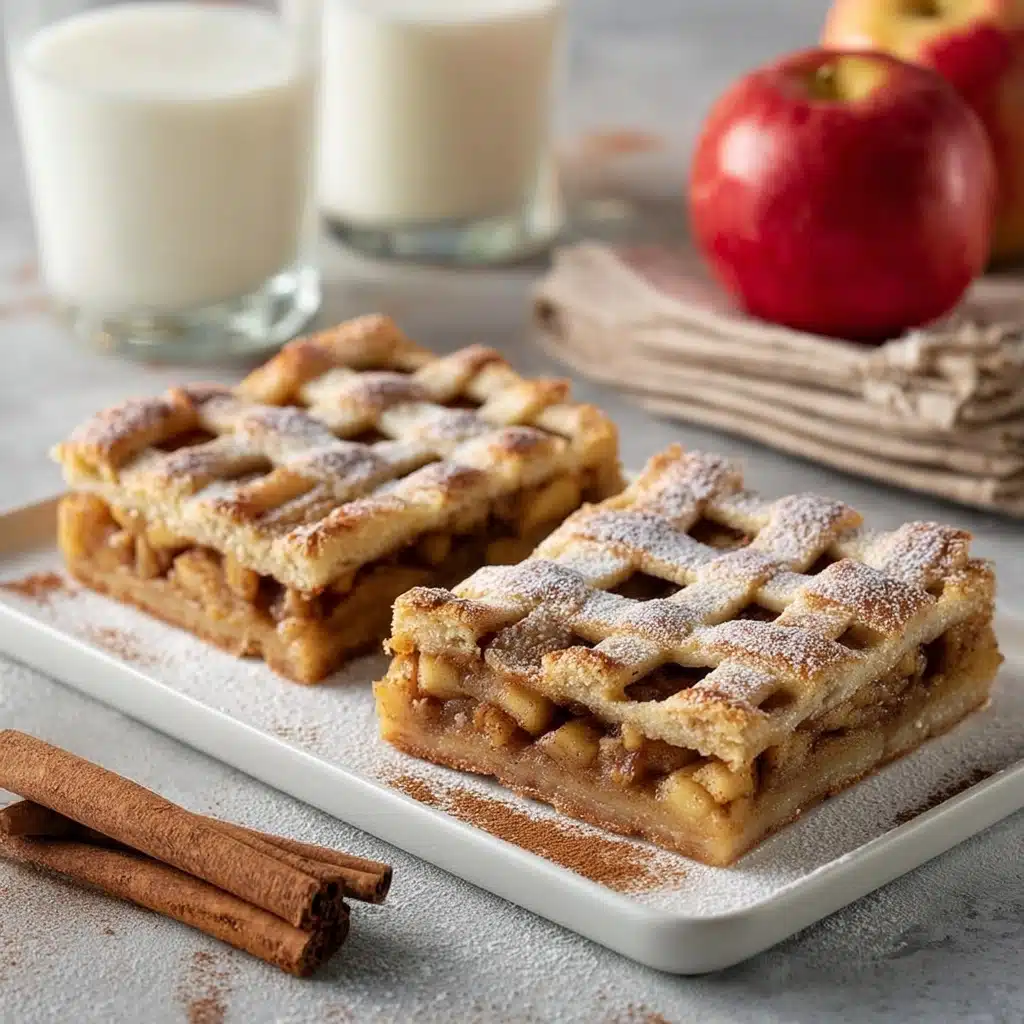
If you’re dreaming of a dessert that feels like a warm hug from the countryside, these Rustic Apple Pie Bars are exactly what you need. Imagine all the comforting flavors of a classic apple pie, but in a convenient bar form that’s easy to share, slice, and enjoy anytime. The tender, buttery crust cradles a spiced apple filling that bursts with juicy sweetness in every bite. Perfect for gatherings, cozy nights in, or surprising your loved ones with a homemade treat, Rustic Apple Pie Bars bring joy with their perfect balance of crispy edges and tender, fruity centers.
Ingredients You’ll Need
These ingredients might be simple, but each one plays a crucial role in building the layers of flavor and texture that make Rustic Apple Pie Bars so unforgettable. From the flaky crust to the spiced apple filling, everything comes together effortlessly.
- 2½ cups all-purpose flour: The foundation of your pastry’s tender and flaky crust.
- ½ teaspoon salt: Enhances and balances the sweetness in the filling and the crust.
- 1 cup cold unsalted butter, cubed: Key to the rich, buttery texture of the crust when cut into the flour.
- ½ cup granulated sugar: Adds sweetness and helps achieve a crisp crust.
- ¼ cup ice water: Brings the dough together while keeping it cool for flakiness.
- 6 medium apples, peeled and diced: The star of the filling, offering sweetness and natural juiciness.
- ½ cup brown sugar: Brings warmth and depth of flavor to the apple mixture.
- 2 teaspoons ground cinnamon: Infuses the filling with classic spiced apple pie aroma.
- ¼ teaspoon nutmeg: Adds a subtle, nutty warmth.
- 1 tablespoon cornstarch: Thickens the filling perfectly so it’s not runny.
- Juice of ½ lemon: Brightens the filling and balances sweetness.
- 1 egg (for egg wash): Gives the crust that beautiful golden finish when baked.
- Optional: powdered sugar for dusting: Adds a pretty, sweet touch before serving.
How to Make Rustic Apple Pie Bars
Step 1: Prepare Your Oven and Pan
Start by preheating your oven to 375°F (190°C). This ensures your oven is at just the right temperature to bake the bars evenly. Grease a 9×13-inch baking pan to prevent sticking and make cleanup easier later on.
Step 2: Create the Crust Dough
In a large bowl, combine the flour and salt. Cut the cold, cubed butter into the dry ingredients using a pastry cutter or your fingertips until the mixture looks crumbly, like coarse sand with some pea-sized butter pieces. Add granulated sugar and ice water, stirring gently until the dough starts to come together. Handle it just enough to combine—overworking can toughen your crust. Then divide the dough into two equal parts.
Step 3: Press the First Dough Half Into the Pan
Take one half of the dough and press it evenly into the bottom of your prepared pan. This will form the sturdy, buttery base of your bars, so make sure it’s spread out well and reaches all edges. A slightly thicker crust means extra flaky deliciousness.
Step 4: Prepare the Apple Filling
In a skillet over medium heat, combine the diced apples, brown sugar, cinnamon, nutmeg, cornstarch, and lemon juice. Cook this mixture, stirring occasionally, until the apples soften and the juices thicken into a luscious filling that’s full of warm spice and little bursts of tart apple. This step brings that cozy, inviting aroma into your kitchen.
Step 5: Spread the Filling on the Crust
Evenly layer the cooked apple filling over the dough crust in your baking pan. This ensures every Rustic Apple Pie Bar bite has the perfect balance of fruit and crust.
Step 6: Top with the Remaining Dough
Roll out the second half of the dough to fit over the apple layer. Place it gently on top, and cut a few slits in the dough to let steam escape—this keeps the crust crisp and prevents sogginess. The rustic appearance of these slits adds charm and hints at the deliciousness inside.
Step 7: Add Egg Wash and Bake
Whisk your egg and brush it over the top crust. This step is key for achieving a shiny, golden-brown finish that looks as good as it tastes. Bake your Rustic Apple Pie Bars in the oven for 40 to 45 minutes until the crust is beautifully golden and the apple filling bubbles invitingly.
Step 8: Cool and Slice
Allow the bars to cool completely in the pan before slicing. Cooling helps the filling set so that when you cut into the bars, the layers stay intact. Dust with powdered sugar for a little extra visual appeal and a touch of added sweetness if you like.
How to Serve Rustic Apple Pie Bars
Garnishes
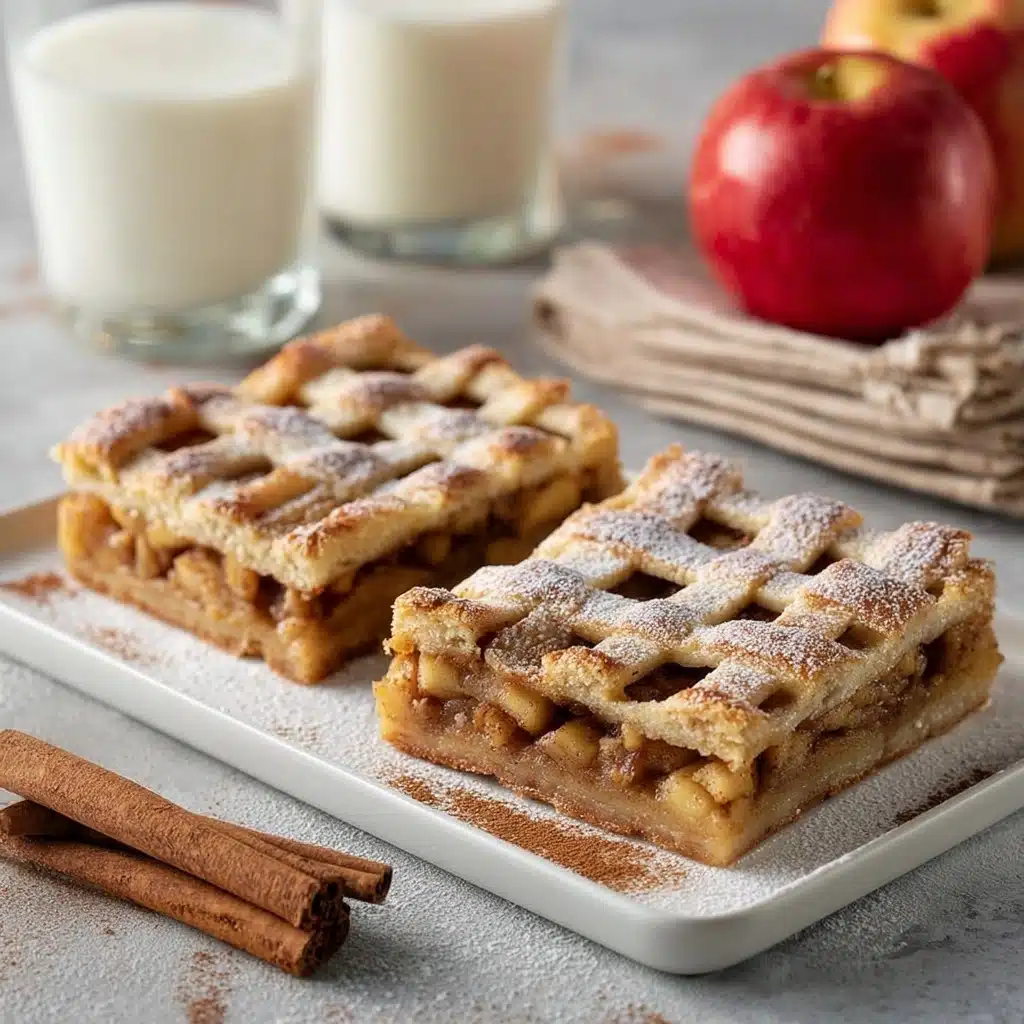
A light dusting of powdered sugar can elevate the look and add a delicate sweetness to each Rustic Apple Pie Bar. Fresh cinnamon sticks or a sprinkle of extra ground cinnamon offer a lovely invitation to dig in. For an extra-special touch, a dollop of whipped cream or a scoop of vanilla ice cream creates a dreamy contrast with the warm apples and flaky crust.
Side Dishes
Pair these bars with a cup of strong coffee or a spiced chai tea to complement the cinnamon and nutmeg notes. For a brunch spread, serve alongside creamy yogurt or a sharp cheddar cheese board—both surprising but delightful partners to the sweet, cozy flavors of the bars.
Creative Ways to Present
Cut your Rustic Apple Pie Bars into neat rectangles for a classic presentation or make bite-sized pieces for easy finger food at parties. Arrange them on a rustic wooden board with fresh autumn leaves or small apples for a festive look. For a brunch buffet, stack bars on tiered trays to invite guests to indulge.
Make Ahead and Storage
Storing Leftovers
Your Rustic Apple Pie Bars keep beautifully when stored in an airtight container at room temperature for up to 2 days. If you prefer a chilled treat, store them in the refrigerator where they will last for about 4 days. Just be sure to bring them back to room temperature before serving for the best flavor and texture.
Freezing
These bars freeze wonderfully, making them a perfect make-ahead dessert. Wrap individual bars tightly in plastic wrap and place them in a freezer-safe container or bag. They can be frozen for up to 2 months. To thaw, simply move them to the refrigerator overnight before enjoying.
Reheating
Reheat slices in a preheated 350°F (175°C) oven for about 10 minutes to bring back the flaky crust and warm the apple filling. Avoid microwaving if possible, since it can make the crust soggy. A quick reheat restores all the cozy flavors you love about Rustic Apple Pie Bars.
FAQs
Can I use other types of apples for the filling?
Absolutely! While tart apples like Granny Smith work best to balance sweetness, you can mix in sweeter varieties like Fuji or Honeycrisp for a more complex flavor and texture.
Do I need to peel the apples for this recipe?
Peeling helps achieve a smoother texture in the filling, but if you love extra fiber and a bit more rustic feel, you can leave the skins on—just chop the apples finely so they soften during cooking.
What if I don’t have cornstarch? Can I use something else?
You can substitute cornstarch with an equal amount of all-purpose flour or arrowroot powder to thicken the apple filling. Just remember that the thickening effect might vary slightly.
Can the dough be made ahead of time?
Yes, the dough can be wrapped tightly and refrigerated for up to 2 days or frozen for longer storage. Allow it to come to a chilled but workable temperature before assembling the bars.
How do I know when the bars are done baking?
Look for a golden-brown crust and bubbling apple filling visible through the slits on top. The aroma will also be your clue—the kitchen will smell wonderfully spiced and sweet!
Final Thoughts
Rustic Apple Pie Bars are a cozy, homey dessert that brings warmth and smiles to any occasion. Easy to make and absolutely delightful to eat, they’re perfect for sharing with friends and family or simply treating yourself. Give this recipe a try and let these bars fill your kitchen with comforting aromas and your heart with joy.


